Crispy Air Fryer Blooming Onion
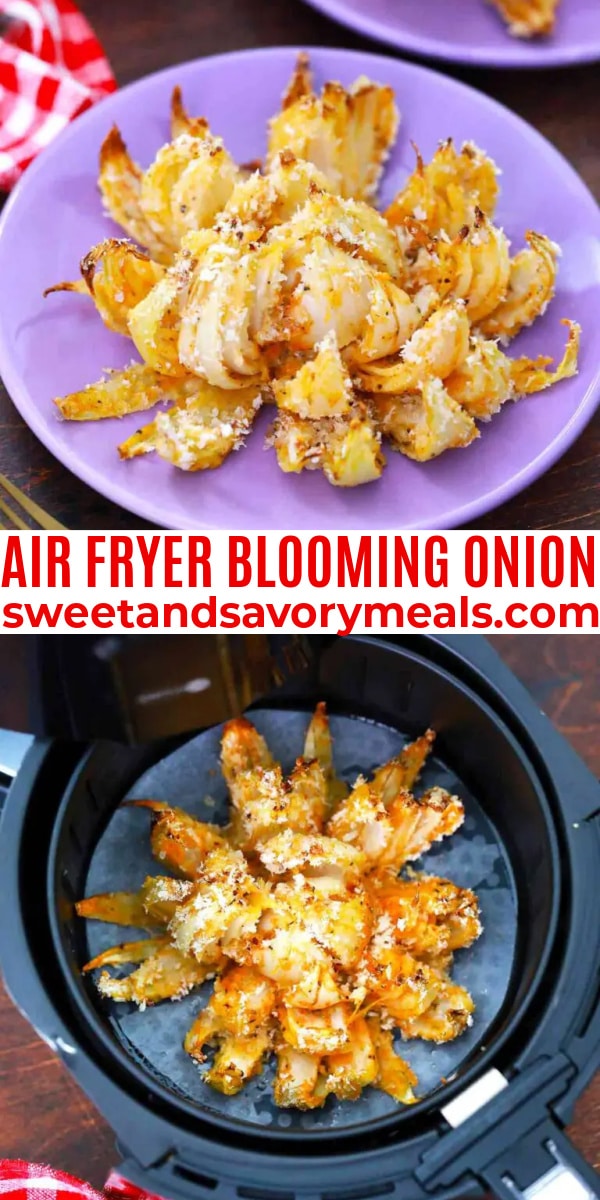
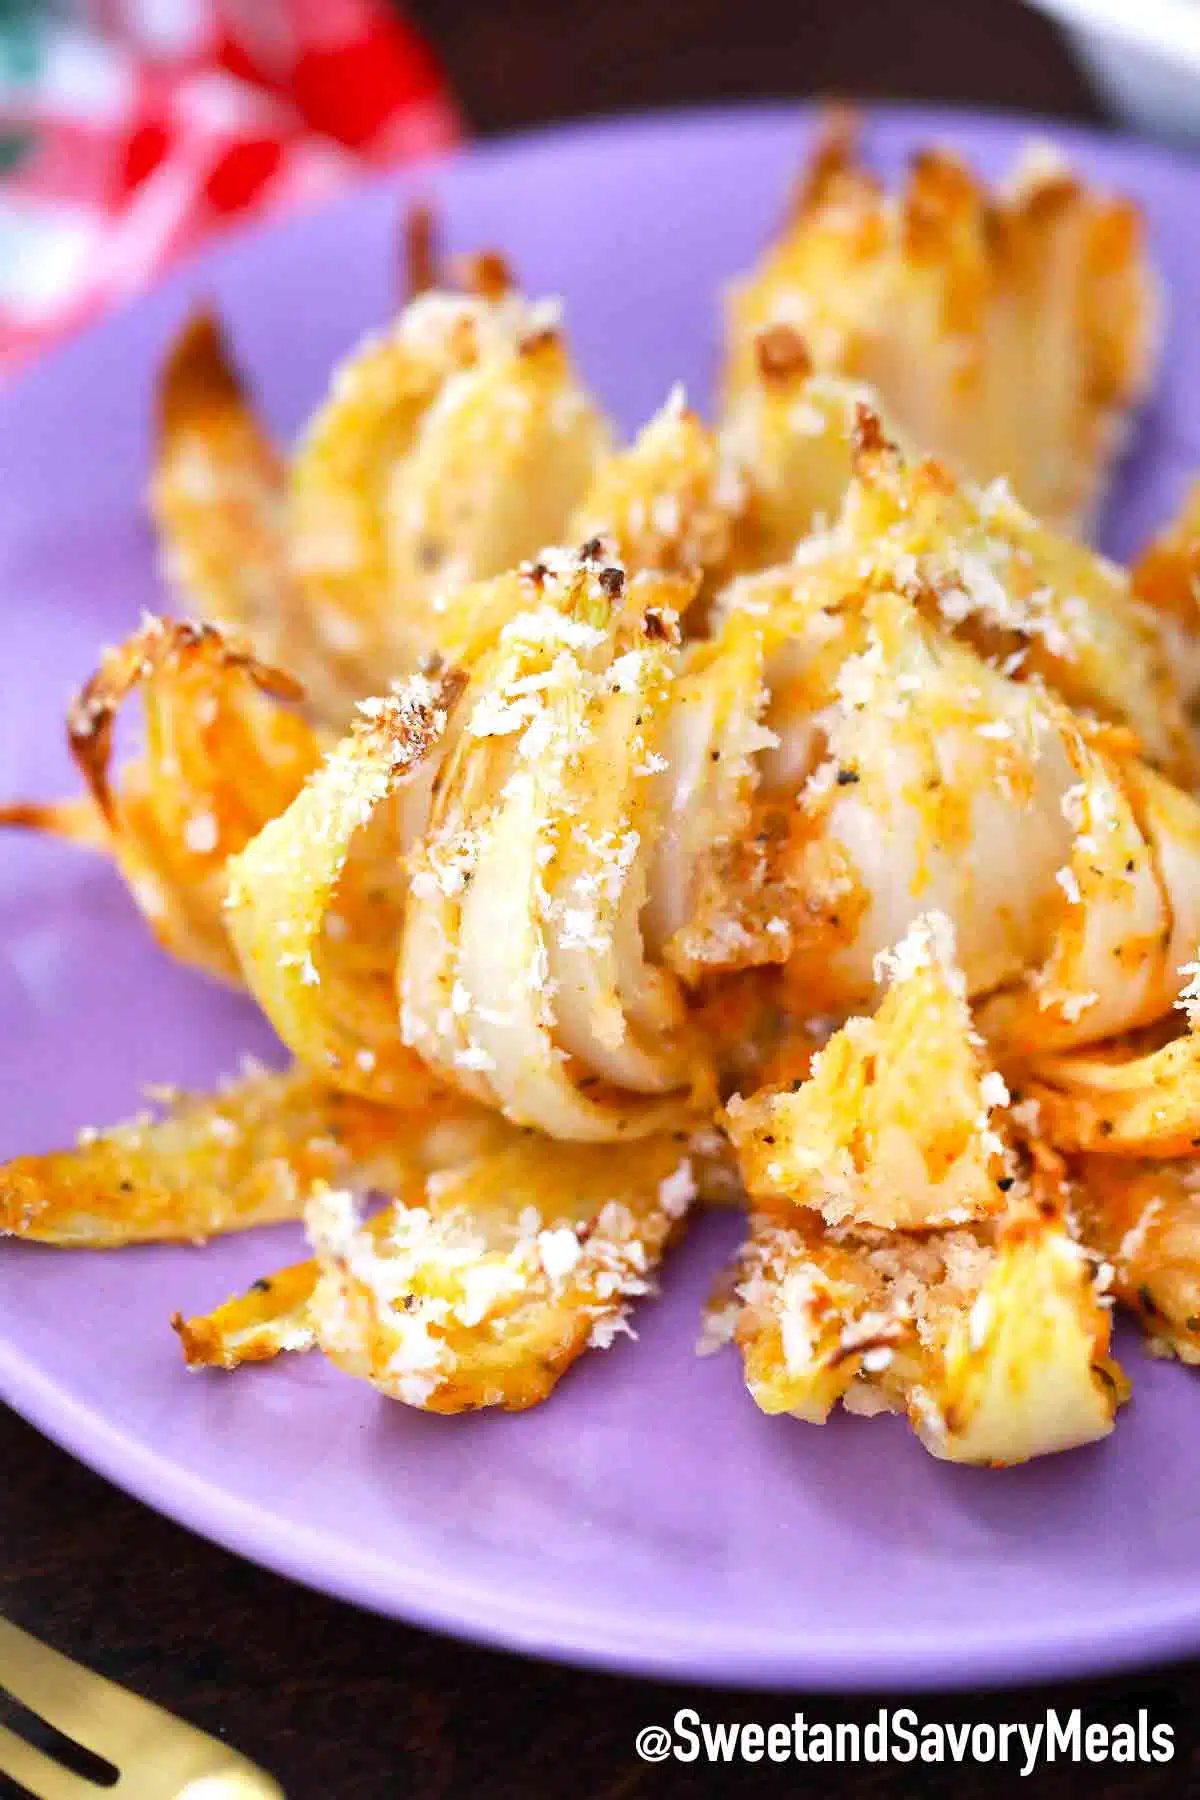
Air Fryer Blooming Onion tastes just like the famous restaurant-style appetizer, but with fewer calories and NOT deep-fried! The tender onion petals are covered with crunchy breading seasoned with ranch, spices, plus chili for a bit of a kick. Then, it’s air-fried until hot and crispy. This is an easier and healthier way to enjoy this appetizer right at home!
For more homemade versions of restaurant favorites, don’t miss our copycats of Cheesecake Factory Honey Truffle Chicken, PF Chang’s Crispy Honey Shrimp, and Panera Bread Broccoli Cheddar Soup! They are perfect for game days or parties!
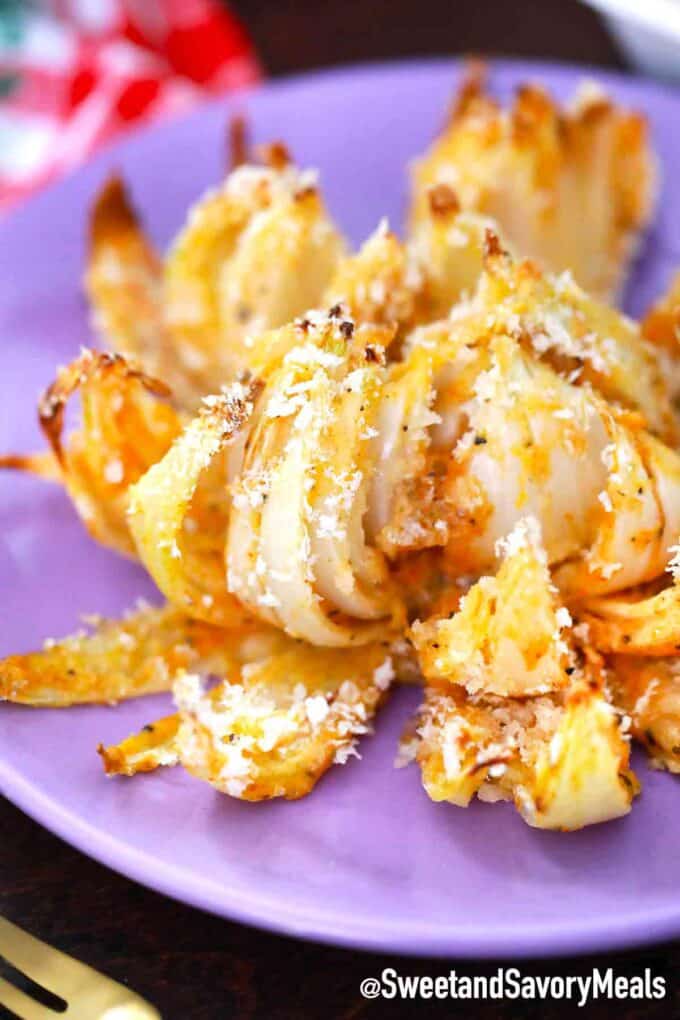
Since I was a kid, this has always been my favorite appetizer at Outback Steakhouse. I just couldn’t resist the crispy coating and golden brown color of a bloomin’ onion. So, flavorful and so delicious but the only negative – it was deep fried!
Unlike the deep frying version where a lot of cooking oil is used, this Crispy Air Fryer Blooming Onion is on the healthier side. It has the same crispy outside and tender inside, but cooked in hot air, with just a little bit of oil.
This is one heck of an appetizer! It looks amazing— an entire onion sliced into petals to get that “blooming” effect, covered with the crunchiest golden crust. No wonder it’s such an iconic dish!
At first, it may seem difficult to make it, but this recipe actually simplifies it. Once you’ve sliced it, then it’s just a matter of breading it then air-frying. No pot of hot oil to deal with or splatters to clean up after cooking! Because of this, you can leave it while you’re preparing the rest of your meal. 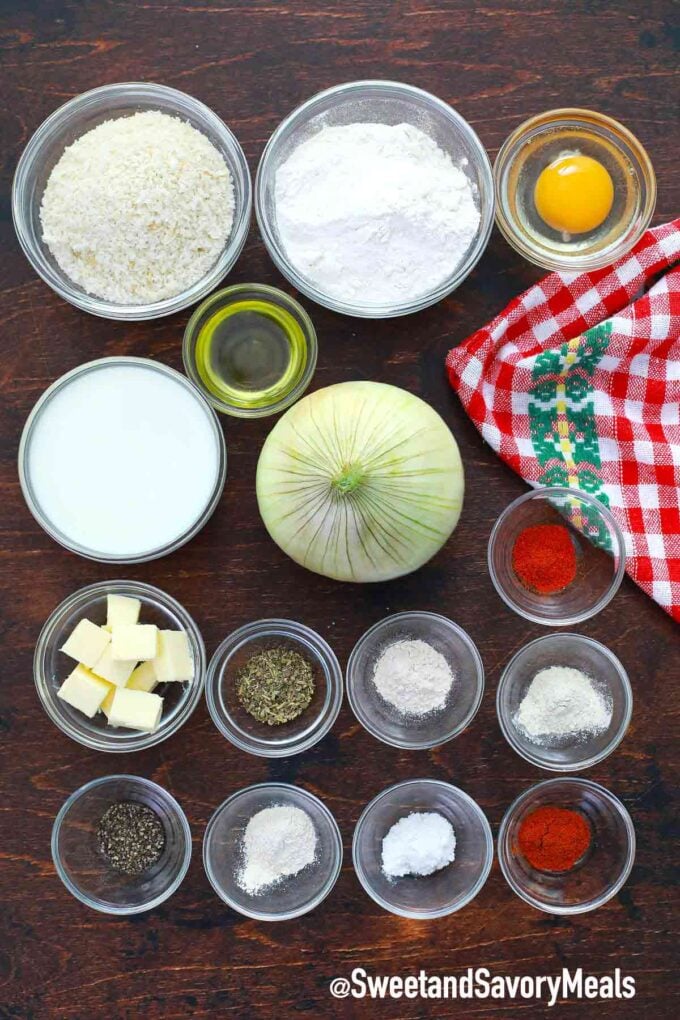
Ingredients needed:
For exact measures, please check the recipe card below. Also, see the video tutorial attached with detailed steps on how to make this recipe. Here is what you will need:
- Whole Onion: I like using a large onion. Like Vidalia onion sliced into eight separate wedges with the root intact. Similarly, you can use pretty much any sweet onion. Even yellow onion will work but it might have a stronger flavor. So, go with what you have on hand.
- Seasoning: I tend to use garlic powder, onion powder, smoked paprika, Italian seasoning, ranch seasoning, chili powder, plus salt and black pepper. However, feel free to add your favorite seasonings as well such as cayenne pepper, cajun seasoning, dried basil, etc.
- All-purpose Flour: This helps hold the egg mixture together and also adds crunchiness to it.
- Buttermilk-egg wash: Basically a combination of fresh eggs and a bit of melted butter.
- Panko breadcrumb: This is the final layer, and what makes the dish extra crunchy!
- Olive oil: For spraying and coating.
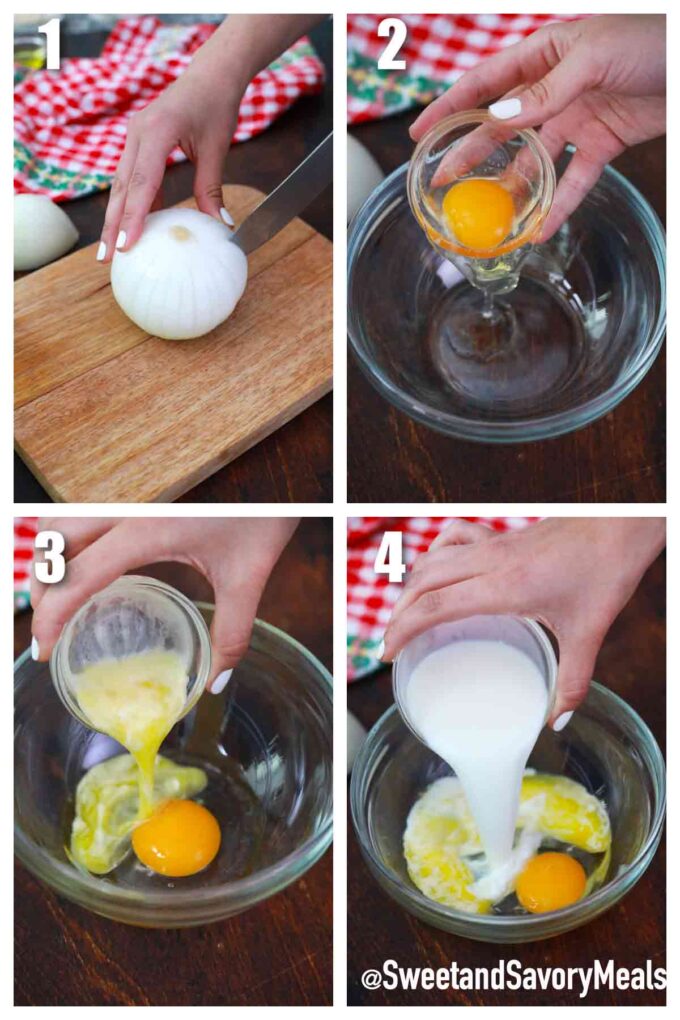
How to make Crispy Air Fryer Blooming Onion?
- Preheat: First, preheat the air fryer to 300 degrees F.
- Cut the onion: The initial step would be slicing it. First, using a sharp knife peel the skin and cut off the end that is not the root end. Next, place it on a cutting board with the onion root side up. Then, slice it in even quarters starting from the root down. When cutting the onion, ensure to place the knife about 1/2-inch away from the root and then cut down till hitting the cutting board. Make about 12-16 slices, about 1/4 to 1/2-inch wide.
- Coat with breading. Next, in a medium bowl, combine the dry ingredients and make the flour mixture. In another deep bowl, make the egg and milk mixture. Then, sprinkle the bulb with the seasoned flour. If there’s any excess flour, dump it over the bulb so it reaches between the layers. Leave for a while to set, then get rid of excess by turning the bulb over and shaking gently. Place the bulb in a bowl, then pour the buttermilk-egg wash all over it. Finally, cover with panko.
- Cook. Spray all over with oil. Then, place onion in the air fryer basket and cook at 300F for about 20 mins. until golden and crispy.
- Serve. Enjoy hot with your dip of choice!
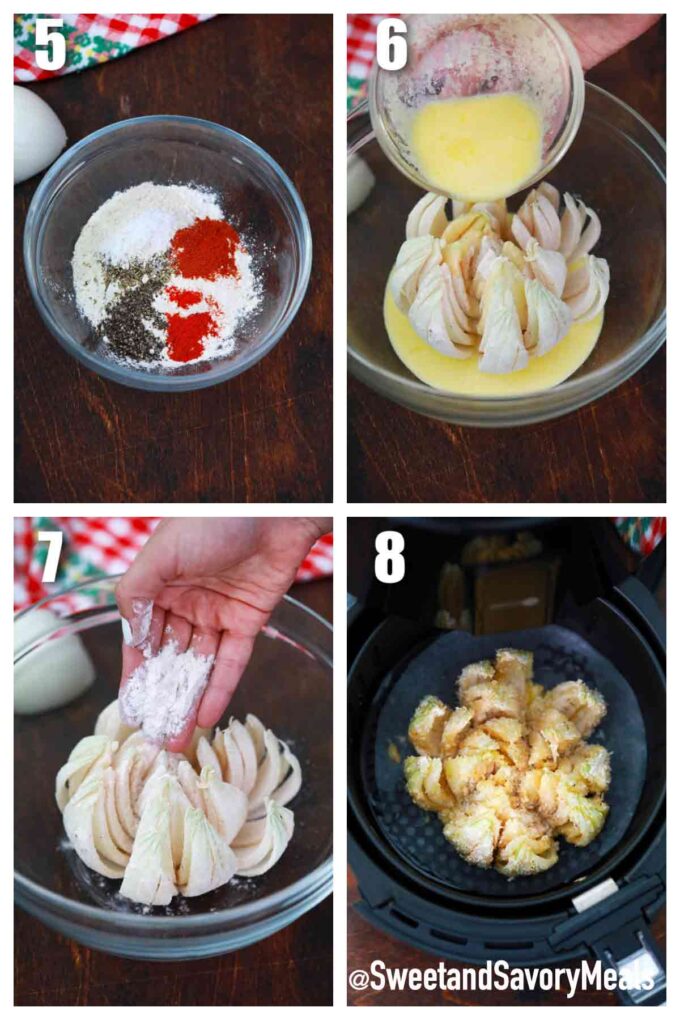
Recipe variations and substitutions:
- Deep-fried: Alternatively, you can use a deep fryer, and fry it in 350 degrees F oil until crunchy.
- Baked: You can bake this at 350F for about 20-30 minutes, or until golden and crispy.
- Southern: Add Cajun powder to the mix plus smoked paprika and oregano.
- Double Onion: Use French onion powder mix as the seasoning!
- Mexican: For a Tex-Mex taste, add some taco seasoning, cumin, and cayenne.
- Cheesy: Sprinkled it with some grated parmesan cheese on top. Or, add it to the seasoned flour.
- Herbed: For a more intense herb flavor, mix in some dried basil, thyme, and oregano.
- Lemon: Add lemon zest for a zesty twist.
Who created the blooming onion?
Originally, this appetizer was created at Outback Steakhouse in 1985. Nowadays, this famous recipe is used pretty much all over the world.
You can find it on the menu at Chili’s, Applebee’s, or other restaurant chains. But keep in mind, that all the restaurant versions are deep-fried. Therefore, are less healthier and have more calories.
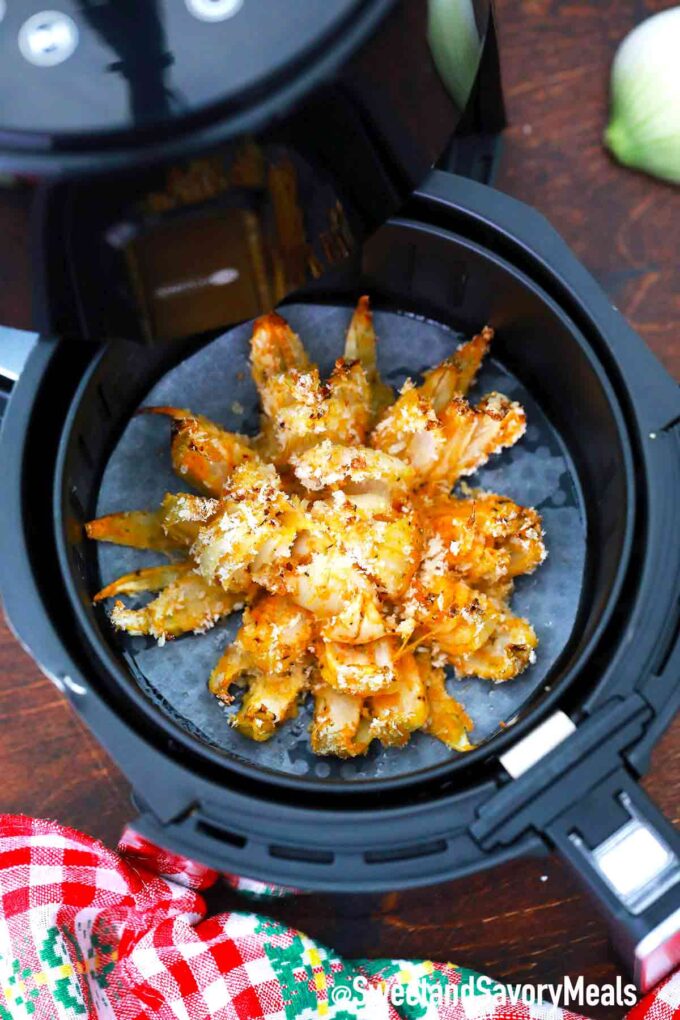
Air-frying over deep-frying:
As stated above, blooming onions are traditionally deep-fried and are usually served at restaurants. There are no questions that the Air Fryer is a healthier option because less oil is used, and is less greasy.
On top of that, deep-frying at home is messier as the grease splashes all over the place.
How to slice a blooming onion?
The key is to leave the root intact so it holds the petals together, so be careful while slicing. First, cut off about half an inch from the top then peel the entire bulb. Then, stabilize it by placing the cut side down onto your board.
After that, make four cuts around the onion, evenly spaced and going straight down to the board. They should meet in the middle so the petals “bloom.” Again, remember not to slice off the root. After that, cut one more down the middle of each wedge so you have eight cuts.
Very gently, separate the wedges to open them up, and set them aside for 5 mins. so the petals soften up and relax. Now you’re ready to cook!
Favorite Dipping sauce suggestions:
To complete the blooming onion experience, don’t forget the dip! You can’t go wrong with these:
- Ranch
- Sour cream
- Yum Yum Sauce
- Honey Mustard
- BBQ Dip
- Thousand Island Sauce
- Chipotle Sauce
- Beer Cheese Dip
It’s also delicious with some lemon aioli (use the aioli recipe we covered here), or mix mayo and ketchup together.
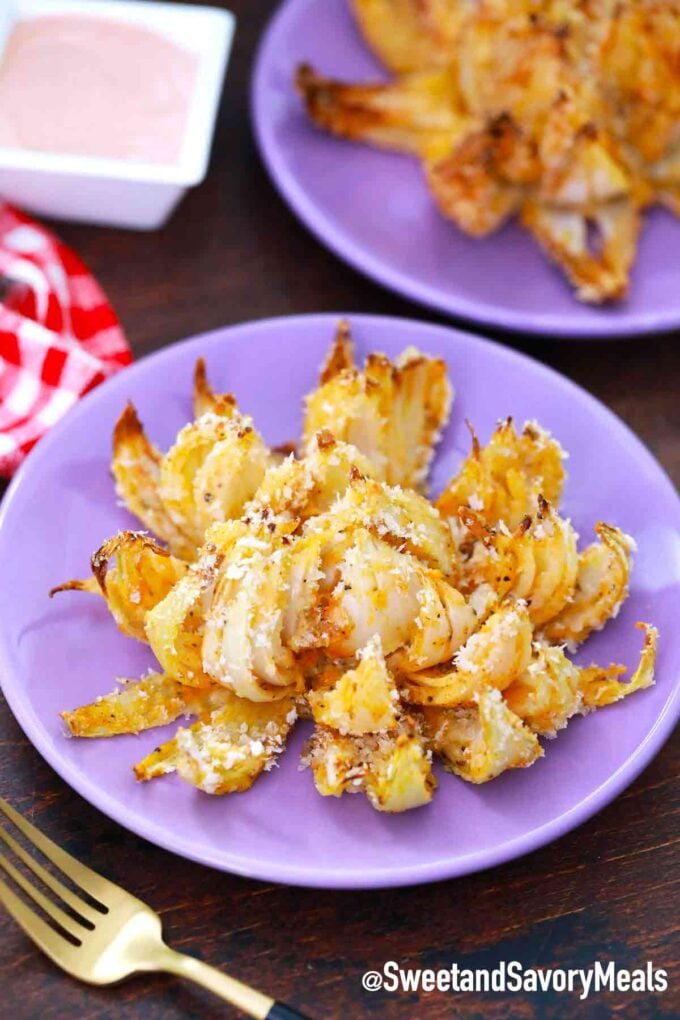
What to serve with it?
It’s the perfect addition to an appetizer buffet alongside other classics like Fried Cheese Sticks, Salsa with your favorite chips, Air Fryer Salmon Cakes, and Chipotle Chicken Nachos.
We also love serving it as a hearty side dish to entrees like BBQ Pork Chops and copycat KFC Chicken.
More appetizers to try:
Can you make it in advance?
Sure, go ahead and proceed with breading it. You can do this overnight, or a few hours ahead of when you plan to cook it. Just ensure to store it in an airtight container.
Doing so will help the sections relax some more and fully bloom, and also allows them to absorb more flavor.
Can you freeze it?
I would not recommend freezing it because it will get mushy. Also, the crunchy texter on the outside will become soft. Therefore, it is better to enjoy it right away.
Cooking tips:
- Onion can make you cry. Therefore, I recommend rinsing it under cold water or allowing it to soak for a few minutes. This will help calm the tears. 🙂
- The side of the onion matters. If it is larger, feel free to make more slices out of it.
- Also, to make it gluten-free, substitute regular flour with almond flour or low-carb flour.
Loved this recipe? I’d love to hear from you! 💛 Leave a 5-star rating ⭐️ in the recipe card below and share your thoughts in the comments - I read and appreciate every single one!
Let’s stay connected! Follow me on Facebook, Instagram, Pinterest, and YouTube for more delicious, sweet and savory recipes. Have a question? Ask in the comments, and I’ll be happy to help! 😊 with love Catalina!
Crispy Air Fryer Blooming Onion
Ingredients
- 2 large sweet onions
- 1/2 cup all-purpose flour
- 1 teaspoon garlic powder
- 1 teaspoon onion powder
- 1 teaspoon smoked paprika
- 1 teaspoon Italian seasoning
- 1 tablespoon Ranch powder
- 1/2 teaspoon salt
- 1/4 teaspoon chili powder
- 1/4 teaspoon black pepper
- 1/2 cup milk
- 1 large egg
- 2 tablespoons butter melted
- Salt and pepper
- 1/2 cup Panko bread crumbs
- Oil for spraying
- Dipping Sauce for serving
Instructions
Slice the onion:
- Cut off 1/2 inch from the top of the onion, and peel the outer skin.
- Place the onion cut-side down onto a cutting board and starting about 1/2 inch from the root, make a downward cut all the way through to the board through the middle of the onion. All your cuts should meet in the middle. But do not cut through the root or too close to the root.
- Make 4 evenly spaced cuts, after that 1 additional cut in between each section, this way you will have 8 evenly spaced cuts.
- Turn the onion over and let it sit for 10 minutes to allow the petals to relax. Use your fingers to gently separate the petals.
Bread the onion:
- In a large bowl whisk the flour and spices.
- In a small deep bowl, whisk the egg, butter, and milk.
- Place the onion in a large shallow dish bowl, cut-side up. Make sure the petals are separated.
- Sprinkle the flour mixture over the onion making sure to get it in between the layers. Use a fork to get it in between the onion petals.
- Repeat with the other onion.
- Sprinkle the remaining flour mixture on top of the onions. Set them aside for a few minutes.
- Shake the excess flour into a bowl.
- Add the onions to a large bowl and pour the egg mixture on top to coat evenly. Try getting the egg mixture in between the petals. Let the onion sit in this mixture for a few minutes. Tilt the onions and let the excess egg mixture drip off.
- Sprinkle the reserved flour mixture and panko bread crumbs on top of the onions.
- Place the onions into the refrigerator to set (for about 10 minutes) while you preheat the air fryer.
Air fry:
- Preheat the air fryer to 300 degrees F.
- Spray onions generously with cooking oil. Place on a piece of foil and air fry for 20 minutes or until crispy and golden brown.
- Open and spray at once or twice with more cooking oil during the cooking process.
- Remove gently and serve with your favorite dipping sauce.
Video
Notes
- Do not take off the root, or the entire bulb will fall apart.
- You’ll need to be very generous when spraying with oil, so you can get that crunchy, deep-fried effect.
- Push the sections open to make them open up but be careful so you don’t tear off the sections.
- If there are still any dry spots of flour, dab or brush it with more buttermilk-egg wash.
Nutrition
