Galaxy Cupcakes – With a Trick!
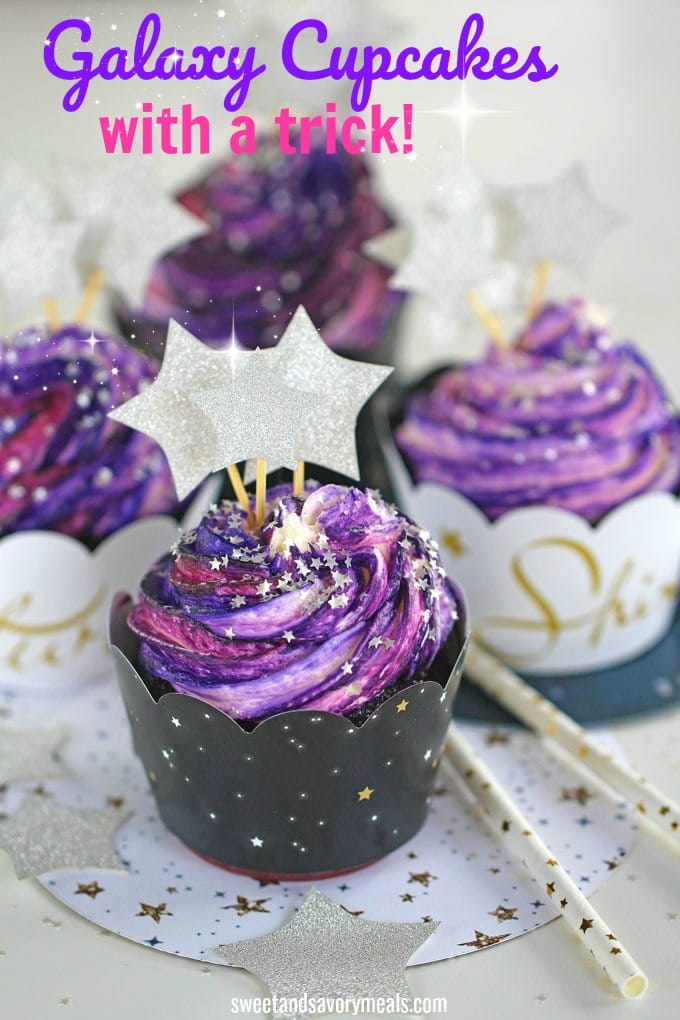
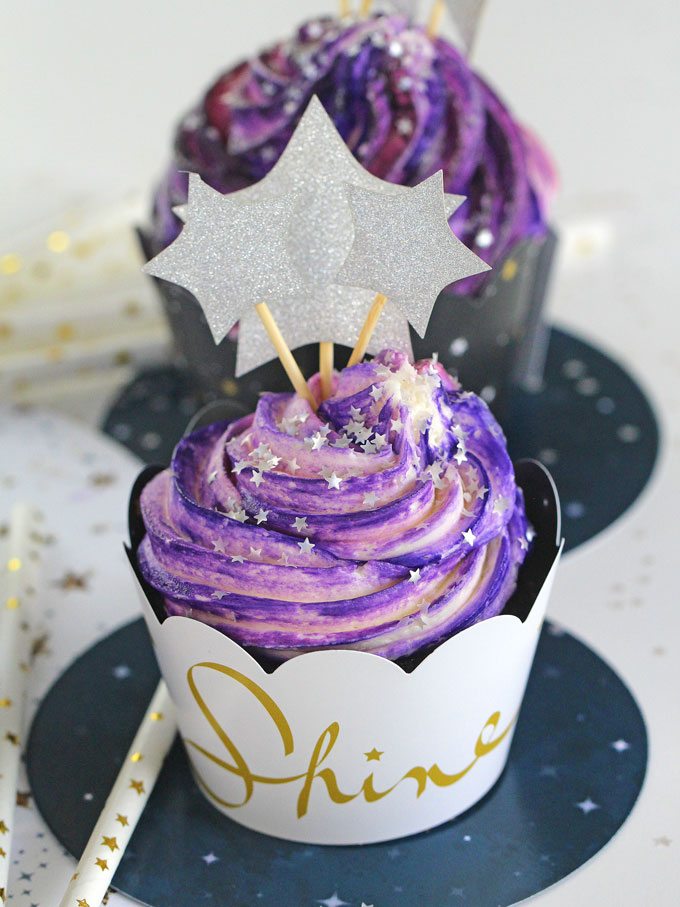
If you have seen these visually stunning cupcakes on the internet but did not want to try them because of how difficult they seemed to make, you must try this recipe! With my secret trick, you can easily make galaxy cupcakes with mesmerizing swirls of cosmic colors in just a fraction of the time with no special skills or tools. There are no extra bowls of dyed frosting to clean, and you still get the same fabulous results.
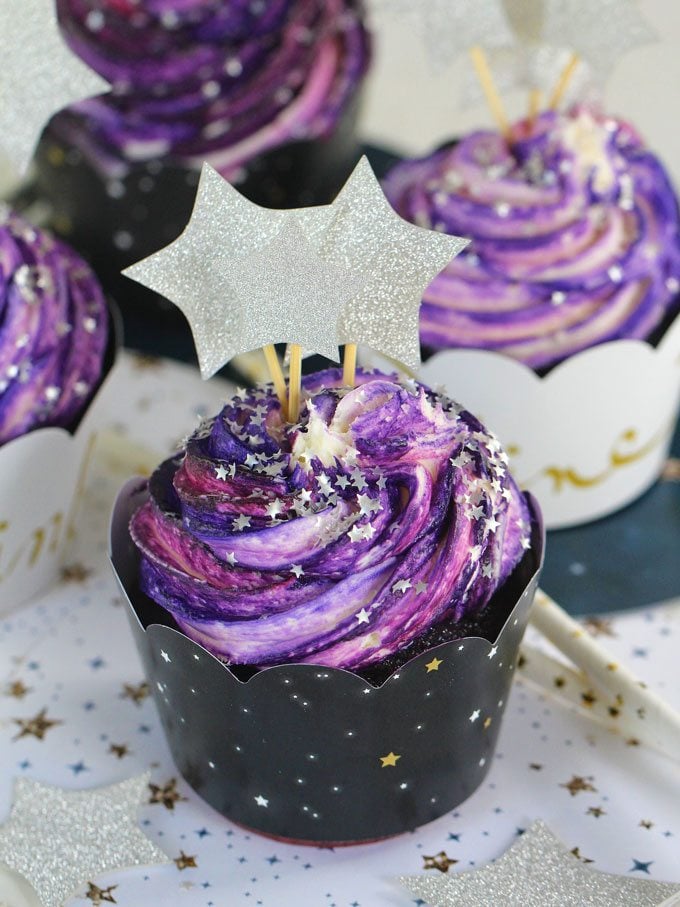
This effortless preparation and ingenious technique allow me to achieve a stunning galactic effect without the hassle of closing and layering multiple batches of buttercream. This eye-catching dessert with vibrant colors will be the star of any event! Check out my unicorn cupcakes and unicorn poke cake for more intricate-looking but deceptively easy desserts.
Table of contents
This show-stopping dessert is perfect for parties and special occasions, and the kids adore these cupcakes. Usually, making them can be a long process with many messy bowls, which is not the case here. Let me introduce Fuss-free Galaxy Cupcakes, which are a breeze to make, and you don’t have to color the buttercream.
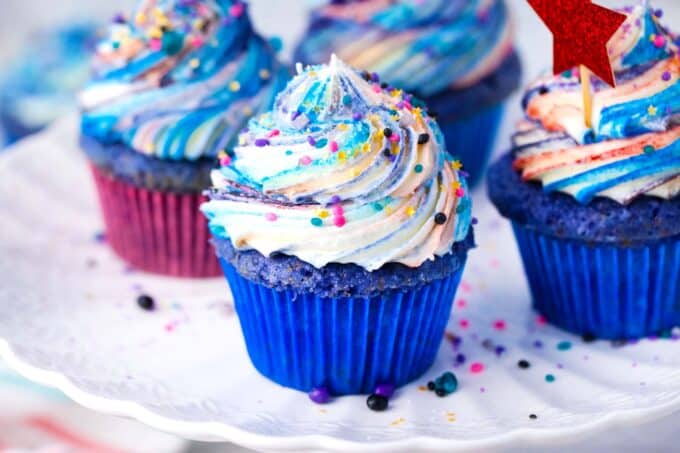
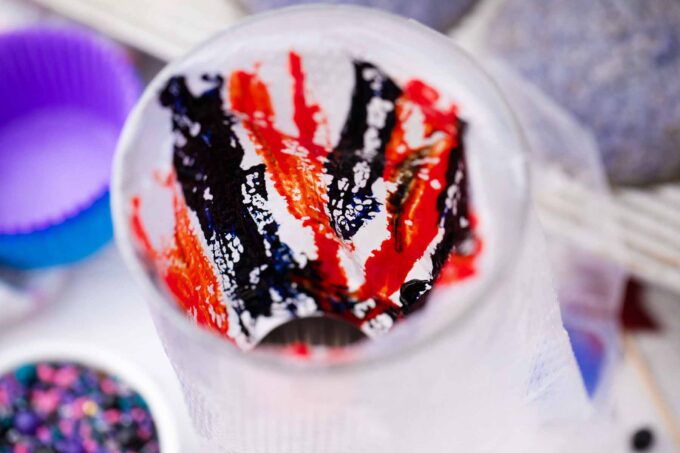
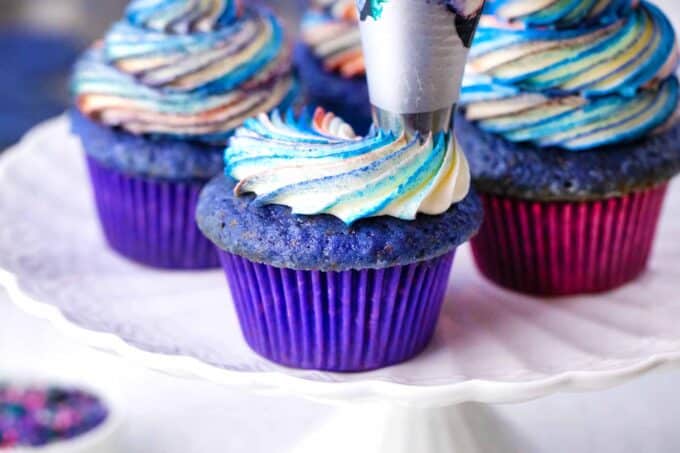
With my easy coloring trick, you do not need to dye the frosting—just the bag. You will paint the inside of your piping bag, spoon the buttercream frosting into the bag, squeeze a little bit out, and then frost the cupcakes. There is no need to make a bunch of bowls filled with dyed frosting, which makes clean-up a nightmare afterward. And they still turn out beautifully, just like the ones that others worked hours on.
Why you will love this recipe
- Don’t worry about getting dye all over: I just spread the dye on the bag and put the frosting in it.
- It is so much faster: My recipe takes just minutes instead of hours like those other recipes on the internet.
- No bowls to clean: There are no dye-filled bowls to clean afterward.
- Versatility: You can make them in any flavor or color. It does not have to be purple. Any color, such as red, blue, pink, orange, or black, will work.
What you will need
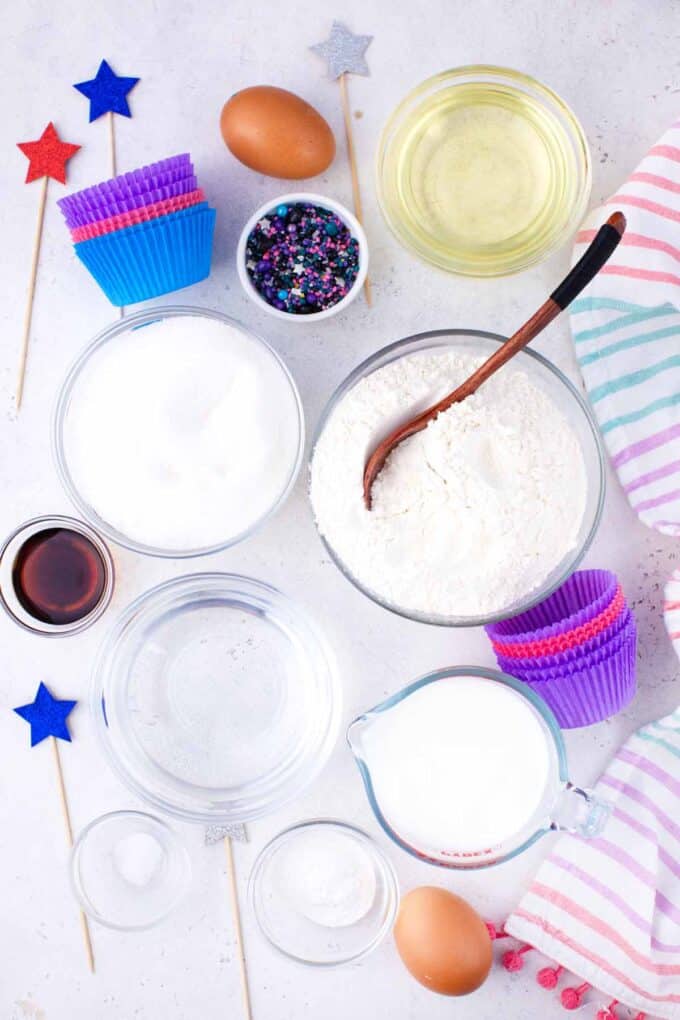
- The batter: I use all-purpose flour, white granulated sugar, baking powder, oil, eggs, milk, vanilla, and salt.
- The frosting: I use unsalted butter, powdered sugar, vanilla, and milk.
- Decorations: Gel food coloring and edible glitter stars are what I use to make these cupcakes shine.
How to make
Preheat the oven: First, I preheat the oven to 350 degrees F and place cupcake liners in a muffin pan.
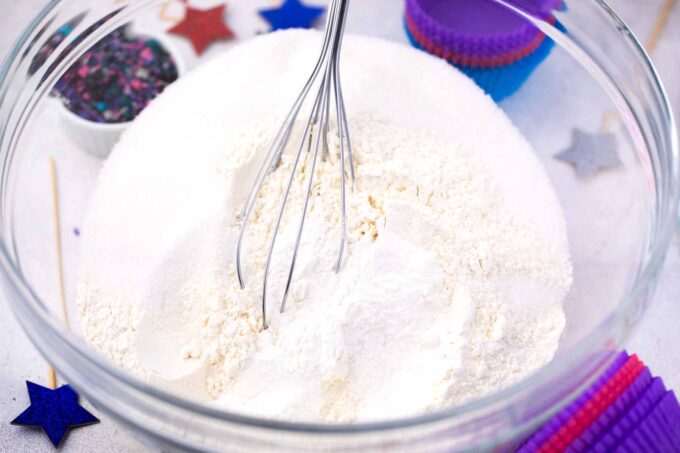
Dry ingredients: I whisk the flour, granulated sugar, salt, and baking powder in a large bowl.
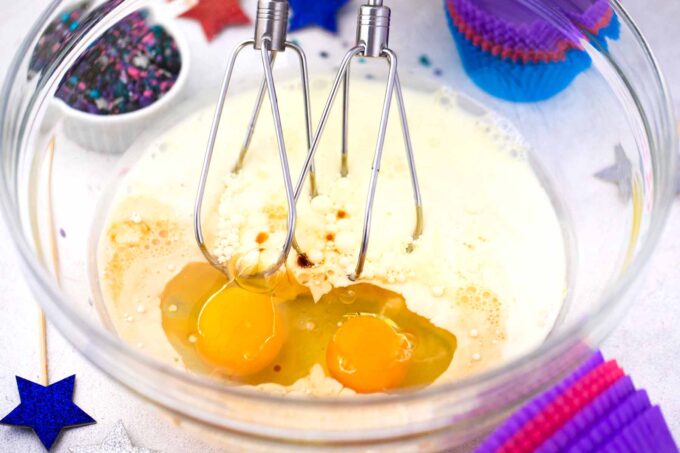
Wet ingredients: I whisk the eggs, milk, oil, and vanilla with an electric mixer for one minute on medium speed in a stand mixer.
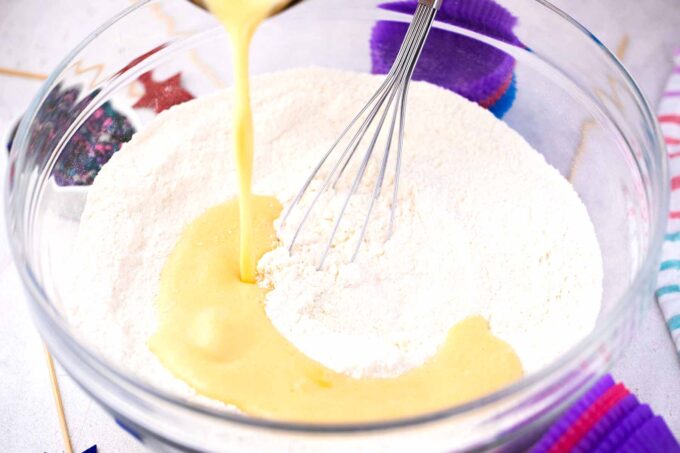
Combine: Then, I add the dry ingredients to the wet ingredients and beat until they are combined, scraping down the sides once.
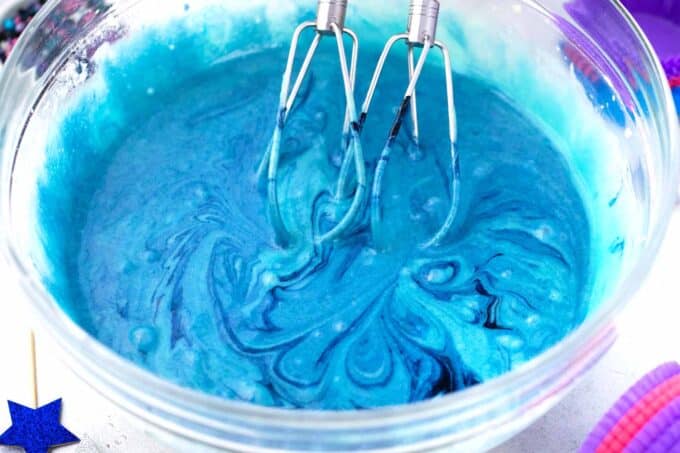
Color the batter: After switching the mixer to low, I add the food coloring and a bit of water to the batter and mix until it is combined, scraping the sides of the bowl before filling the cupcake liners a little over halfway.
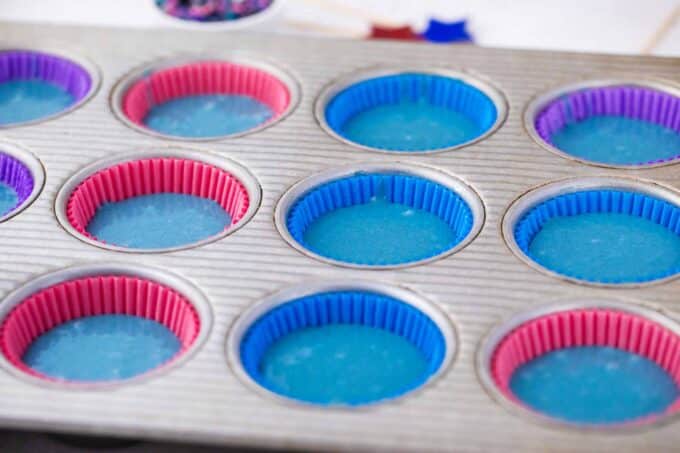
Bake the cupcakes: I bake them for 15 to 20 minutes or until a toothpick comes out clean. Mine were done after 20 minutes, but I would check them after 15 minutes to ensure they do not overcook. Then, remove them and let them cool in the pan for three minutes before letting them finish cooling on a wire rack.
Make the frosting: While the cupcakes cool, I mix the softened butter in a large bowl until smooth before adding four cups of powdered sugar. Then, I mix in the milk and vanilla. Finally, I add the remaining four cups of powdered sugar and mix until smooth.
Color the frosting: (watch my video) When ready, I cover the area with parchment paper to protect the table or counter. Then, I place the piping bag with a large star tip into a tall glass. Now, I add a few drops of gel food color to three small bowls and use paint brushes to paint each color inside the bag using three different brushes. I paint 2/3 of the bag, overlapping colors in some areas and leaving a few spots with no paint. When done, I secure the end of the bag with a clip or rubber band and squeeze out a bit before piping the cupcakes. The colors get concentrated at the tip.
Decorate, chill, and serve: Finally, after the cupcakes are cool, pipe a pretty mound of frosting on top, sprinkle on some glittery stars, and chill one hour before serving.
Expert tip
Gel food color vs liquid
Many people grew up dyeing eggs with regular Easter egg dye tablets or liquid food coloring. But with gel food coloring, I get vividly brilliant colors with just a drop or two and no unnecessary water. Traditional liquid food coloring is made of synthetic coloring with a water base. It is easy to find and cheap but weak, adding too much liquid.
The gel dye, which I use, is a thick glycerin or corn syrup base that comes out one thick drop at a time. It doesn’t take much—maybe one or two drops—because it is so concentrated. Natural food colorings are another good source for those allergic to synthetic dyes. However, they can be hard to find, expensive, and less bright than gel dye.
More tips to consider
- Do not overmix the batter; the cupcakes will not rise as much as they should.
- In a hurry? Save time by using your favorite box cake mix.
- Check your oven temperature with an oven thermometer to ensure it is cooking at the right temperature.
- Use gloves and be extra careful when working with gel food coloring. It can stain your skin, clothing, furniture, and floors.
- Do not overfill your cupcake liners, and stir with toothpicks before baking to remove bubbles.
- Let your cupcakes cool completely before frosting them.
Recipe variations and add-ins:
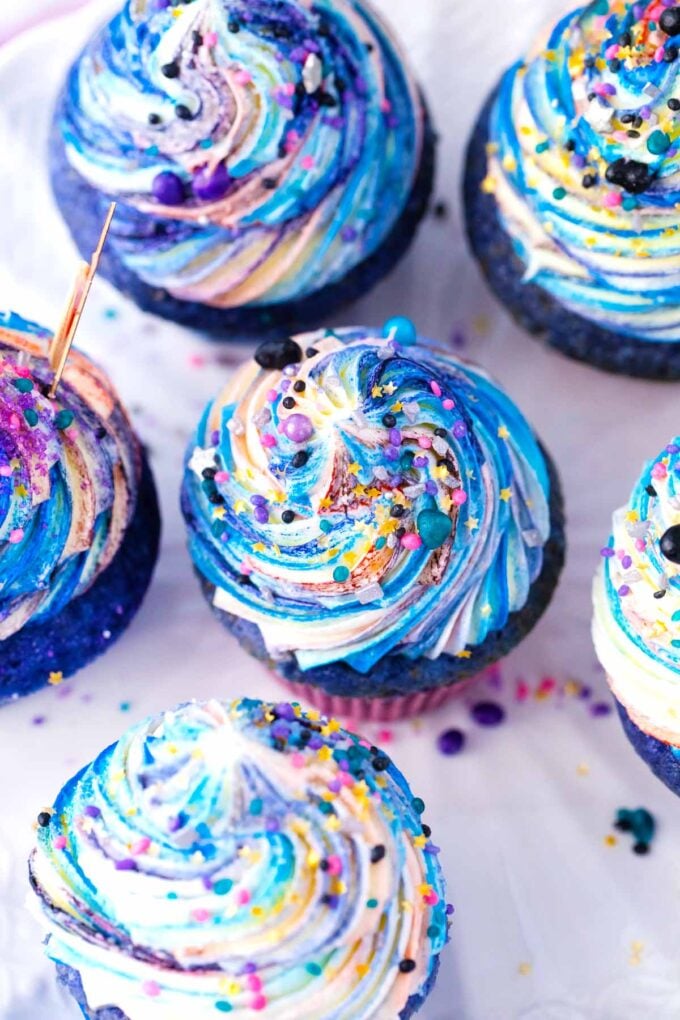
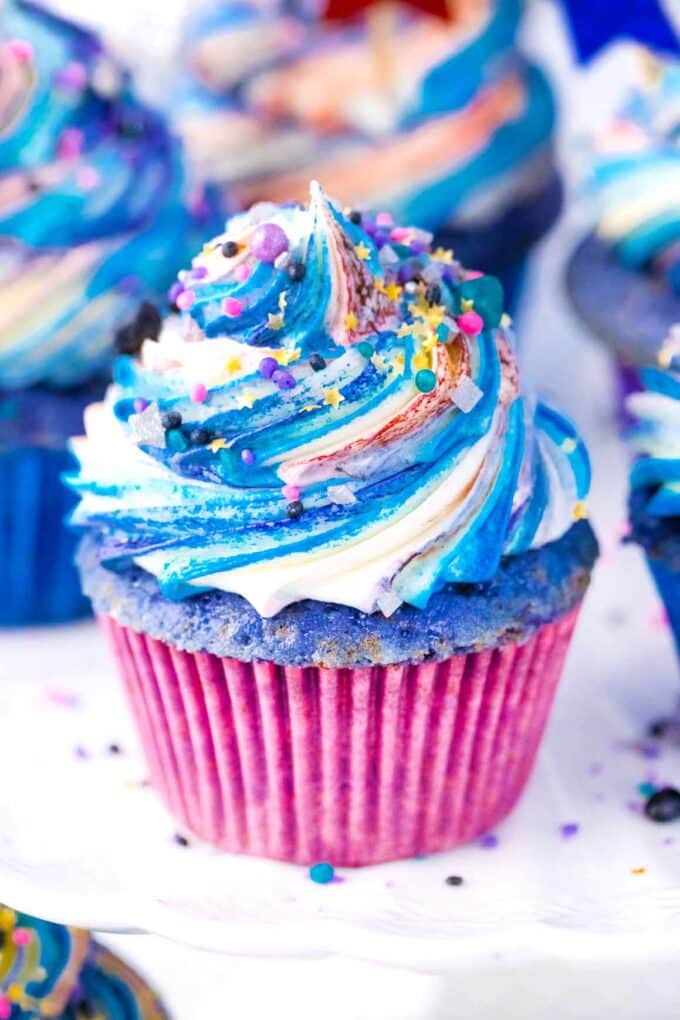
- Any color: For this galaxy theme, you can use shades of blues, greens, or pinks with black, silver, and gold. Or use any other colors you like.
- Other holidays: Make these in orange and black for Halloween or red and green for Christmas. You could also make some adorable ones in different shades of pastels for Easter.
- Different flavors: The cupcakes and frosting can be vanilla, chocolate, strawberry, lemon, butter, or whatever you like.
- Go nuts: Make your cupcakes nutty. Chop up some pecans, walnuts, peanuts, almonds, or cashews and add them to the batter or sprinkle them on top.
- Filled cupcakes: After baking, put a hole in each cupcake and fill it with lemon curd, strawberry sauce, or blueberry sauce. Then, cover it with buttercream frosting.
Serving suggestions:
These are perfect for birthday parties with my sweet and tangy strawberry sorbet or dollops of oreo fluff. To make a children’s party shine, I add more colorful treats like this purple blueberry fudge, naturally pink raspberry truffles, the crown-pleasing oreo fudge, and my easy-to-make naked purple cake.
I also add color with healthier and very pretty drinks, like this strawberry-banana smoothie. What type of galaxy-themed party can go without this stunning rainbow smoothie? These four types of fruit and veggies detox water are a great addition to keep everyone hydrated after all those delicious, sweet treats!
How to store leftovers:
- Refrigerate: Keep cupcakes unfrosted; they can be wrapped in plastic while still in the cupcake liner. Then, they will stay fresh at room temperature for two days. After two days, please keep them in the fridge for two weeks in an airtight container. With frosting, put them in an airtight container, and they will stay fresh for the same length of time.
- Freezing: To freeze, wrap in plastic, then foil, and then in a freezer-safe container for up to three months.
- Defrost: Thaw overnight in the fridge for the best taste and texture.
Frequently Asked Questions
I would not make them more than two days ahead of time. I prefer to make them the night before if I have to. Then, leave them in the cupcake liner without frosting them, wrap them tightly, and store them at room temperature. If I make them earlier than that, I would freeze them. Wrap them in plastic wrap and aluminum foil; they can be frozen for up to three months. Then, thaw them in the fridge overnight, and they can be frosted once they come to room temperature.
If the cupcakes’ tops end up gummy, there is too much sugar in them. The sugar attracts moisture and makes the tops sticky. Be sure to measure each ingredient carefully because even a bit of extra sugar can create a sticky cupcake top. In this case, it will not be a big deal since they are covered with frosting. But if the frosting is not sticking well, try sprinkling powdered sugar on them to absorb some moisture first.
If the cupcakes are frosted with buttercream (like these), they can sit out for 24 to 48 hours in an airtight container as long as they are in a cool and dark spot away from sunlight or direct heat. They should be refrigerated after two hours if they are frosted with anything that has eggs or dairy in it. Keep these cupcakes at room temperature because putting them in the fridge will dry them out.
Frosting domed cupcakes can be difficult. To prevent this, check your oven to ensure it is cooking at the correct temperature. The best way to do this is with an oven thermometer. If the oven temperature is just 10 degrees too high, it could be the difference between a cupcake that looks like a pyramid and one that looks perfect. If the oven is running hot, turn it down. Also, avoid overfilling the cups and stir them with a toothpick to prevent bubbles.
More colorful desserts:
Loved this recipe? I’d love to hear from you! 💛 Leave a 5-star rating ⭐️ in the recipe card below and share your thoughts in the comments – I read and appreciate every single one!
Let’s stay connected! Follow me on Facebook, Instagram, Pinterest, and YouTube for more delicious, sweet and savory recipes. Have a question? Ask in the comments, and I’ll be happy to help! 😊 with love Catalina!

Galaxy Cupcake
Ingredients
Vanilla Cupcakes:
- 2 1/2 cups all purpose flour
- 2 cups sugar
- 3 teaspoons baking powder
- 1 teaspoon salt
- 1 cup whole milk
- 1/2 cup vegetable oil
- 1 tablespoon vanilla extract
- 2 large eggs
- 2/3 cup water
- 1 teaspoon Metallic Silver Gel Food Color
- 1/2 teaspoon Midnight Gel Food Color
Frosting:
- 2 cups butter unsalted, room temperature
- 8 cups powdered sugar
- 2 teaspoons vanilla extract
- 3 tablespoons milk
- Violet Gel Food Color
- Rose Pink Gel Food Color
- Metallic Silver Gel Food Color
- Edible glitter silver stars
Instructions
Cupcakes:
- Preheat oven to 350°F degrees and add cupcake liners to a cupcake/muffin pan.
- Add flour, sugar, baking powder, and salt to a large bowl and whisk to combine. Set aside.
- Add milk, vegetable oil, vanilla extract, and eggs to a mixer bowl and whisk until thoroughly combined, about 1 minute at medium speed.
- Add the dry ingredients to the wet ingredients and beat until well combined. Stop once to scrape the sides and bottom of the bowl.
- Slowly, with the mixer on low speed, add the gel food color and the water to the batter and mix just until combined. Scrape down the sides of the bowl as needed to ensure everything is well combined.
- The batter is thin, so I find it easier to add it to a pancake dispenser. This makes filling the cupcake liners much easier.
- Fill the cupcake liners just a little over half and bake for 15-20 minutes, or until a toothpick comes out with a few moist crumbs, not raw batter. The cupcakes were perfectly done in my oven at the 20-minute mark. Do NOT open the oven until 15 minutes have passed. Start checking on the cupcakes at the 15-minute mark. If you are baking mini cupcakes, they may be done in 9-12 minutes; start checking after 9 minutes.
- Remove the cupcakes from the oven and allow them to cool in the pan for 3-5 minutes. Then, transfer them to a cooling rack to finish cooling.
Frosting:
- Add butter to a large mixer bowl and mix until smooth.
- Add 4 cups of powdered sugar and mix until smooth.
- Add the vanilla extract and milk and mix until smooth.
- Add the remaining 4 cups of powdered sugar and mix until smooth.
Assembling:
- Start by preparing your work area. Gel food color can easily stain your working surface, so cover it with parchment paper or plastic wrap.
- Fix a piping bag with a large star tip or any other piping tip you like. Place the bag inside a tall glass and slightly turn it inside at the opening.
- Add a few drops, about 1/2 teaspoon of gel food color, to 3 small bowls, and paint the gel food color inside the pastry bag using three different coloring brushes.
- I recommend overlapping colors in some spots and leaving a few tiny uncolored spots in some places to add a more concentrated layer. I recommend coloring 2/3 of the pastry bag.
- Having the bag in a tall glass makes handling it much easier. Any excess gel food color will drain to the bottom, making adding the buttercream even easier.
- Fill the pastry bag 2/3 with buttercream and secure it with a pastry bag ring/elastic.
- Pipe a little and dump, as the color will be very concentrated at the tip.
- Pipe the buttercream onto the cupcakes and decorate with edible glitter silver stars.
- Refrigerate the cupcakes at least one hour before serving. Store in the refrigerator for 3-4 days. Enjoy!
Video
Notes
Gel food color vs liquid
Many people grew up dyeing eggs with regular Easter egg dye tablets or liquid food coloring. But with gel food coloring, I get vividly brilliant colors with just a drop or two and no unnecessary water. Traditional liquid food coloring is made of synthetic coloring with a water base. It is easy to find and cheap but weak, adding too much liquid. The gel dye, which I use, is a thick glycerin or corn syrup base that comes out one thick drop at a time. It doesn’t take much—maybe one or two drops—because it is so concentrated. Natural food colorings are another good source for those allergic to synthetic dyes. However, they can be hard to find, expensive, and less bright than gel dye.More tips to consider
- Do not overmix the batter; the cupcakes will not rise as much as they should.
- In a hurry? Save time by using your favorite box cake mix.
- Check your oven temperature with an oven thermometer to ensure it is cooking at the right temperature.
- Use gloves and be extra careful when working with gel food coloring. It can stain your skin, clothing, furniture, and floors.
- Do not overfill your cupcake liners, and stir with toothpicks before baking to remove bubbles.
- Let your cupcakes cool completely before frosting them.

Wow! These are so pretty (purple is my favorite)! Love them!
These are SO COOL! I can imagine they’d go over beautifully at a birthday party!
I volunteered to make unicorn cupcakes for a 1st birthday party (because I’m nutso), & I’m wondering how the gel coloring does on the cake after it sits overnight? And is there a taste to it? Thank you for a great tutorial!
There is no change in the gel food color after it sits overnight, and there is also no taste to it, thats why I like it 🙂 however, it can be messy, so don’t let children walk around the house while eating these 🙂
Your trick for making the frosting is brilliant, and I absolutely love that edible start glitter!
What a gorgeous cupcake…you are really good at decorating them :-).
Wow these cupcakes are SO amazing!! You’ve done an awesome job decorating them!!
Now that is a cool cupcake!
This frosting technique is fascinating to me! These are so fun!!
Adoring the shading in this cupcakes. How creative!
These are “out of this world” cool!
Could you use regular food coloring brand Mc Cormick? what is the difference if I want to use regular colors? thank you
Regular food coloring is very watery, it won’t stick to the bag in the same way. I only do this recipe with gel food coloring, you can try a small batch and see how it works with regular food coloring.
Hi!
I was wondering if you recommended specific tools for icing the cupcakes or where to find them? There’s so many options (esp on amazon) I just don’t know where to start! Your cupcakes are awesome btw!
Thanks!
Hi Amanda, I have provided the link in the post to the tools used. please let me know if you are still not sure. thanks
I loved how you colored the frosting! These cupcakes turned out super cute! i’m planning a galaxy party for my daughter who is turning two.. Can’t wait!
Oh my, these cupcakes are too beautiful to eat! But they don’t stand a chance with my son. I don’t bake a lot so I appreciate that your tips on how to make these yummy treats are easy to follow. I can’t wait to make a batch with my son. I already know what color he wants the frosting!
Maureen | http://www.littlemisscasual.com
These cupcakes are so pretty! I love the look of the frosting, and I can already tell that I can change the colors to fit into holidays and special occasions.
I know I’m a full-grown adult, but I would love it if someone made me cupcakes that were this cool, haha! What a gorgeous, galactic design.
These cupcakes are out of this world (pun definitely intended)! What a cool design; they’d be perfect for a space-themed party, or even “just because”!
These are so cool, and my kids would love them. They look so pretty, almost too pretty to eat…..nope lol
These cupcakes are such a lovely idea and look pretty awesome. I do love the colouring. they would be perfect for my little boys birthday party. All the kids will love them x
These cupcakes are out of this world…literally! I love the purple with the stars, and that swirl effect is so cool. Can’t wait to try it with my nieces!
Oh my goodness, I would love to have these cakes for my birthday next month! They are stunning.
These galaxy cupcakes are out of this world! The technique for the frosting is a game changer ✿ 𝒦𝒶𝓉
Oh my gosh these look absolutely amazing! Love a yummy cupcake so I’m going to have to try these out Mel W xx
The cupcake looks so great and unique. Thanks for sharing how this to be done because I want to make it and present it to my family for a snack.
I am throwing a magic/ mystery theme birthday party next week, and these galaxy cupcakes are perfect. Your galactic effect is awesome. Thank you for sharing your easy coloring trick. Can’t wait to try it.