Perfect Dry Brined Turkey Recipe
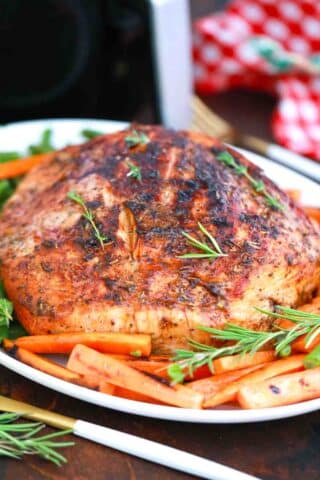
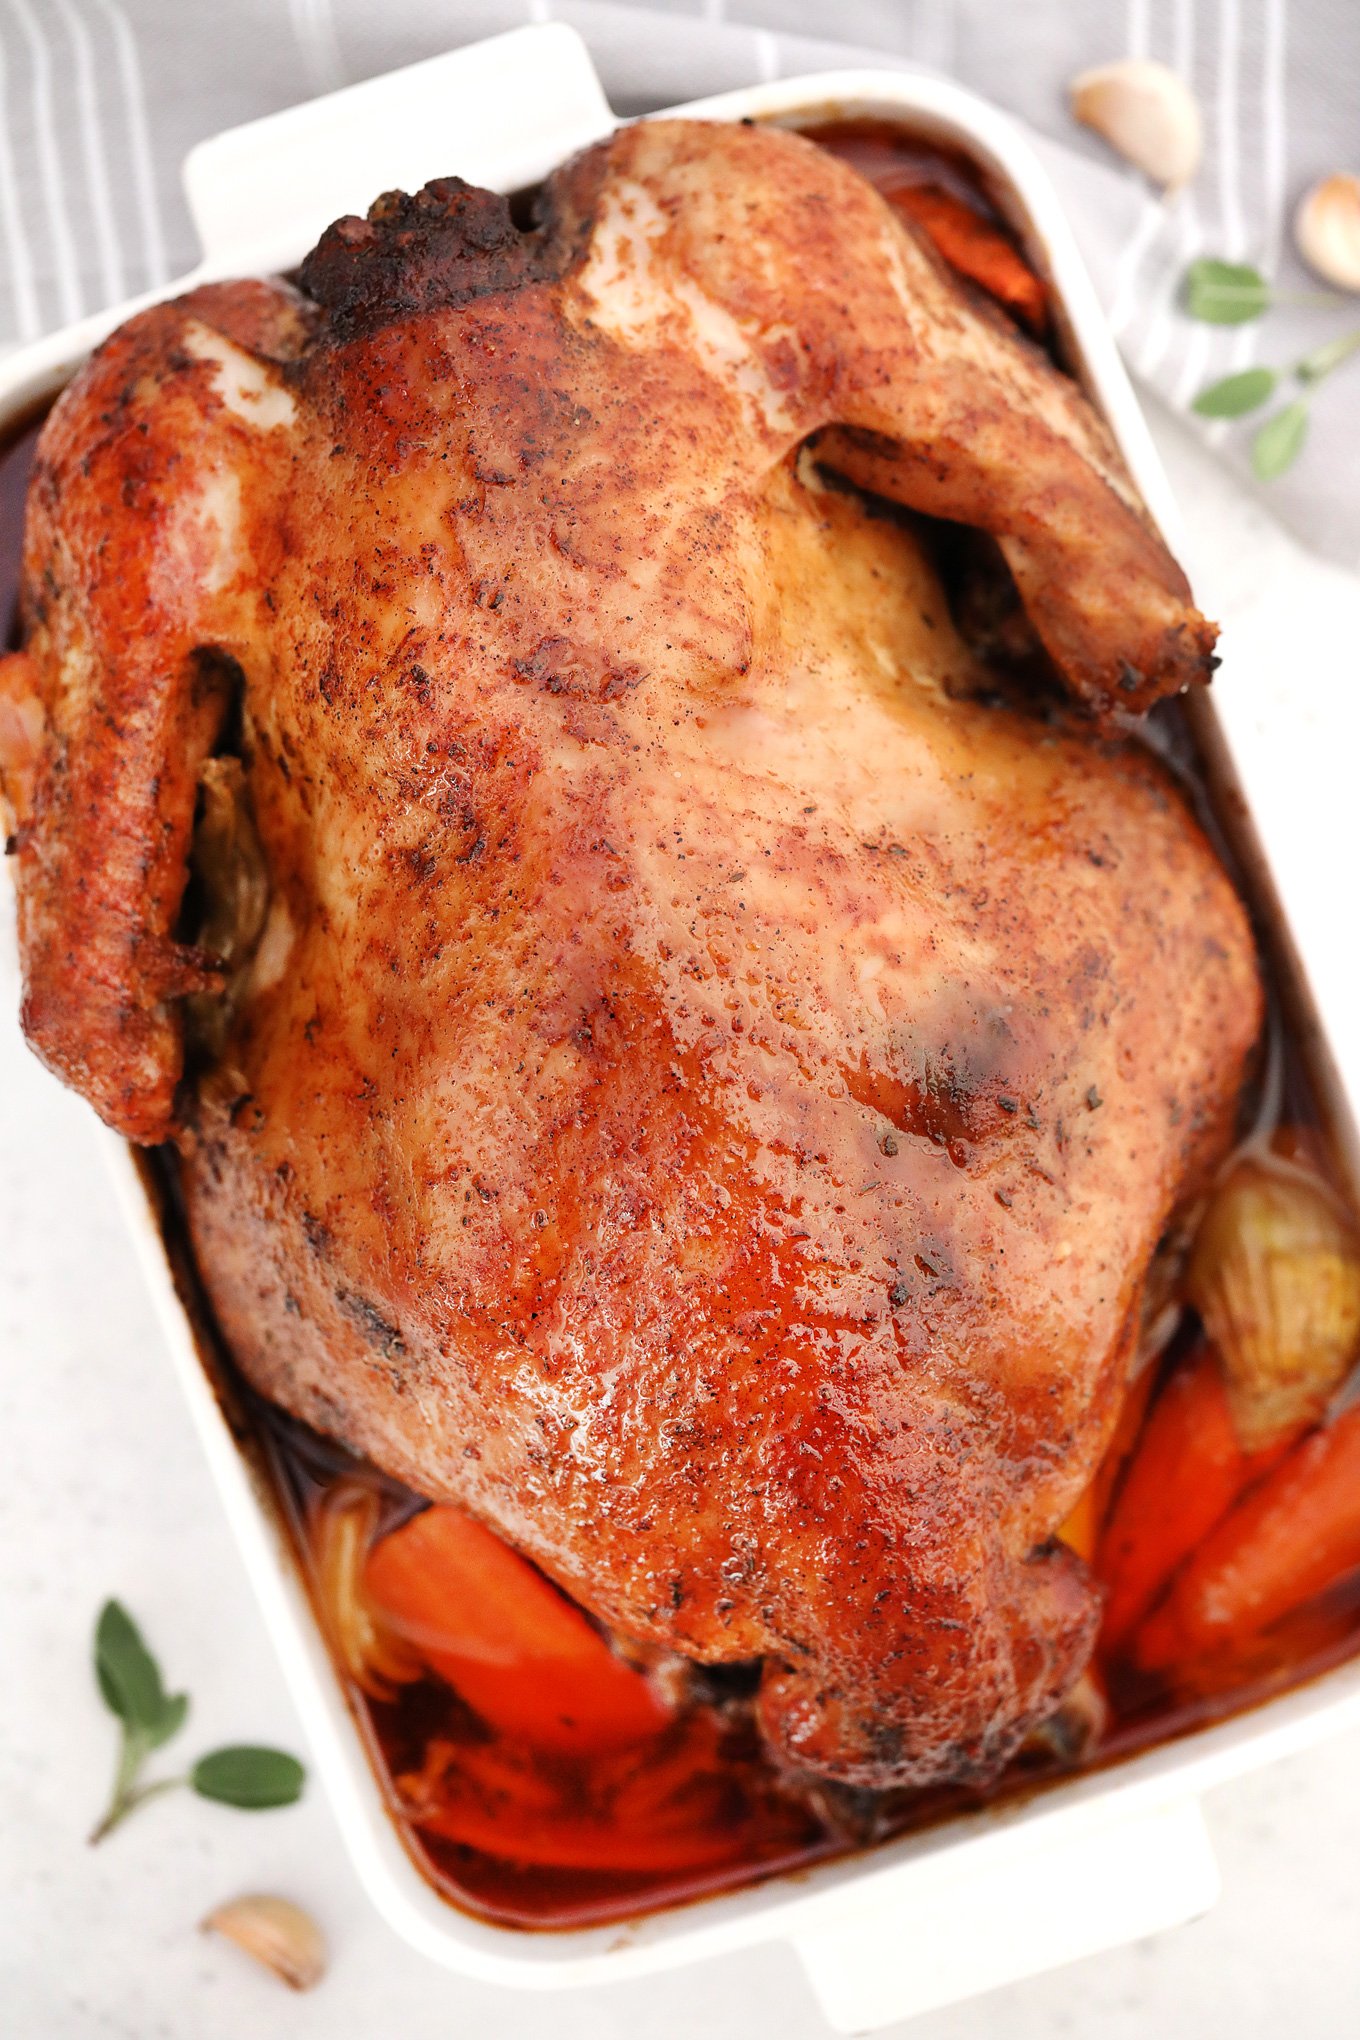
Dry Brined Turkey is incredibly easy to make with some planning; it has the most tender and moist meat and the crispiest skin!
I am a fan of dry brining my turkey rather than soaking it in liquid. I like to make my brine a salty mixture with fresh citrus zest and herbs for extra flavor. Dry brining has a much more intense taste. That is why I suggest this recipe to get the most amazing flavor from your turkey this year.
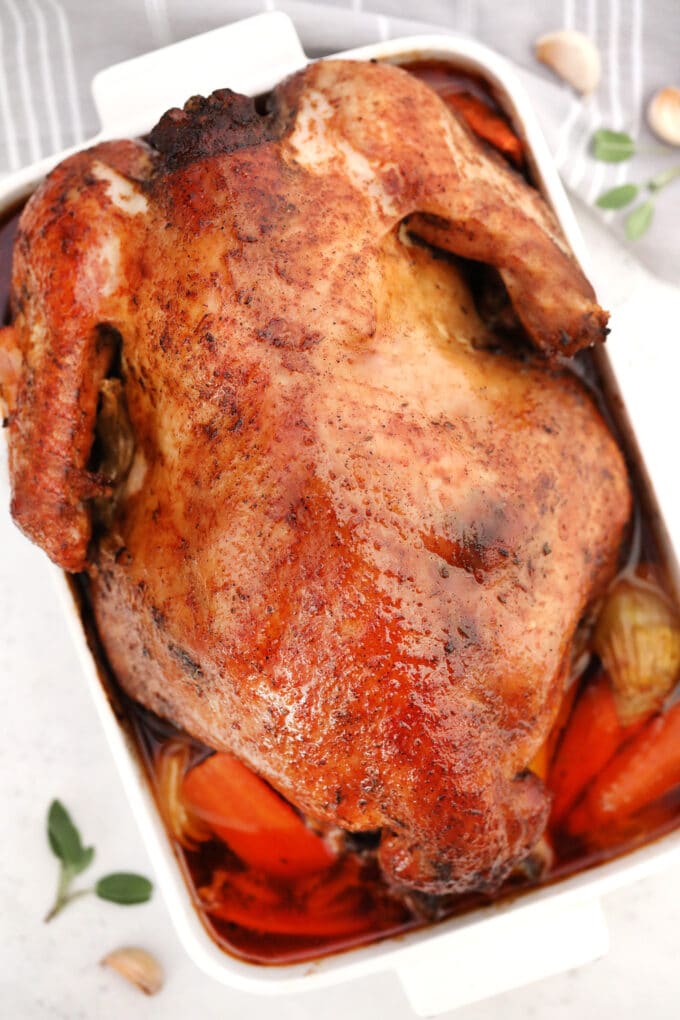
Table of contents
I am here to convert you to choose to dry brine the turkey for your next Thanksgiving get together! I adore this specific method because it is easy to prepare without skimping on flavor. The whole preparation makes the meat super tender and moist at the same time.
One of the best things about my dry brined turkey recipe is how easy it is and how flavorful. If you ask me, I prefer this method instead of the liquid brine.
Dry brining is not as intimidating as liquid brining, it takes less space, and effort. It does NOT dilute the natural flavors that the turkey has, but it enhances them, and adds more, based on the used ingredients.
I have concocted a recipe that is simple yet delicious, with herbs, orange and lemon zest, that produces tender and succulent meat, and a unbelievably crispy skin.
I guarantee this is going to be the best turkey ever. Serve it with some slow cooker mashed sweet potatoes, your favorite vegetables, and my easy crockpot stuffing.
What is a dry roast brine?
Brining is a technique wherein you allow the salt to infuse the meat. In so doing, the juices are sucked out and are replaced with flavors from the mixture. There is no water involved. Instead, the mixture is directly rubbed on the surface of the meat. It is more like a dry rub. Dry brining not only infuses flavor, but it also helps with tenderizing the meat. Also, as a bonus, this technique keeps the skin crispy upon cooking.
Why you will love this recipe
- It fills the turkey with flavor: No other method gives more flavor, while keeping the meat juicy and the skin crispy.
- The easiest method I know: I think this is the easiest method of how to season a turkey there is. Just rub under the skin and let it chill in the fridge.
- Takes less space: Liquid brining a turkey takes way more space than dry brining.
What you’ll need to make dry-brined turkey
Special items
- Roasting pan – For brining as well as roasting the turkey.
- Rack – To keep the turkey off the vegetables in the pan.
- Bowls
- Cooking utensils
Ingredients:
- Turkey – I use a 16 to 20-pound turkey for my family. Be sure not to get kosher or pre-salted turkey or anything that says infused or injected. Anything that has been seasoned or injected with anything will probably have salt in it and will be too salty.
For the brine:
- Orange zest – To add a fresh and bright citrusy taste that blends well with the other herbs. Zest your own orange for the best flavor.
- Lemon zest – Lemon zest also enhances the taste of the turkey with a natural kick of tangy citrus oil.
- Dried Italian herbs – These can be bought from the store already prepared or make your own with my easy recipe. My Italian seasoning recipe has just seven ingredients and lasts for months.
- Smoked paprika – Gives the turkey a sweet and smoky taste without any added saltiness.
- Sage – This unique piney herb has hints of eucalyptus and lemon in an earthy background.
- Rosemary – It blends well with sage due to its earthy taste, it also has lemon pepper, and sage flavors.
- Thyme – Floral and sometimes citrusy, thyme is similar to rosemary and lavender but also has some minty flavor.
- Kosher salt
- Pepper
For roasting:
- Red onion – I prefer red for its crisp bite and tangy kick. Peel it and cut it into quarters.
- Garlic – Peeled and smashed for extra robust flavor.
- Carrots – Cleaned, peeled, and roughly chopped for a mildly sweet and fruity flavor.
- Celery – I love the crisp and grassy taste that celery adds to this turkey dinner.
- Parsnip – The sweet and nutty parsnip is a delicious addition to this dish.
- Chicken broth – To add flavor to the dish. I use low-sodium organic broth, so I do not add any more saltiness or additional preservatives.
- Melted unsalted butter – Be sure to use unsalted butter because your turkey does not need any more salt.
How to make dry-brined turkey?
- Prep the turkey: After thawing, remove the neck and giblets from the cavity and discard any plastic or pop-up thermometer that has been added to the turkey. Rinse it under cold running water and pat it dry with paper towels inside and out. Gently, loosen the skin over the breast.
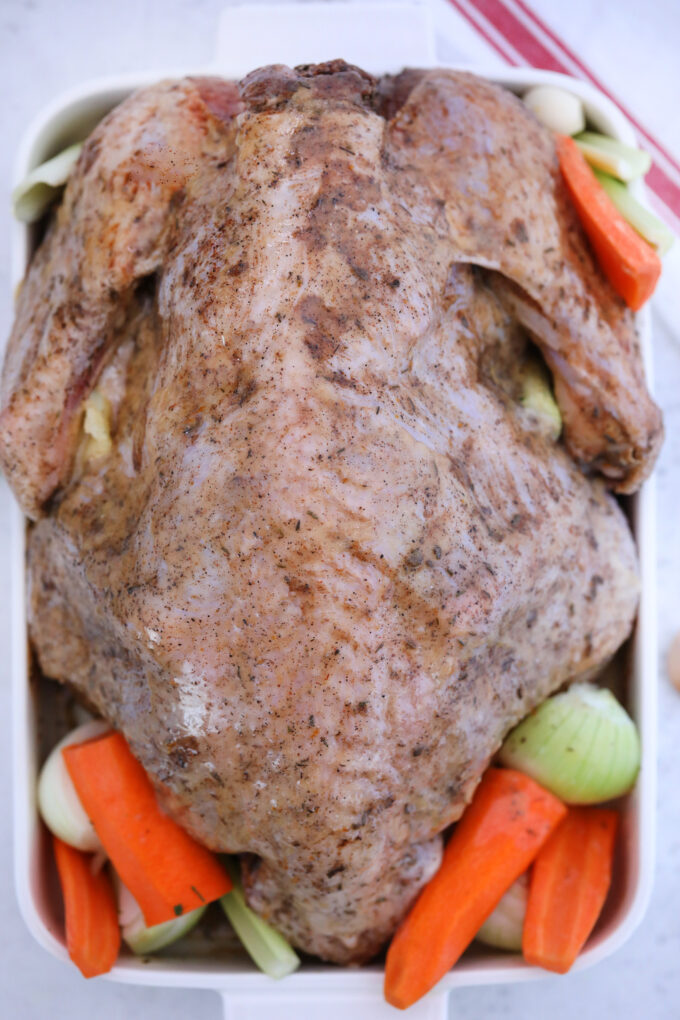
- Mix the brine: Now, mix all of the brine ingredients in a small bowl and rub one tablespoon of it into the cavity. Then, rub two tablespoons of it under the skin over the breasts, and rub the rest of it all over the bird.
- Chill the turkey: After, place the turkey in a pan that it fits in snugly. Wrap it in plastic so there is little to no air inside. Chill for 48 to 72 hours. Then, uncover and chill for another 12 hours. Let it come to room temperature for one hour before roasting it.
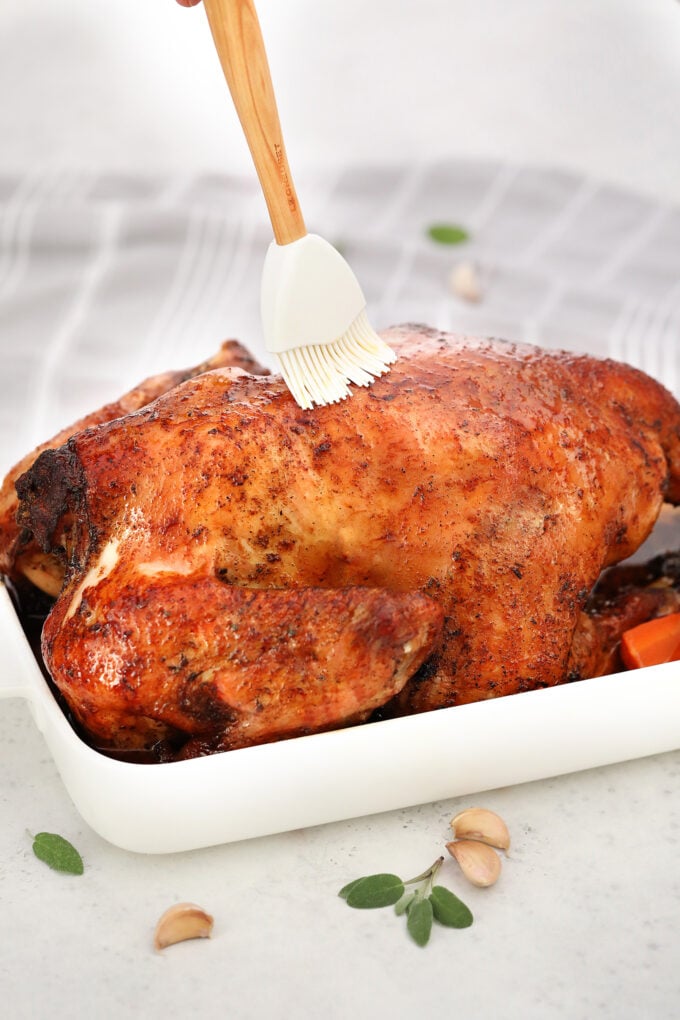
- Get it ready: When ready to roast, preheat the oven to 425 degrees F and put an oven-safe meat thermometer under the drumstick. Then, add the vegetables to the bottom of a roasting pan and add a cup of broth. Place the rack inside and put the turkey breast side down. Brush with melted butter and roast for one hour.
- Bake it: Next, turn down the oven to 325 degrees F and turn the turkey over to cook for another two to two and a half hours. It should be 155 degrees F when it is done. The temperature will continue to rise to the safe temperature of 165 degrees F as it rests.
- Rest and serve: Finally, let the turkey rest for about 30 minutes before serving.
Expert tip
Carving a turkey
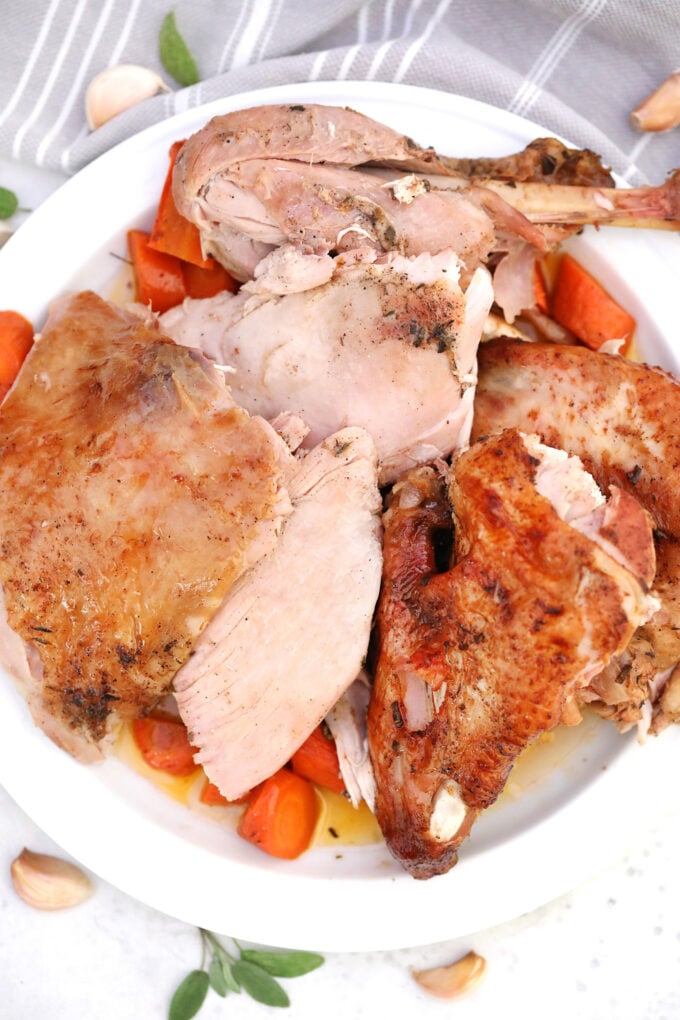
The first thing to do before you start carving up that stunning roasted turkey is to let it sit for about 30 minutes to rest. This will settle the juice and let the meat rise to the proper temperature. Then, be sure to have a very sharp large knife. It does not have to be a boning knife or a carving knife. Place the turkey on a cutting board with the legs facing forward and the cavity facing down.
Remove the kitchen twine holding the legs together and cut through the skin and the joint at the thigh to separate the leg from the body. Keep it at an angle toward the bone as you cut. When the knife hits the bone, use your hands to bend it backward until it pops and the joint can be seen. Then, slice through the joint to separate the leg and thigh from the spine.
Do the same with the wings. Pull them back until they pop. Then, slice through the joints. After, make a long cut along the breastbone following the curve, pulling the meat away as you go. Repeat on the other side. At this point, slice the white and dark meat, separate the drumsticks, and serve warm with your favorite side dishes.
Recipe variations and add-ins:
- Mediterranean brined: Instead of Italian seasoning use some saffron, coriander, dill, and cumin to make your brine more Mediterranean.
- Taco style: Another way to change things up, use my homemade taco seasoning instead of Italian herbs.
- Extra spicy turkey: When roasting, sprinkle with sriracha sauce and add some red pepper flakes to the brine for an extra spicy Thanksgiving dinner.
- More vegetables: Feel free to add more vegetables to your dish such as potatoes, brussels sprouts, mushrooms, and broccoli.
- Add some fruit: You can even add some fruit with the vegetables. Some popular choices include oranges, apples, pears, and lemons.
- Sweeten it up: I sometimes make my turkey sweeter by adding a quarter cup of brown or white sugar to the brine.
Serving suggestions:
- One of my family’s favorite side dishes with this turkey is my sweet potato casserole or apple butternut squash casserole.
- Speaking of vegetables, turkey goes with just about any veggies from carrots to zucchini.
- This cranberry relish is another great dish to serve with dry-brined turkey. With just a few ingredients, it is so easy and tastes incredible with meat and veggies.
- For dessert, the perfect accompaniment would be this creamy sweet potato pie or classic pumpkin pie with a buttery crisp crust.
- The best wine I enjoy with this turkey is Zinfandel, Viognier, or Grenache.
Frequently asked questions
Do I have to use coarse salt?
If table salt is used instead of coarse salt, your turkey will become too salty. In fact, my recipe calls for coarse kosher salt because it is pure and consistent. It has large crystals sit on the meat instead of dissolving right away. It also sticks better and does not clump. Sea salt can also be used but it is only sometimes consistently sized and can have additives for non-caking. Table salt is a last resort. If using it, only use one and a half tablespoons instead of three.
Is dry brining better than wet brining?
They both have their pros and cons. It depends on the circumstances. Dry brining takes up the least space and it gives the turkey the most intense flavor, but it also takes the longest. Wet brining infuses more moisture, but it takes up a lot of space and can make the turkey taste watered down. Dry brining definitely gives the turkey crispier skin as soaking it in liquid tends to turn the skin a little rubbery. Dry brining is also easier, but it takes longer to infuse the flavor. I prefer a dry brine because I love the ease of it and how much flavor it adds.
Can I inject a dry-brined turkey?
I would not recommend injecting a dry-brined turkey if it has any salt in it. If a turkey is properly brined, it will not be too salty, but it does add salt to the meat. That means that any kind of salty ingredient added will cause the bird to be too salty. However, you can inject unsalted butter, olive oil, or honey, as well as balsamic vinegar, citrus juice, or spices like cinnamon, nutmeg, and ginger.
How to store:
- Refrigerate: After the turkey cools completely, place it in airtight containers or sealable baggies. I prefer to keep my white and dark meat separate but that is up to you. Then, it can be refrigerated for up to five days.
- Freezing: Make sure the container is freezer-safe, and it can be frozen for up to three months.
- Defrost: Thaw in the refrigerator overnight for the best taste and texture.
- Reheating: Depending on how much is being reheated, you can reheat it in the oven at 375 degrees F for 10 minutes or in the microwave for one to two minutes.
More Thanksgiving recipes:
Recipe tips:
- Do NOT dry brine a pre-basted turkey, because you cannot simply know how much salt it already has. It is best to use an unsalted bird for this recipe so always check the label. If it has salt in it, better don’t use it.
- Using kosher salt is the best way to dry brine a turkey because it is large, consistent, flat pieces that sit on top of the meat and stay there without dissolving right away.
- Sea salt is okay to use as well, but it has added chemicals to prevent clumping and is not consistent in size.
- Table salt is not good because it is so fine-grained. However, if that is all you have, make sure to use only half of what the recipe calls for.
- Thawing the turkey at five pounds per 24 hours is the safest method.
- I prefer dry brining because it is easier, makes and provides an intense taste. However, it does take longer.
- If you are planning to inject the turkey, do not use anything with salt in it. The brine is already full of salt.
Dry Brined Turkey
Ingredients
Dry Brine:
- 16-20 lb turkey fresh or frozen – do NOT use brined turkey or pre-salted
- 3 tablespoons kosher salt
- 1 tablespoon ground black pepper
- 1 tablespoon dried thyme
- 1 tablespoon dried rosemary
- 1/2 tablespoon dried Italian herbs
- 1/2 tablespoon dried sage
- 1 teaspoon smoked paprika
- 1 tablespoon orange zest
- 1 tablespoon lemon zest
Roasting:
- 1 red onion quartered
- 6 cloves garlic peeled and smashed
- 2 carrots cleaned and roughly chopped
- 3 stalks celery roughly chopped
- 1 cup parsnip cleaned and roughly chopped
- 1 cup chicken broth
- 1/2 cup unsalted butter melted
- 16-20 lb turkey dry-brined
Instructions
Dry Brine:
- If the turkey is frozen, plan in advance time to thaw it.
- Remove the giblets and neck from inside the cavity and discard any plastic or pop-up thermometers that have been added to the turkey.
- Rinse well under cold water and pat dry using paper towels, inside and out.
- Gently, try to loosen the skin over the breast and separate it from the meat, trying to keep the skin intact.
- In a small bowl, combine all the BRINE ingredients and stir well.
- Rub one tablespoon of the BRINE mixture into the cavity, two tablespoons under the skin over the breasts, and the remaining BRINE mixture all over the bird.
- Place the bird breast-side up in a roasting pan and cover tightly with plastic wrap, removing as much air as possible. The bird should be sealed under the plastic wrap. Refrigerate for 48 to 72 hours.
- After that, uncover the bird and refrigerate for another 12 hours.
- Let the turkey come to room temperature for 1 hour before roasting it.
Roast:
- Preheat oven to 425 degrees F.
- Add the prepared veggies to the bottom of a roasting pan and distribute evenly.
- Add 1 cup of chicken broth.
- Add the rack and place the turkey on top, breast side down.
- Brush the bird with melted butter and roast for 60 minutes.
- Decrease oven temperature to 325 degrees F.
- Carefully turn the turkey breast side up to continue cooking, which will take about another 2 hours for a 16-pound turkey and about 2 1/2 hours for a larger bird. The turkey should reach an internal temperature of 165 degrees F for the breasts and 175 degrees F for the thighs.
- Remove from oven and let the turkey cool for about 40-60 minutes before carving.
- Slice and enjoy!

