Last updated on June 5th, 2024 at 01:29 pm
Jump to RecipeOreo Brownies Recipe [Video]
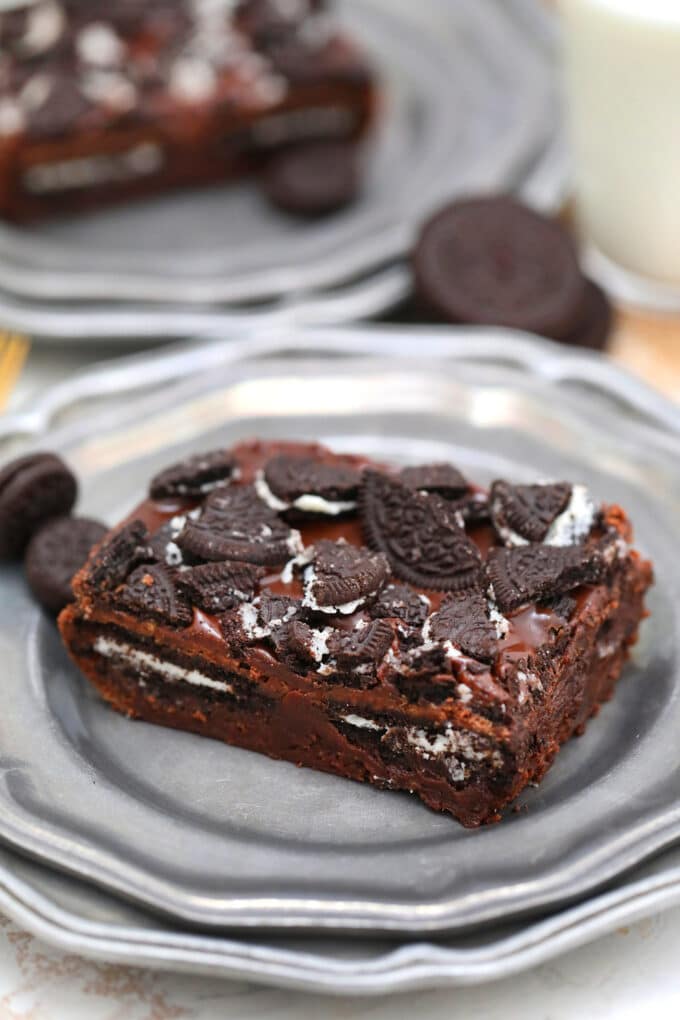
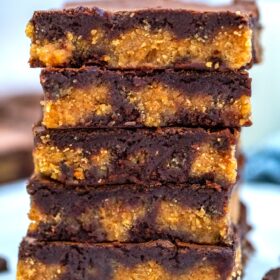
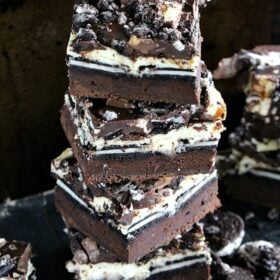
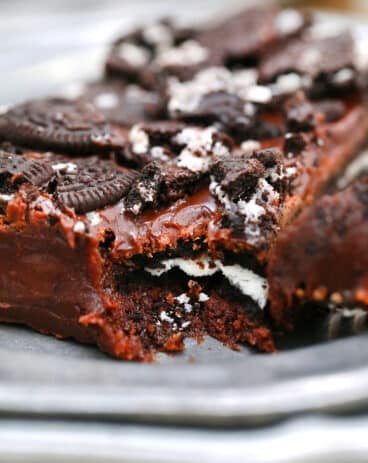
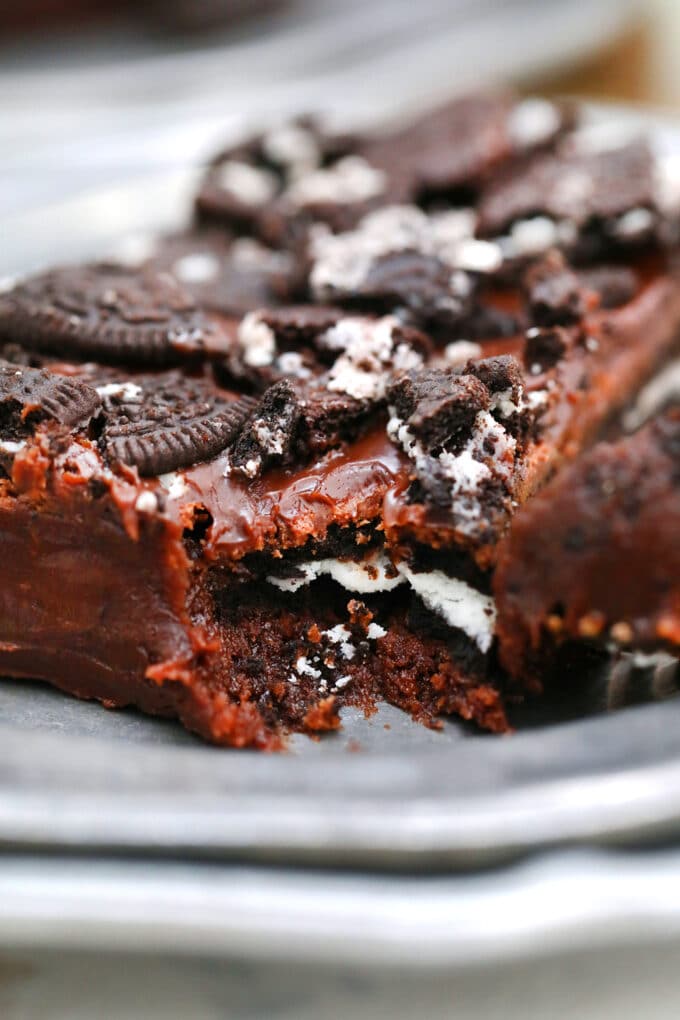
Oreo Brownies are so fudgy and chocolaty, stuffed with Oreo cookies, topped with chocolate ganache, and more chopped Oreos. This is the ultimate sinful dessert, that is incredibly easy to make and ready in just 30 minutes. Really, I dare you to try it, the recipe is foolproof and kids and adults love it alike. You decide how to serve it, with a cup of milk or a dollop of ice cream, either way, it will taste fantastic!
Oreo Stuffed Brownies
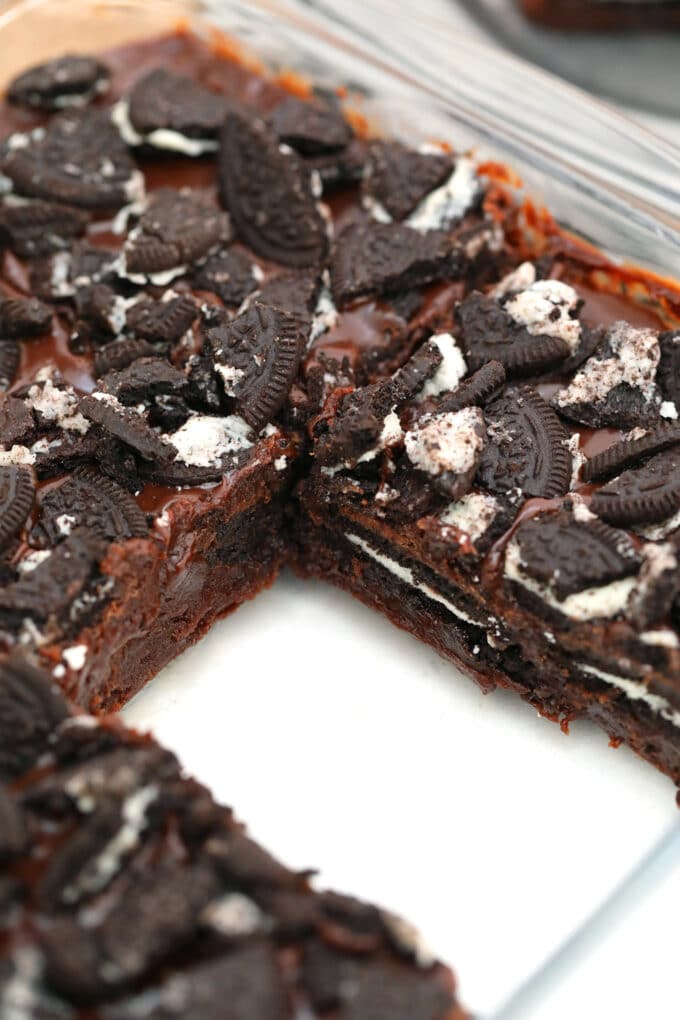
If you like brownies and Oreo Cookies, you HAVE to try this recipe! The fudgy moist brownies are stuffed with Oreos, and topped with rich chocolate ganache and chopped Oreos. If that didn’t blow your mind and diet (I am sorry), I don’t know what type of person you are (just kidding, kind of).
The best part is that this brownie recipe is easy to make with just a handful of common ingredients. They only take 10 minutes to whip and 20 minutes to cook! Serve them for an afterschool snack or a quick yet fantastic dessert at tonight’s dinner. They will not last long though so you might want to make extra. You can always freeze any leftovers.
The rich Oreo cookies and moist brownie batter go together like peanut butter and jelly! Seriously, this easy dessert is pure food for the soul. Try these Oreo brownies with a dollop of my homemade whipped cream or just top a hot slice, right out of the oven, with some vanilla ice cream. Close your eyes and just enjoy every bite.
It is no secret that I adore sweets! I have many dessert recipes that are so simple that you can make them in just under one hour at home. This recipe is just one of those and if you are on the lookout for more, then, my No-bake M&M’s Pie, and Red Velvet Cheesecake Bites should be on your must-try list!
What you’ll need to make Oreo brownies:
items:
- A baking pan – I used a 9-inch nonstick baking pan for these.
- Mixing bowls – Several sizes for different uses.
- A whisk – This is my favorite tool in the kitchen, especially for mixing dry ingredients or whipping cream.
- A wooden spoon – So you don’t scratch the bowls and pans.
Brownie layer:
- Sugar – Use white granulated sugar for the perfect taste and texture.
- Butter – I use unsalted butter. If you use salted butter, omit the salt from the recipe.
- Chocolate – Use the best baking chocolate you can find to get the most delicious flavor.
- Eggs – Make sure your eggs are warmed to room temperature, so they blend better.
- Vanilla – Only use 100% pure vanilla extract for a clean, refreshing vanilla taste.
- Flour – I used all-purpose flour, but you can use what you like to bake with.
- Cocoa powder – Dutch cocoa powder is the best because it is treated to remove the acidity and bitterness of the cocoa.
- Oreo cookies: Plenty of this is added to the brownie batter and also chopped on top of the ganache.
- Salt – Just a tiny bit of salt to bring out the other flavors.
For the ganache:
- Semisweet chocolate – As stated above, use high-quality chocolate for baking to get the best flavor and texture.
- Heavy whipping cream – You want to use a cream that has at least 36% milk fat to make the ganache thick and rich.
 Follow us on Pinterest for more delicious recipes!
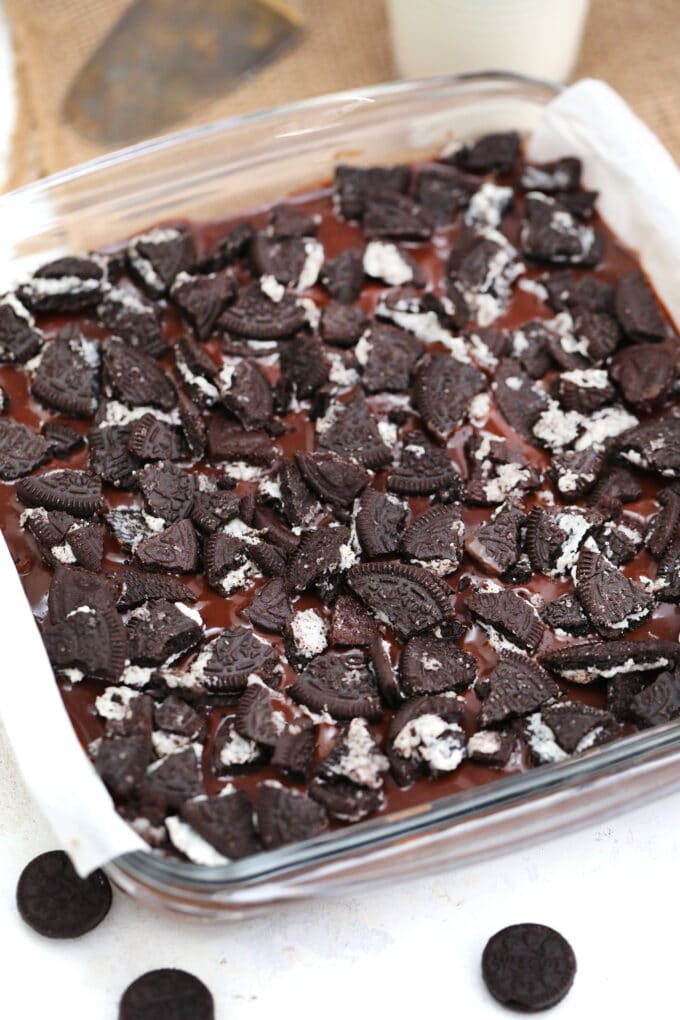
How to make Oreo Brownies:
- Prep for baking: Preheat the oven to 350 degrees Fahrenheit and lightly grease a 9×9-inch pan with non-stick spray.
- Melt butter and chocolate: Using the microwave, melt the butter by putting chunks of it into a microwave-safe bowl and heat for 15 seconds. If not yet completely melted, heat again for another 15 seconds. Do this until everything is liquid. Whisk the sugar in it. Then, do this again using the chocolate. In the bowl, whisk in the melted chocolate together with the melted butter and sugar. Then, add in the eggs and vanilla.
- Prepare the flour mixture: Combine sifted flour, cocoa, and salt in a separate bowl. Then, mix this flour mixture with the wet mixture prepared earlier.
- Assemble: Pour half of the batter into the pan. Then, arrange the cookies into a single layer and spread the rest of the batter over it.
- Bake: Bake it in the oven for about 20 minutes. Let it cool for an hour before cutting and serving.
- Add ganache: Make it even chocolatier by topping it with a ganache layer. Simply heat the heavy cream in the microwave then, melt the chocolate chips in it. Stir and pour over the brownies and chill in the refrigerator for about an hour to set.
Expert tip
Choosing the right cocoa powder
You may already know that there are several kinds of cocoa powder on the market. But do you know the differences, or which one is best for which recipes? Each one has its special flavor and texture so using the wrong one can drastically change the results of your recipe. Here is what I know about cocoa powder.
First of all, cocoa powder is made from dried, ground cocoa solids, which is what is left over after the cocoa butter (fat) is removed. The most common variety is the natural cocoa powder. It is unprocessed besides having the fat removed. You may also see it called unsweetened or pure cocoa powder. It is bitter and has a hint of fruitiness. It is best for recipes that include baking soda because it helps to add lift.
Dutch process cocoa powder is soaked in alkali to get rid of the acidity and remove most of the bitterness. This leaves a darker cocoa that is a little sweeter than natural. It makes baked goods fudgier and richer than the other two varieties. Black cocoa powder has been processed quite a bit to get the dark color and rich chocolate flavor you need to make Oreo cookies or ice cream sandwiches.
Recipe variations and add-ins:
- Other Oreos: You can experiment for days mixing up different flavors of Oreo cookies. Since there are so many varieties, you can make peppermint, vanilla, strawberry Oreo brownies, or whatever else you like.
- Different chocolate: If you are going to change the flavor of the cookie, you may want to change the flavor of the chocolate. Try white chocolate or even butterscotch-flavored chips for a unique taste.
- Add other extracts: Instead of (or in addition to) vanilla extract such as almond, butter, peppermint, chocolate, or coffee. There are lots more to choose from!
- Use frosting: Instead of chocolate ganache, top these brownies with my rich homemade Oreo buttercream frosting.
- Use brownie mix: In a hurry? Cut down on prep time by using a boxed brownie mix. I won’t tell anyone!
Serving suggestions:
Try some of these serving ideas.
- These Oreo brownies would taste even better with a dollop of my 3-ingredient Oreo ice cream!
- Instead of ice cream, you could also serve these delicious brownies with this easy no-bake Oreo fluff.
- Serving with a cup of homemade hot cocoa or London Fog Latte is perfect for an under-the-blank snack pairing.
- For the grown-ups, serve them with my grown-up Baileys S’mores milkshake.
- Since they are so delicious, these brownies can be served at of any meal, I like to indulge in a slice after having some Hunan Chicken or Chicken Carbonara.
Frequently asked questions
Who invented Oreo Cookies?
Nabisco (previously known as the National Biscuit Company) started selling Oreos in 1912 in the name of Oreo Biscuit. It was created to be similar to (but better than) the Hydrox Cookie made by the Sunshine Company, which came out in 1908. It was renamed the Oreo Sandwich in 1921 and then to Oreo Crème Sandwich in 1948 before becoming what is known as today, the Oreo Chocolate Sandwich Cookie.
What are the top flavors of Oreos?
There is no simple answer to this question because everyone has their own opinion. However, it is a fact that the original plain Oreo is still the top-selling cookie with the Double Stuf Oreos coming in second. As for the flavors, the original flavor is also number one with peanut butter, mint, chocolate peanut butter pie, and lemon coming in after. Then, there are the golden, java chip, chocolate creme, dark chocolate, and caramel coconut cookies that are in the top 10 as well.
Who invented brownies?
Although there is no confirmed report, some say brownies were first made for Bertha Palmer who, in 1893, requested the chef at her husband’s restaurant (Palmer House Hotel) to make her a dessert that was smaller than a cake. However, the first printed recipe was in the Boston Cooking School Cook Book by Fannie Farmer in 1896.
Why are my brownies dry?
It all has to do with the ratio of fat to flour. A fudgy brownie means more fat than flour was used. Generally by adding more butter, oil, or melted chocolate. A cakey brownie on the other hand will call for more flour. Also, if you bake the brownies for too long, they will be dry and tough.
Make sure you start checking at the 20-minute mark and after that check every five minutes, by inserting a toothpick into the brownies. It should come out with crumbs attached to it. Keep in mind that the brownies continue to cook in the pan, even after being removed from the oven, because of the residual heat.
What to do with brownies that are too dry?
I usually recommend repurposing the recipe, as it’s not all lost. Cut the brownies into cubes and make a trifle. Depending on how dry they are, make crumbs, add cream cheese frosting, and turn them into brownie cake truffles.
How to store:
- Refrigerate: After they cool, you can save any leftovers (if you have any) in a sealed container for five days in the fridge.
- Freezing: Wrap your cooled leftovers in plastic wrap and put them in a freezer bag and you can freeze them for three months.
- Defrost: Put frozen brownies in the refrigerator overnight before serving for the best texture and flavor.
- Reheating: These are delicious cold, or you can warm them in the microwave for a few seconds.
More brownie recipes:
Recipe tips:
- Make sure your melted chocolate and butter mixture has cooled before adding the eggs, or the eggs will cook.
- Line your baking pan with parchment paper or foil for easier cleanup.
- Use a food processor to chop your Oreos or put them in a baggie and hit them with a rolling pin.
- To be sure your Oreo brownies are done all the way, use an instant thermometer. They should be 165 degrees F when finished.
Oreo Brownies
Oreo Brownies are so fudgy and chocolaty, stuffed with Oreo cookies, topped with chocolate ganache, and more chopped Oreos.
Oreo Brownies
Oreo Brownies are so fudgy and chocolaty, stuffed with Oreo cookies, topped with chocolate ganache, and more chopped Oreos.
Ingredients
Brownie:
- 1 cup granulated sugar
- 3/4 cup unsalted butter melted
- 4 oz chocolate chopped
- 2 eggs
- 1 1/2 teaspoon pure vanilla extract
- 3/4 cup all-purpose flour
- 1/4 cup Dutch cocoa powder
- 1/2 teaspoon salt
Ganache:
- 1/2 cup semisweet chocolate chopped
- 1/4 cup heavy whipping cream
Follow me on Instagram
FollowInstructions
Brownie:
- Preheat oven to 350 degrees F and grease a 9×9" baking pan with nonstick baking spray.
- Whisk sugar and melted butter together.
- Microwave the chocolate for 15 seconds at a time until melted, stirring between intervals. Add the melted chocolate to the nutter mixture and whisk to combine.
- Beat in eggs and vanilla.
- In another bowl, sift in the flour, cocoa, and salt. Stir into the wet ingredients just until combined.
- Spread half of the batter into the prepared pan and arrange a single layer of the whole Oreos on top. Spread the remaining batter over Oreos.
- Bake in preheated oven for 20 minutes, or until no longer gooey in the center.
Ganache:
- Pour heavy cream into a microwave-safe bowl and heat for 30-60 seconds, or until hot but not boiling. Add chopped chocolate to the hot cream, let sit for 5 minutes, and then whisk until smooth.
- Spread ganache over cooled brownies and sprinkle with crushed Oreos.
- Serve hot with vanilla ice cream or if you want to serve as bars, cool for at least 30-60 minutes before slicing and serving.
Nutrition Facts


Enjoy weekly hand picked recipes and recommendations

Comments
(12)Tisha
April
Allyson Zea
Sandra