Last updated on April 3rd, 2022 at 05:47 pm
Jump to RecipeInstant Pot Red Velvet Cake [Video]
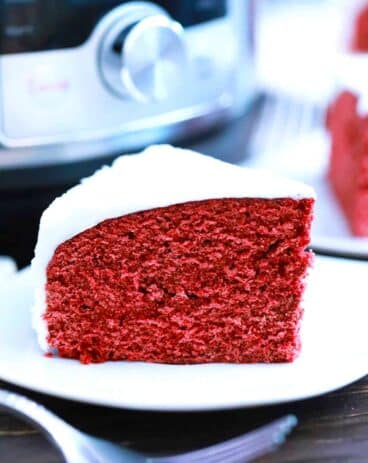
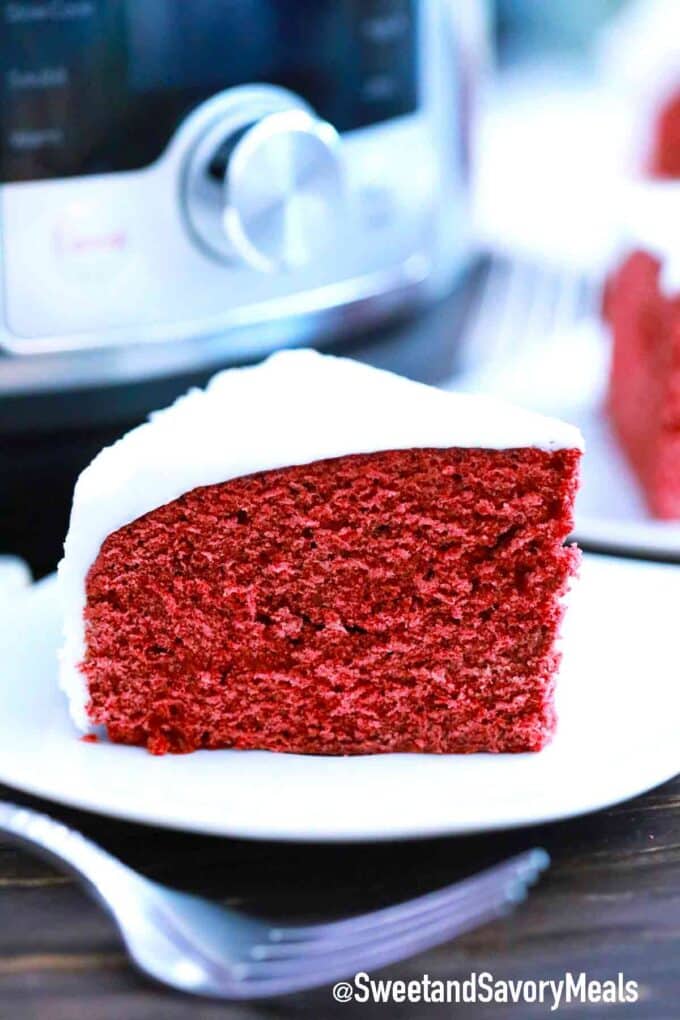
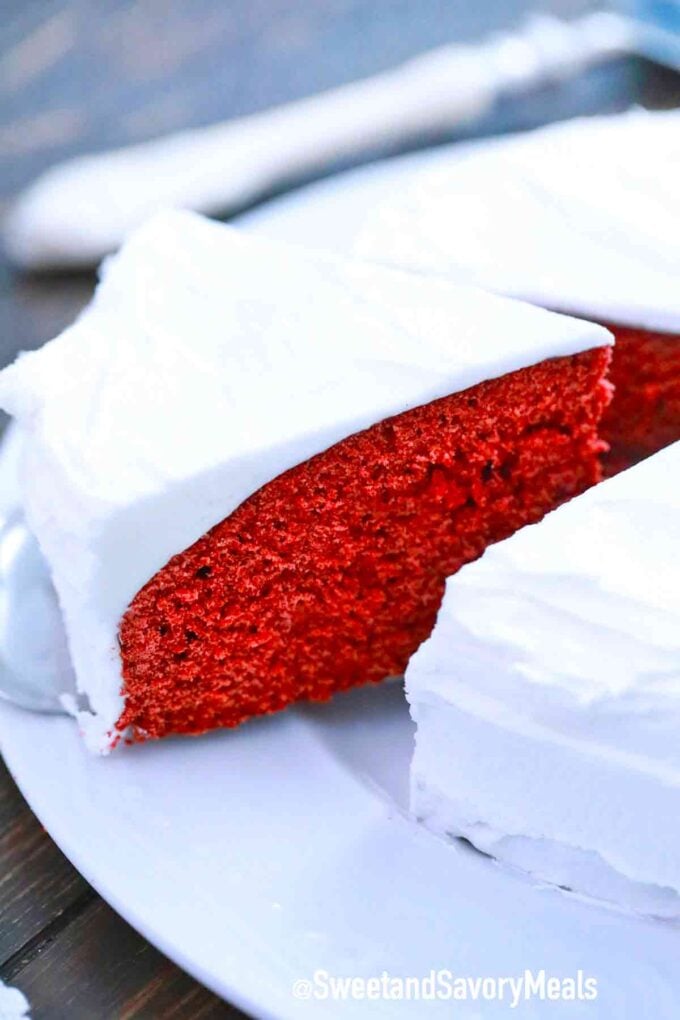
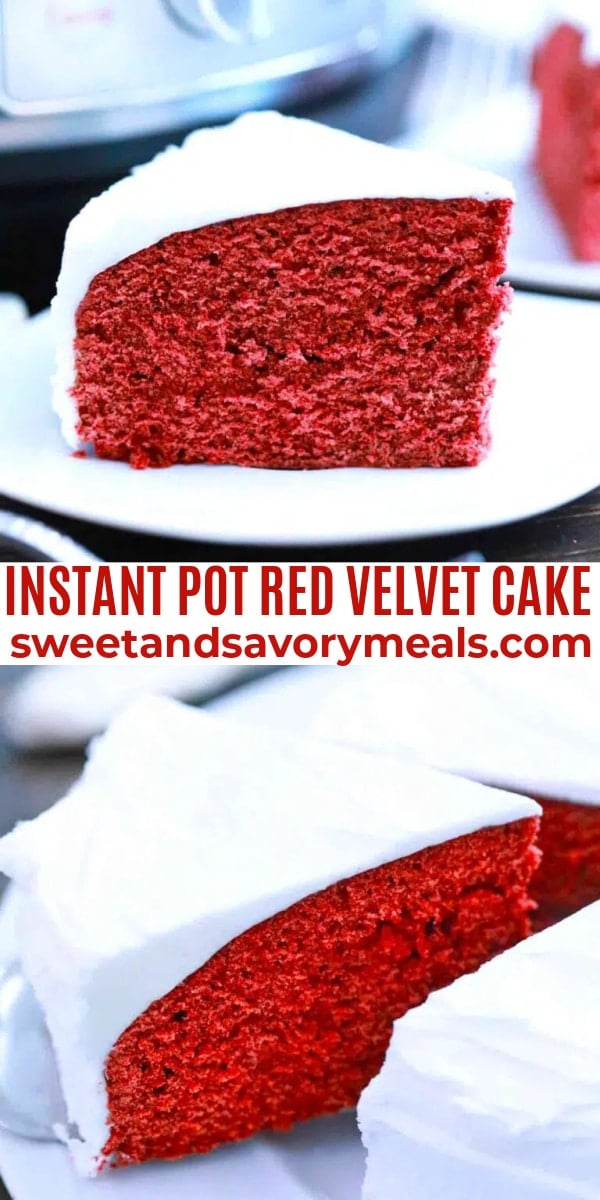
Instant Pot Red Velvet Cake is a buttery soft, smooth, and silky dessert topped with thick cream cheese frosting. The texture and festive look make it perfect for a special occasion or any day. It is a great way to celebrate a birthday, Valentine’s Day, or Christmas and it is so easy to do.
You may also like our Instant Pot Red Velvet Cheesecake made with cream cheese, sour cream, and cocoa. Or just make Red Velvet Cake in the oven if your instant pot is on the fritz.
Make this mouthwatering dessert for Valentine’s Day, another special occasion, or for any day you just feel like having cake.
This is the perfect flavor if you cannot decide between chocolate cake and vanilla.
This is our favorite instant pot recipe when it comes to desserts. Check out some of our other instant pot cake recipes for more deliciousness.
Another scrumptious way to enjoy this flavor is with this amazing recipe for Red Velvet Crème Brulé made with egg yolks and heavy cream.
Ingredients needed:
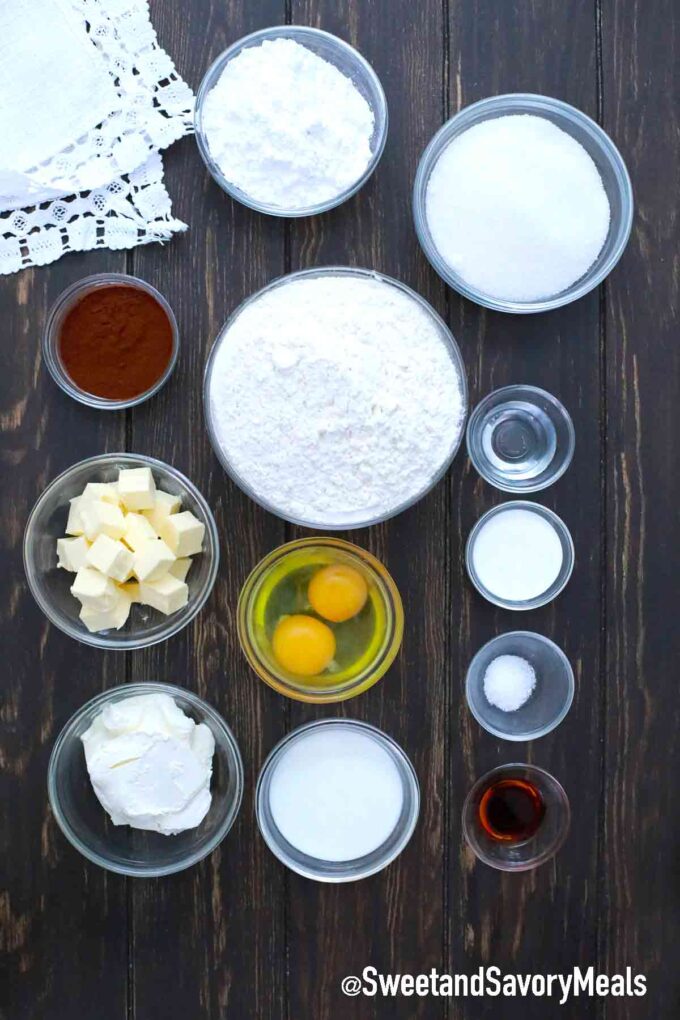
You can scroll down to get our handy recipe card but here are the main ingredients you need for this red velvet cake recipe:
- Self-rising flour: You can also use all purpose flour or cake flour.
- Cocoa powder: Non alkalized is best.
- Salt
- Unsalted butter: At room temperature.
- Sugar: White granulated sugar.
- Large eggs: At room temperature.
- Vanilla: Pure vanilla extract for best results.
- White vinegar
- Red food coloring
Cream cheese icing ingredients:
- Cream cheese: Softened to room temperature.
- Butter: At room temperature.
- Powdered sugar: Confectioners’ sugar.
- Heavy cream: Or Half and half.
- Vanilla: Pure vanilla extract.
How to make Instant pot red velvet cake recipe?
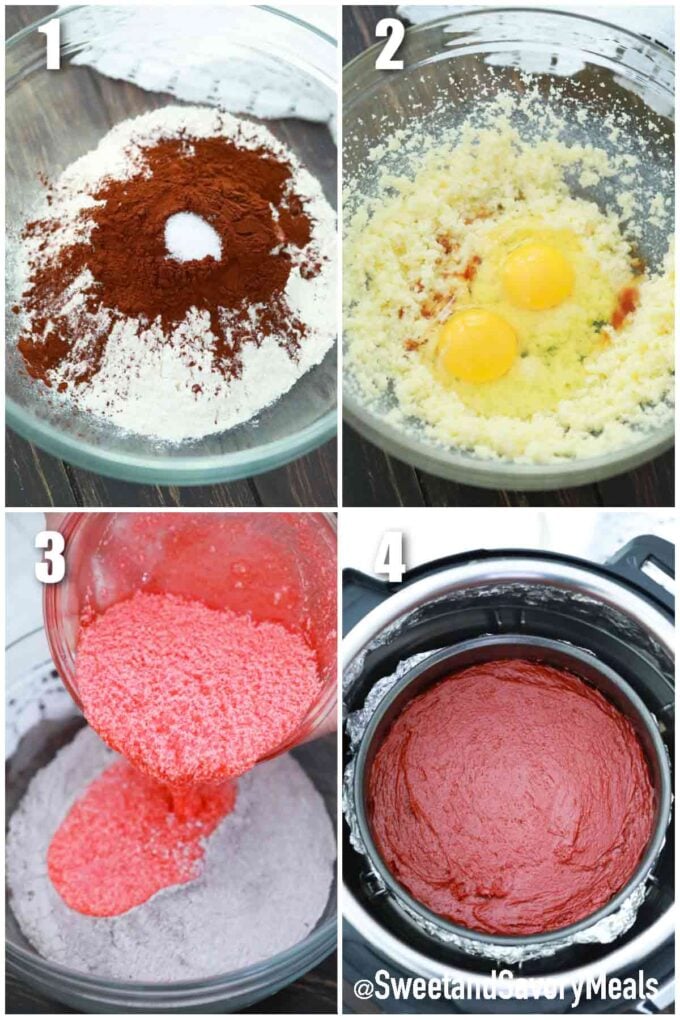
- Dry ingredients: First, put all the dry ingredients into a large mixing bowl and whisk it until combined. Sugar is not considered a dry ingredient because it melts so leave that out.
- Wet ingredients: Then, in another large bowl, add the butter and sugar and blend with a hand mixer or electric mixer until it is creamy and light. Then add the rest of the wet ingredients except the buttermilk and mix until it is completely combined. Scrape down the sides of the bowl and then add the red food coloring and buttermilk.
- Combine: Next, mix the dry and wet ingredients together just until it is combined using a rubber spatula, so you do not overmix.
- Pour: Coat a springform pan with nonstick cooking spray or vegetable oil, pour batter into the pan, and cover it with aluminum foil.
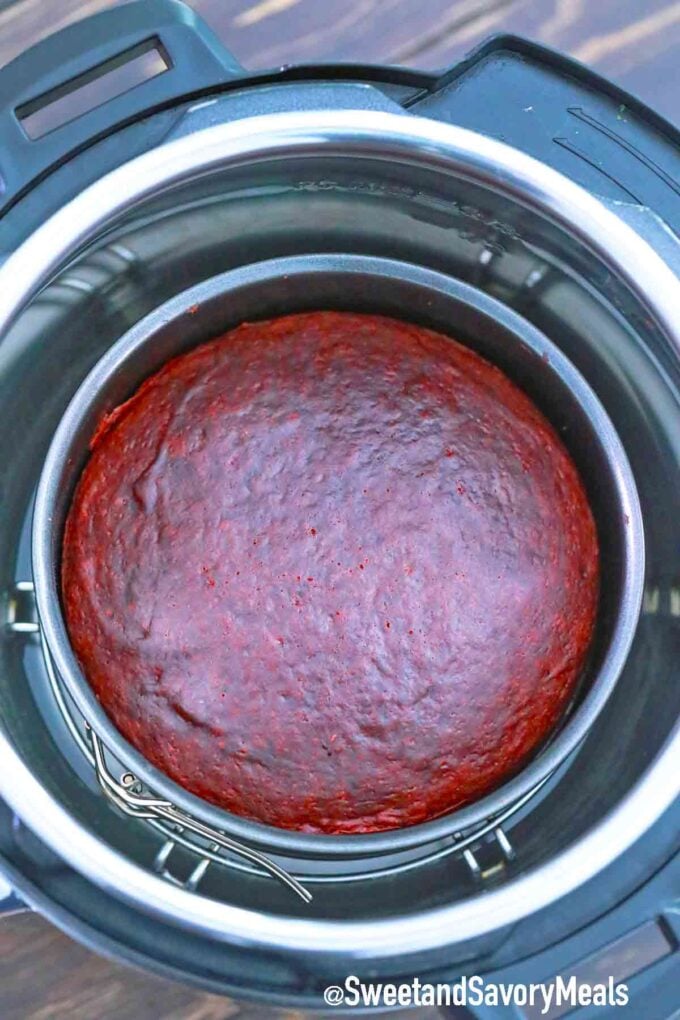
- Cook: After: put a three-inch trivet into the pot with 1.5 cups of water. Then put the pan on top of the trivet. Lock the lid and cook on high pressure for 75 minutes.
- Release: Once cook time is complete, allow a natural release for 10 minutes before doing a quick release.
- Cool: Afterward, remove the pan and let it cool on a wire rack for at least 10 minutes before removing the cake. Then, push it out onto a cooling rack and let it cool completely before you ice it.
- Make the icing: Meanwhile, put the melted butter, cream cheese, and vanilla into another bowl and beat it on medium speed for several minutes until it is smooth. Add the powdered sugar a little at a time, stirring between each addition. Then, beat at high speed until it is whipped and fluffy.
- Frost and serve: Finally, frost the cake gently and then chill in the fridge for at least 30 minutes until the frosting is set before serving.
Recipe variations:
- Sour cream: Use sour cream or Greek yogurt instead of heavy cream if you like.
- More chocolate: If you are a chocolate lover, add cocoa to the frosting or just use chocolate frosting.
- Chocolate chips: In addition, you could add chocolate chips to the batter or on top.
- Apple cider vinegar: Feel free to use apple cider vinegar if you do not have white vinegar.
- Different flavor: Instead of vanilla, use a different flavor extract for a unique twist.
How to serve:
Serve this cake chilled or at room temperature. Or try one of these serving suggestions:
- Add a dollop of strawberry sauce or our homemade thick caramel sauce for more sweetness.
- This cake goes great with a scoop of vanilla ice cream.
- If you would rather have a different flavor, try this strawberry ice cream or a tangy blackberry flavor.
- Add some rainbow sprinkles or mini-M&M’s to the top of the cake for a festive look.
- Put a scoop of homemade whipped cream on top for extra creaminess.
- Any cake goes great with a glass of cold milk, including this one.
- Or try it with our creamy peach or cherry smoothie.
Frequently asked questions
Can you use a cake pan in an instant pot?
Although a normal eight- or nine-inch cake pan will typically not fit into an instant pot, you can get a six- or seven-inch cake pan that will fit perfectly.
Any material that you would use in an oven can safely be used in the pot as long as it fits, including glass, ceramic, and silicone.
What makes red velvet cake taste different?
The most obvious difference is the red color, of course, which comes from the red food coloring. However, it is also the buttermilk, vinegar, and cocoa powder combination that makes it taste so silky and smooth.
Also, the chemical reaction between the cocoa and acids give it an even deeper red color.
Why isn’t my red velvet cake red?
Some recipes call for baking soda instead of baking powder, which does not do the job of lowering the pH as well.
Also, you have to use a non-alkalized cocoa powder to keep the pH low. Another way to get your cake to turn deeper red is to add more vinegar or buttermilk.
How to store leftovers:
- Store: You can store leftovers in an airtight container in the fridge for up to a week.
- Freeze: If you want to freeze your leftover cake, wrap it in plastic wrap or place it in a freezer bag. It will be good for up to three months.
- Thaw: Thaw overnight in the fridge before serving for best results and serve chilled or at room temperature.
More Valentine’s Day recipes:
Cooking tips:
- To save time, use a red velvet cake mix instead.
- You could also use a bundt pan to make a red velvet bundt cake.
- If you do not have a springform pan, place a piece of parchment paper or aluminum foil into the bottom of the pan with some hanging out for easier removal.
- Don’t forget to put at least one cup of water at the bottom of the pot.
- Put a paper towel over the pan before covering it with aluminum foil to absorb extra moisture.
- When frosting, put big spoonfuls on top of the cake and then spread it gently outward. Let it slide down the sides and smooth it out carefully.
Instant Pot Red Velvet Cake
Instant Pot Red Velvet Cake is a buttery soft, smooth, and silky dessert topped with thick cream cheese frosting.
Instant Pot Red Velvet Cake
Instant Pot Red Velvet Cake is a buttery soft, smooth, and silky dessert topped with thick cream cheese frosting.
Ingredients
Instant Pot Red Velvet Cake:
- 2 cup all-purpose flour
- 1/4 cup cocoa powder
- 1/4 teaspoon salt
- 1/2 cup unsalted butter room temperature
- 1 cup white sugar
- 2 eggs room temperature
- 1 teaspoon vanilla extract
- 1 teaspoon white vinegar
- Gel red food coloring
- 1/4 cup buttermilk
Frosting:
- 4 oz. cream cheese softened to room temperature
- 1/2 cup unsalted butter room temperature
- 1 cup powdered sugar
- 2 tablespoons milk or cream
- 1 teaspoon vanilla extract
Follow me on Instagram
FollowInstructions
Instant Pot Red Velvet Cake:
- In a large mixing bowl combine flour, cocoa powder, and salt. Stir to combine.
- In a separate mixing bowl, using a hand mixer, beat butter and sugar until light and fluffy.
- Then add eggs, vanilla, and vinegar and mix until fully incorporated, making sure to scrape sides and bottom of the bowl.
- Add the gel red food coloring, a few drops at a time, and buttermilk and mix again. If needed, add more food coloring.
- Pour dry ingredients into the bowl with wet ingredients, and using a rubber spatula then mix just until fully combined. Do not over-mix!
- Spray a 7-inch springform pan with nonstick cooking spray. Pour batter into pan and cover with aluminum foil.
- Place 3-inch trivet into the pot, and add 1 ½ cups of water. Then lower the pan on top of the trivet.
- Lock the lid seal the valve and cook at high pressure for 75 minutes.
- Once cooking time is complete, allow pressure to release naturally for 10 minutes, then quick release the remaining pressure.
- Carefully open the lid and remove the pan, uncover, and let cool for at least 10-15 minutes before removing cake.
- Push out cake and place on a cooling rack and let cool completely before icing.
Frosting:
- Add the butter, cream cheese, milk and vanilla a mixing bowl and beat together on medium speed for a few minutes, until creamy.
- Add the powdered sugar a little at a time. Once all has been added, increase the mixer speed to the highest speed and beat until the frosting looks whipped.
- Chill the frosting for 30 minutes and after that gently spread onto the top and sides of the cake.
- Once the cake is iced, chill in the fridge for 30 minutes for the the frosting to set.
- Slice and serve.
Nutrition Facts
Enjoy weekly hand picked recipes and recommendations












Comments
(17)Everything Enchanting
Rosey
Beth
Marysa