Instant Pot Chocolate Cheesecake
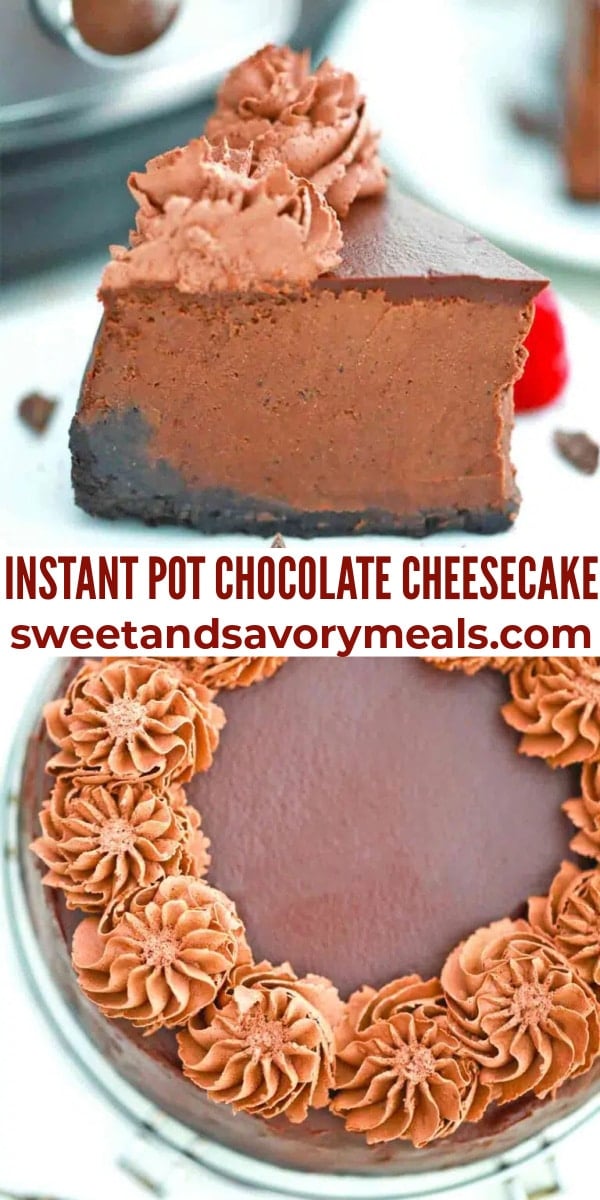
Instant Pot Chocolate Cheesecake is a rich and creamy dessert with a crunchy Oreo crust, rich chocolate cheesecake filling, and a thick ganache topping. This great recipe is so easy using your instant pot and you will be amazed at the remarkable results.
For more instant pot recipes, try our Instant Pot Oreo Cheesecake recipe that is sure to please all chocolate lovers or this amazing Instant Pot Peanut Butter Cheesecake made with peanut butter cups.
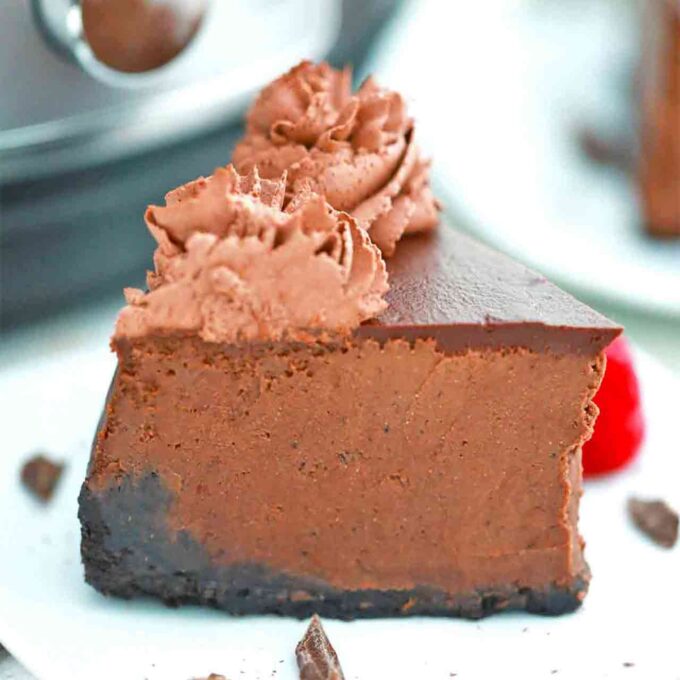
This decadent chocolate cheesecake is perfect for birthdays or any other special occasion. Even if it is not a special occasion, there is no reason why you can’t have it for dessert or a snack anytime.
It is easy and fast to prepare with no water bath needed. Not only is it delicious, but it is also a work of art that makes great pics for Instagram.
If this is your first time trying one of our cheesecake recipes in your instant pot, do not be overwhelmed. It is not as difficult as it seems and next time you will feel like an expert.
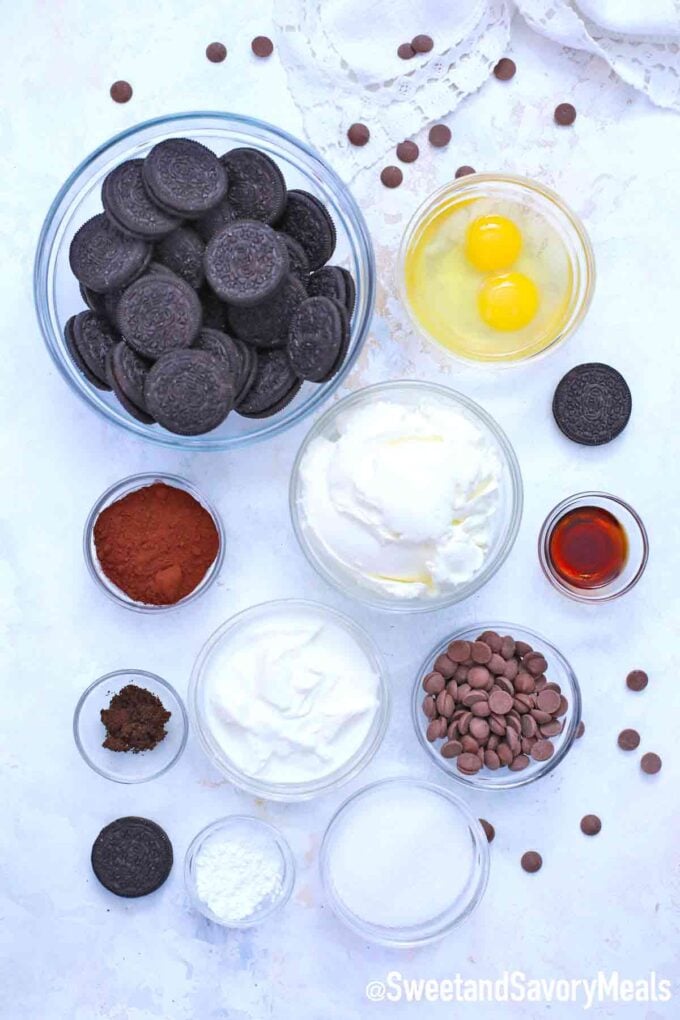
Ingredients needed:
For exact measurements and instructions, scroll down to our recipe card at the bottom of the page. But here are the main ingredients for the perfect cheesecake:
Crust ingredients:
- Oreo cookies: We used double stuffed.
Filling ingredients:
- Cream cheese: Use the brick, not the whipped cream cheese.
- Sour cream: You could also use Greek yogurt.
- Sugar: White granulated sugar.
- Cornstarch: Important for thickening.
- Cocoa powder: Unsweetened.
- Espresso powder: Makes a big difference in flavor.
- Eggs: Large eggs at room temperature.
- Semi-sweet chocolate: Melted.
- Vanilla: Pure vanilla extract is best.
Ganache Ingredients:
- Chocolate chips: Semi-sweet is best for this recipe.
- Heavy whipping cream
How do you make instant pot chocolate cheesecake from scratch?
- Prepare: First, crush the cookies in a food processor until they are finely crumbled, and then pack them down into a 6-inch springform or cheesecake pan.
- Chill: Meanwhile: place the pan in the freezer until you are done making the filling.
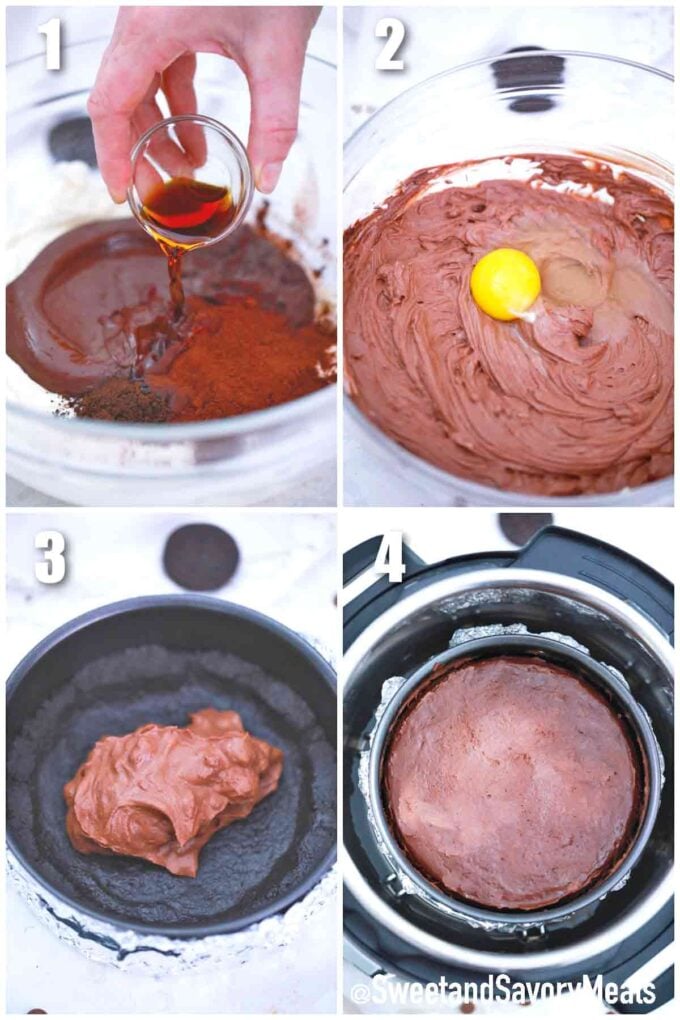
- Filling: To make the cheesecake batter, put the cream cheese into a large bowl and mix with an electric mixer until it is light and fluffy. Mix in the sugar and cornstarch before beating in the sour cream at low speed.
- Chocolate: Next, mix in the vanilla, espresso, cocoa powder, and melted chocolate.
- Eggs: Last, add the eggs one at a time and mix them as little as possible, just until the eggs are incorporated. Do not overmix.
- Fill: Finally, pour the filling into the chilled crust and cover it with foil. You could also cover the bottom of the pan with foil.
- Cook: Prepare the pot by adding one cup of water before placing the trivet at the bottom. Put the pan on the trivet, put the lid on, and seal it before cooking it on high pressure for 35 minutes.
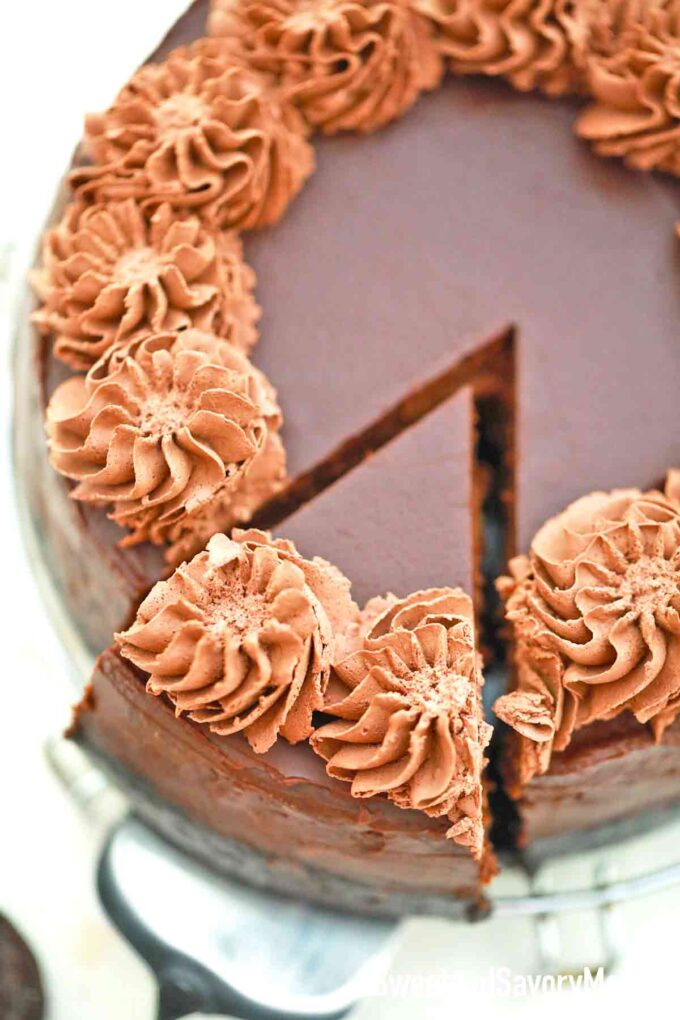
- Cool: After, do a natural pressure release for 10 minutes and then do a quick release. Open the pot and take the pan out carefully. Set it somewhere to let it cool. Leave the foil on. Once it is completely cool, put it in the fridge overnight.
- Ganache: Lastly, make the ganache by mixing the cream and chocolate in a microwave-safe bowl. Then microwave it for 30-second intervals, stirring each time, until it is melted. Cook time varies depending on your microwave.
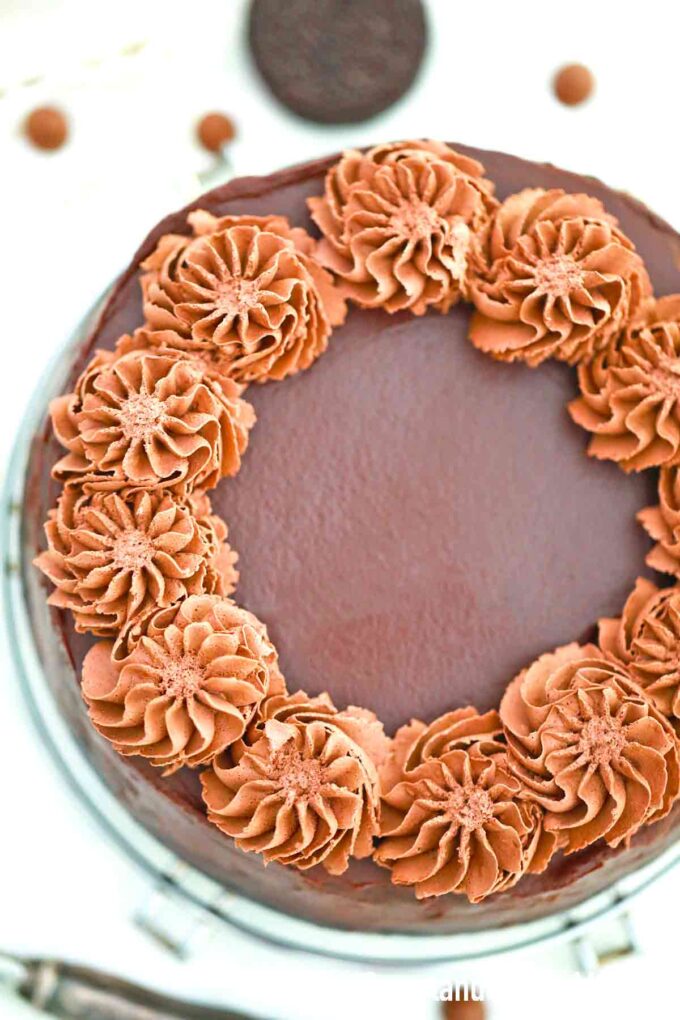
- Serve: Pour the ganache onto your instant pot cheesecake before serving.
Recipe variations:
- Graham cracker crust: Alternatively, use graham crackers instead of Oreos for the crust.
- Other cookies: You could also use gingersnap or some other type of cookies you like.
- Dark chocolate: For a different flavor, use dark chocolate chips for the ganache or for the filling.
- Melted butter: If you do not have double-stuffed Oreos, add a bit of melted butter to the crushed cookies to make a solid crust.
- Brown sugar: Using brown sugar instead of white will give your cake a richer flavor.
How to serve:
You can serve this delicious dessert all by itself. With its rich and creamy filling, succulent ganache topping, and crunchy Oreo cookie crust, there is really no need for anything else. But here are some serving suggestions:
- A slice of this pie goes great with a glass of ice-cold milk.
- Our cheesecake makes a decadent dessert for this sweet and tangy slow cooker pineapple pork loin.
- Make this chocolate cheesecake for your next holiday meal with the family.
- Another perfect main entrée to go with this dish is our savory pumpkin pot roast.
- You may also enjoy a slice of this pie with our Starbucks pumpkin spice latte.
Frequently asked questions
How do I find a pan that fits inside my pressure cooker?
You need to pay attention to the width of the pan because most springform pans are eight inches and the typical pot needs one that is between six and seven inches.
In addition, the thicker the pan, the longer the cooking time so get a thin one for faster cooking. Lastly, make sure the pan is not too tall for your pot.
Can I make my own Oreo crust?
It is easy to make your own cookie crust at home. All you need is a pie pan and some Oreo cookies. Put them in a food processor and pulse until they are completely crumbled.
If you use double-stuffed cookies, you do not have to add as much butter or sugar.
What is the difference between chocolate ganache and fudge?
While both of these are creamy and delicious, the ganache is made with melted chocolate and heavy cream. Chocolate or cocoa is not the main ingredient in fudge.
Although the cocoa powder is used in chocolate fudge, there are many different flavors. Also, ganache is more of a liquid to use as filling or frosting while fudge is a more solid piece of candy.
How to store leftovers:
- Store: If you have anything left over, make sure it is cooled to room temperature before putting it in an airtight container. It will be good in the refrigerator for three or four days.
- Freeze: Freezing the cake is fine. However, you may want to flash freeze it before wrapping it in plastic wrap and putting it into a freezer-safe container. It should last up to three months in the freezer.
- Thaw: Remember to thaw it overnight in the fridge before serving for best results. Then, serve at room temperature.
More chocolate desserts:
Cooking tips:
- For best results, make sure the eggs and cream cheese are at room temperature before use.
- Place parchment paper in the push pan before making the crust to make it easier to remove.
- It is best to make this 24 hours before you plan to serve so it has time to chill.
- If your trivet does not have handles, you can use a silicone sling or make one out of aluminum foil.
- Having a little extra room between the pan and the sides is best for this recipe.
- Let the ganache chill and thicken slightly before pouring it on the cake.
- Leave the aluminum foil on the cheesecake while it cools.
- If there is condensation built up on top of the cheesecake, use a paper towel to lightly blot it.
Loved this recipe? I’d love to hear from you! 💛 Leave a 5-star rating ⭐️ in the recipe card below and share your thoughts in the comments - I read and appreciate every single one!
Let’s stay connected! Follow me on Facebook, Instagram, Pinterest, and YouTube for more delicious, sweet and savory recipes. Have a question? Ask in the comments, and I’ll be happy to help! 😊 with love Catalina!
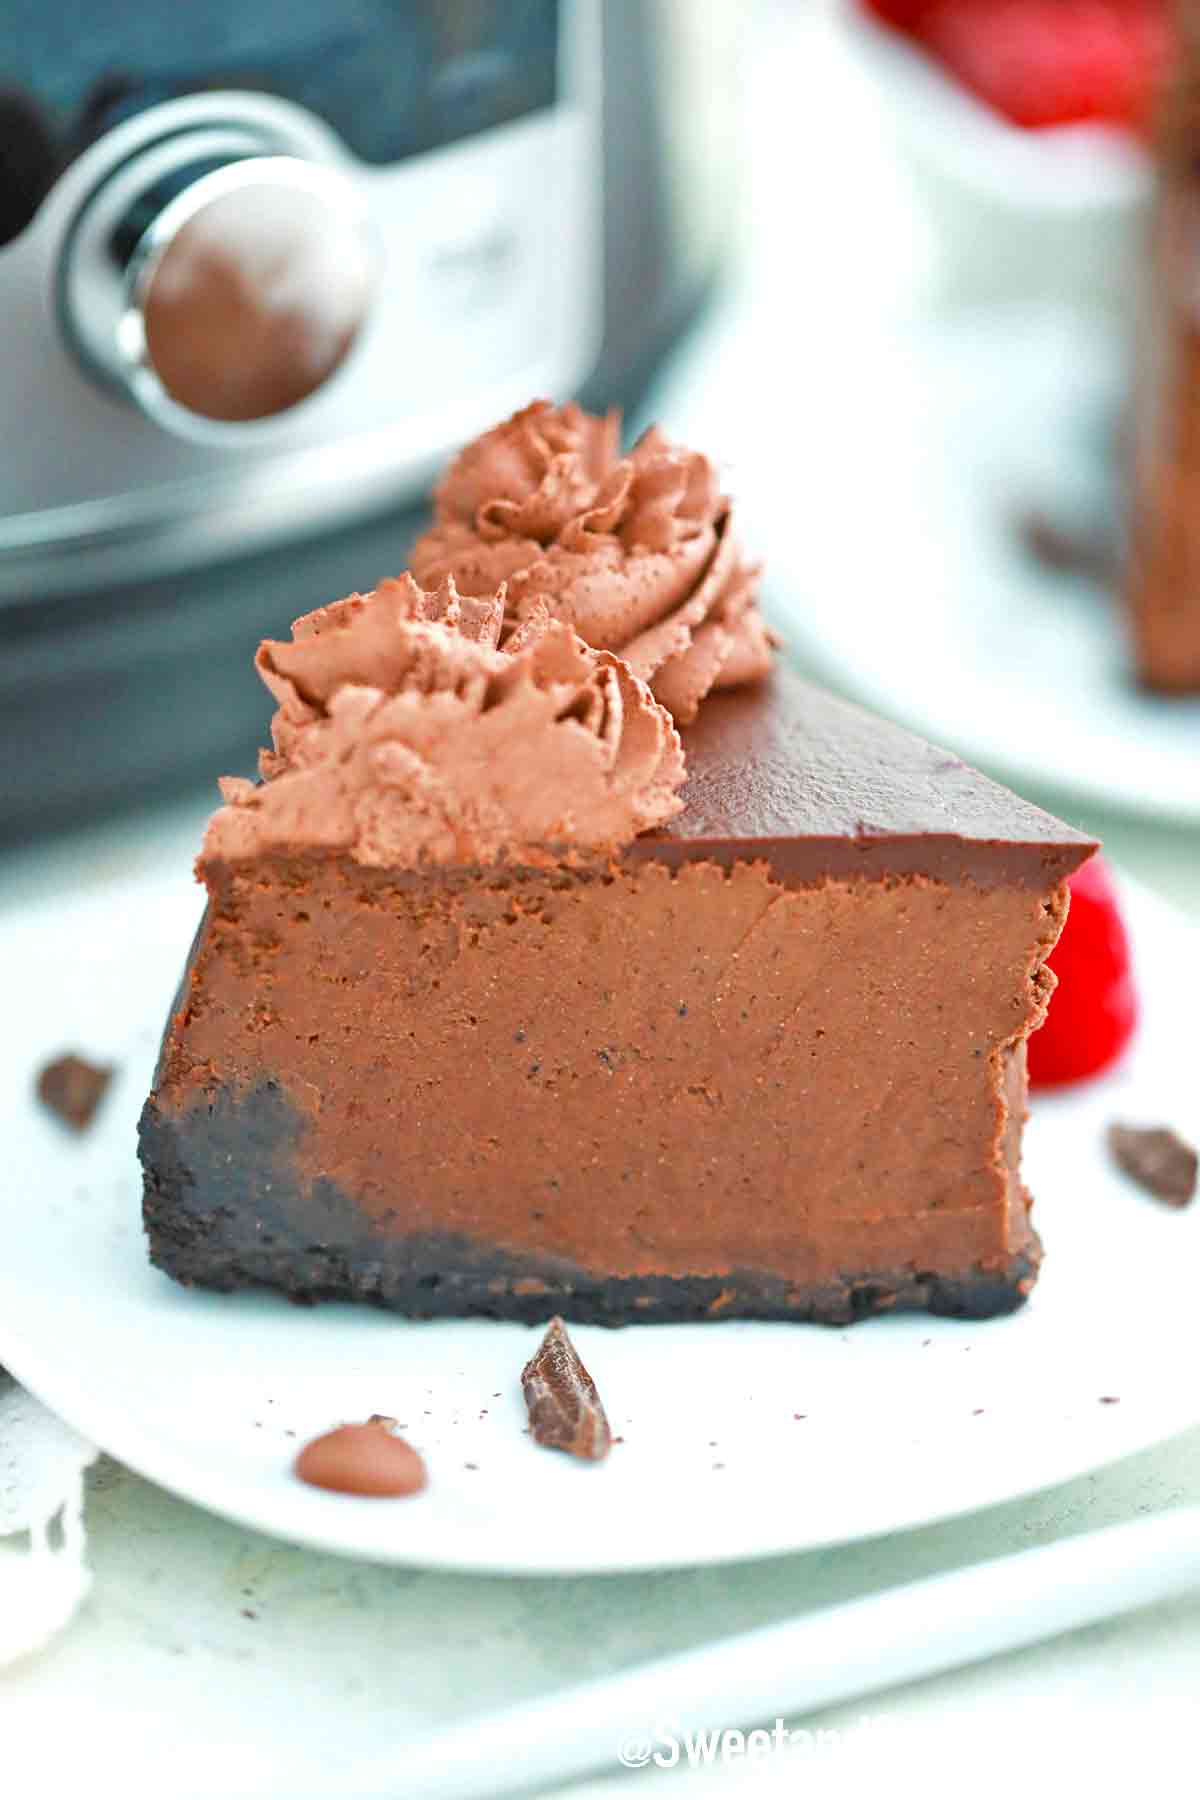
Instant Pot Chocolate Cheesecake
Ingredients
Crust:
- 20 Oreo cookies with filling
Filling:
- 16 ounces cream cheese room temp
- 1/2 cup sour cream
- 1/4 cup white sugar
- 1 tablespoon cornstarch
- 1/4 cup unsweetened cocoa powder
- 1/2 teaspoon espresso powder
- 2 eggs room temp
- 8 oz semi-sweet chocolate melted and slightly cooled
- 1 teaspoon vanilla
Ganache:
- 1/2 cup chocolate chips
- 1/2 cup heavy whipping cream
Instructions
Crust:
- Add the Oreos into a food processor and blend until they form crumbs.
- Transfer the crumbs to a 7" or 6” springform pan, using a measuring cup press it on the bottom and 1-inch up the sides.
- Place in the freezer until you work on the filling.
Filling:
- Add the cream cheese to a large mixing bowl, and beat on high until light and fluffy.
- Add the sugar and mix just until combined. Mix in the cornstarch.
- Beat in the sour cream until just combined, careful not to overmix.
- Add in the melted chocolate, cocoa powder, espresso powder, and vanilla, mix until combined.
- Last, add in the eggs one at a time and mix just until they are fully incorporated.
- Pour the filling into the prepared crust, and cover the top of your pan with tin foil.
- Add one cup of water to the inner pot, and place a trivet on the bottom of your pot.
- Make a sling by folding a piece of aluminum foil and making a long strip. Place the trivet on the strip and lower it onto the trivet.
- Lock the lid, point the valve to sealed.
- Cook on high pressure for 35 minutes.
- After 35 minutes, allow for a natural release. Finally, when the pressure has been fully released, open the pot, take the pan out, and place it on a wire rack to cool.
- After it cools completely, transfer it to the fridge overnight.
Ganache:
- Once your cheesecake has been chilled overnight make the ganache.
- In a medium microwave-safe bowl combine the chocolate and cream. Microwave for 30-second intervals, stirring after each one until the chocolate is melted.
- Pour the mixture onto your cheesecake.
- Optional: Pipe some roses using chocolate whipped cream.
- Once the ganache sets, slice and serve the dessert.
Nutrition
