Instant Pot Oreo Cheesecake
Instant Pot Oreo Cheesecake is my go-to dessert when I need a foolproof, decadent dessert that is also simple and easy to make. I usually have all the ingredients on hand, so it takes me only 20 minutes to prepare it and another 30 to cook it to perfection in the Instant Pot.
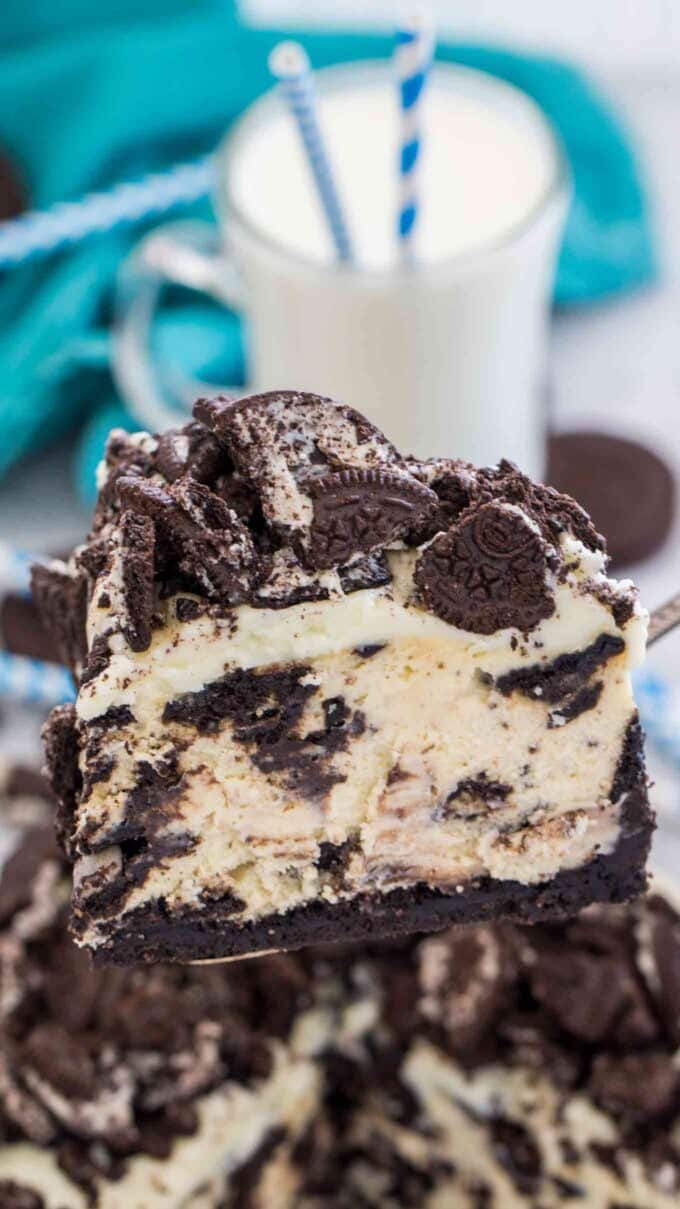
Since I tried making an Instant Pot cheesecake, I have been hooked. If you are still avoiding making cheesecake, I dare you to try this recipe. Because the Instant Pot has its built-in water bath, the cheesecake gets done faster and is safe from cracks and other mishaps. That is another reason why everyone will love this recipe. While cooking the dessert in the Instant Pot, I have the oven free to make a quick and tasty dinner like this oven-roasted mahi-mahi that takes just 30 minutes!
Table of contents
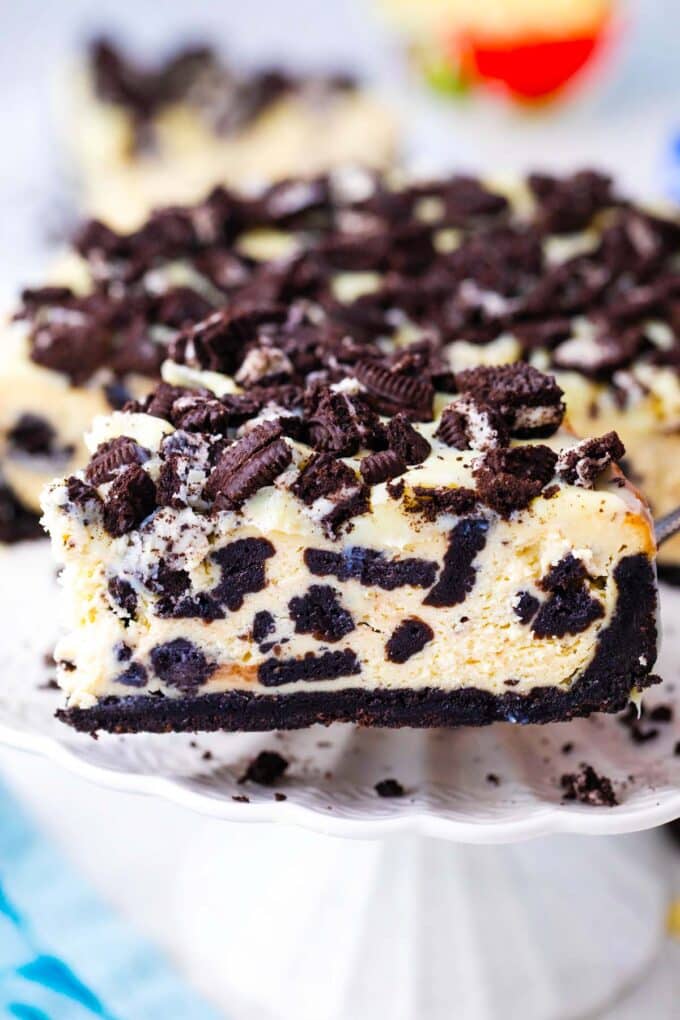
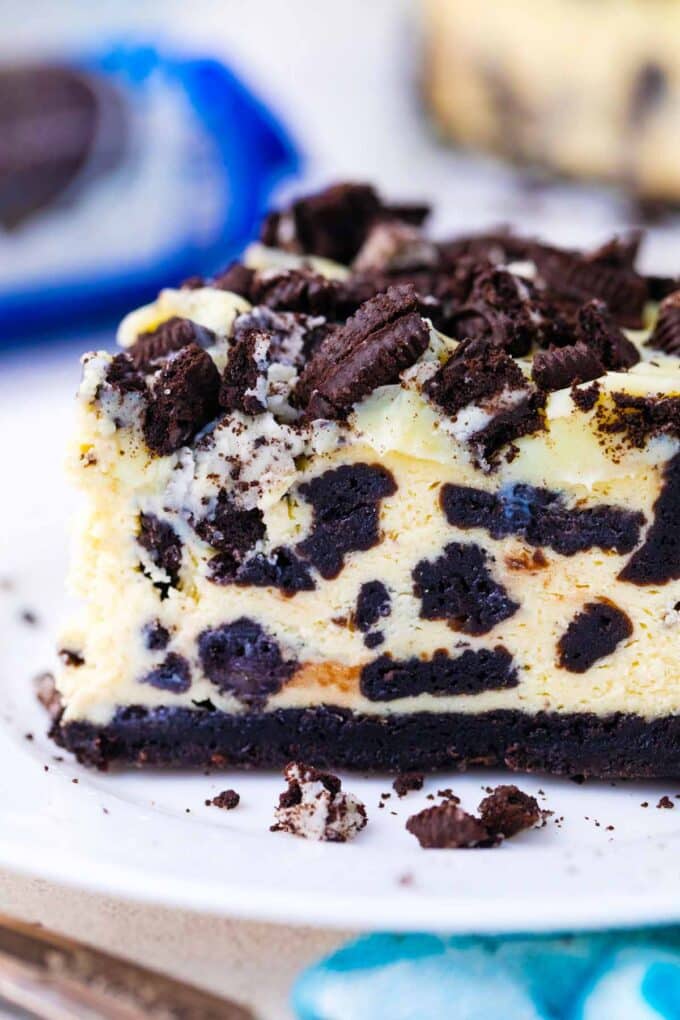
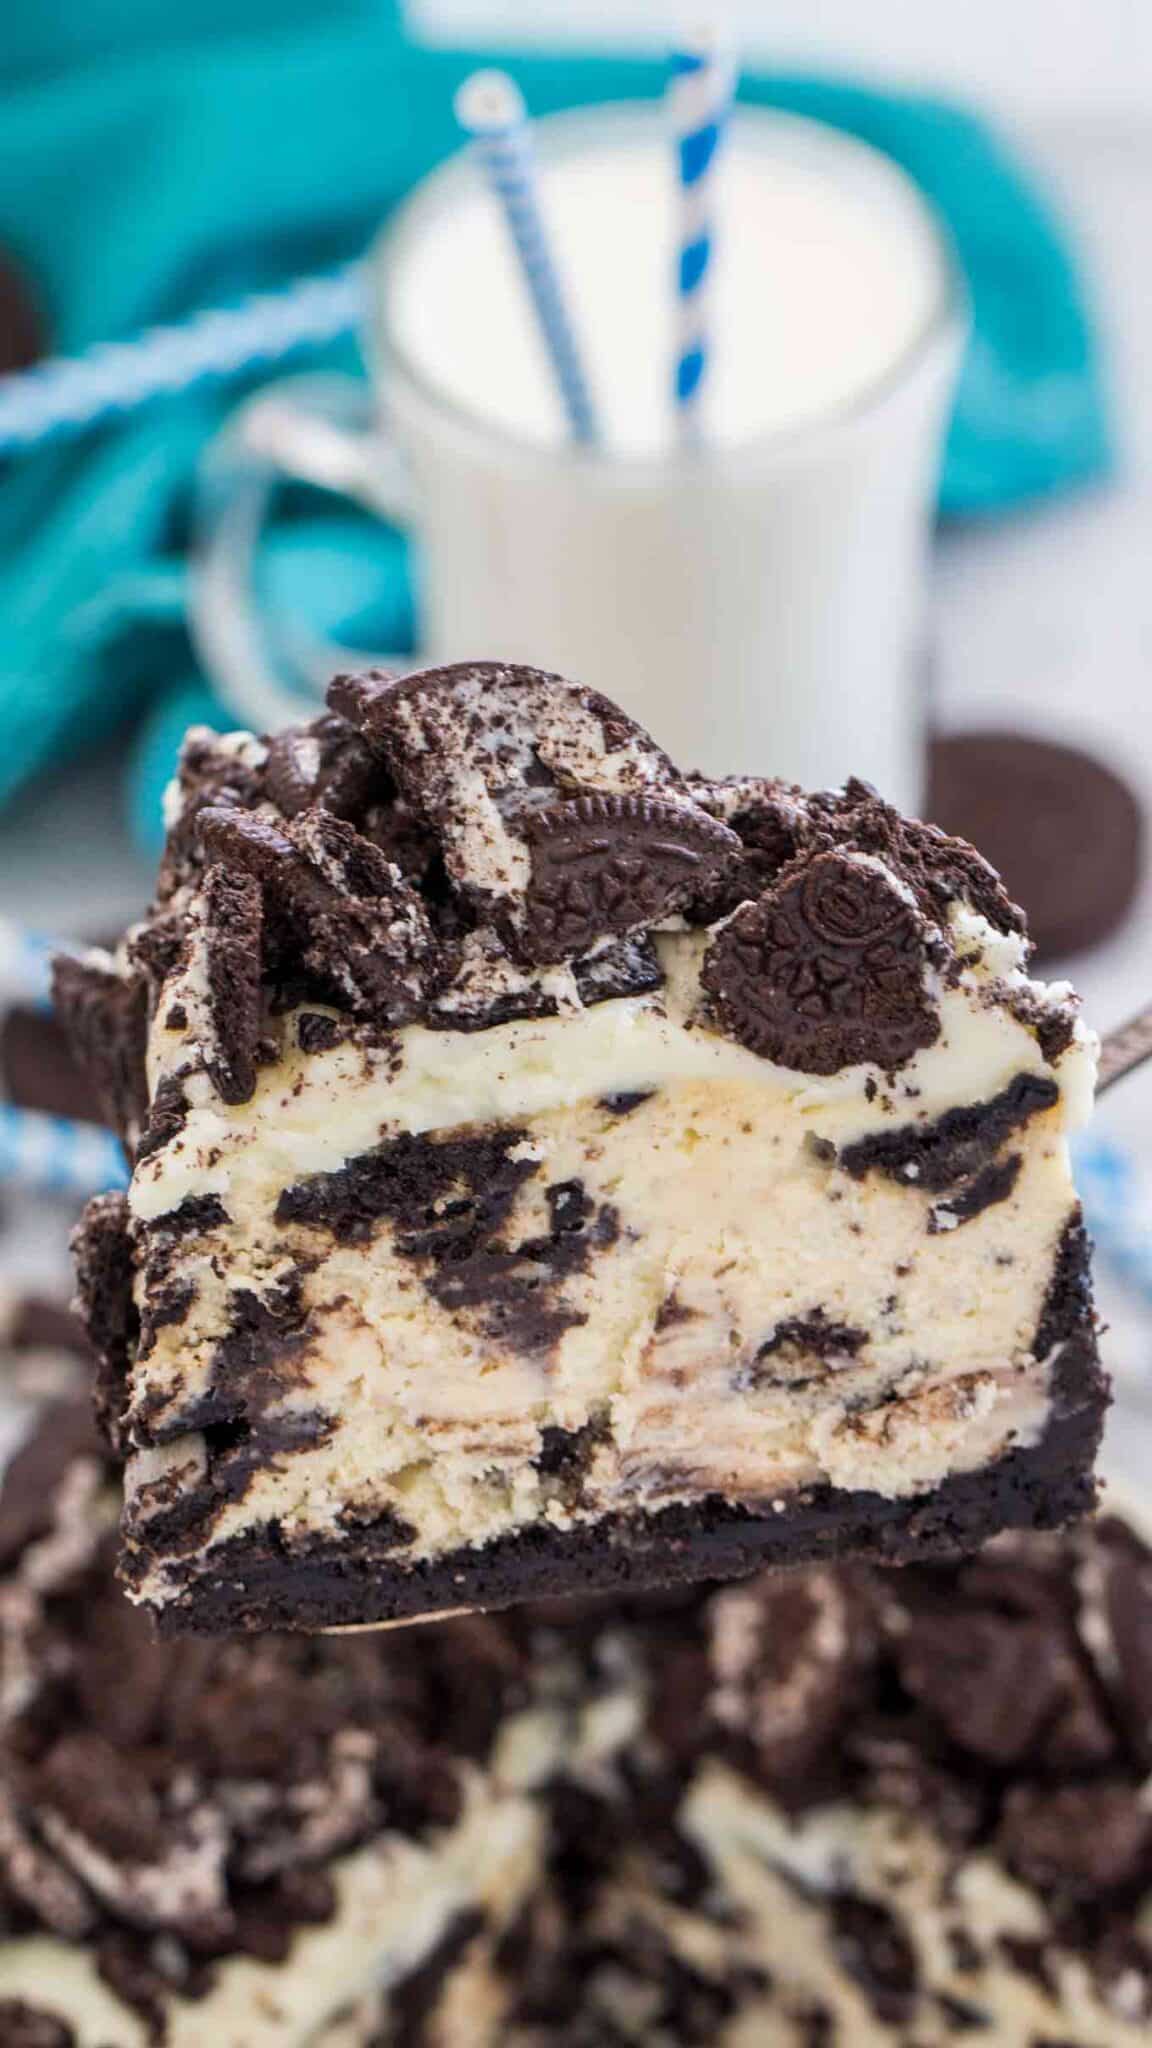
What I truly love about this recipe, besides the impeccable taste and texture, is how effortless and stress-free it is. I don’t have to worry about a water bath or uneven baking. It comes out silky smooth every time and looks like it came from a bakery. The cheesecake melts in your mouth, and every bit is filled with Oreo pieces, making it a hit with kids and adults!
This is also the perfect dessert to make ahead of time since it needs to chill in the fridge for at least 6-8 hours. It also freezes well. Another benefit is that my oven is free when I make it; this is especially helpful for the holidays or when cooking for a group. I can cook dinner in the oven and dessert in the Instant Pot. I can rely on this easy cake for friends’ gatherings and celebrations, as it’s guaranteed to be a crowd-pleaser.
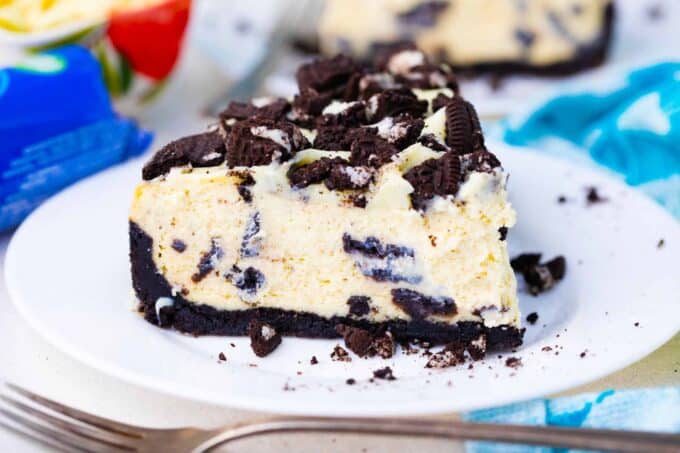
Why you will love this recipe
- Oreo lovers’ heaven: Mixing Oreo cookies and cheesecake is an excellent idea for those who genuinely love and appreciate cookies and cream-flavored desserts. The cheesecake has an Oreo crust, chopped cookies in the filling and more Oreos.
- Quick and easy to make: It only takes 20 minutes to prepare and 30 minutes to cook. The best part is that you don’t have to peek into the oven to see if the cheesecake is done. The Instant Pot does its magic, cooking it to smooth perfection.
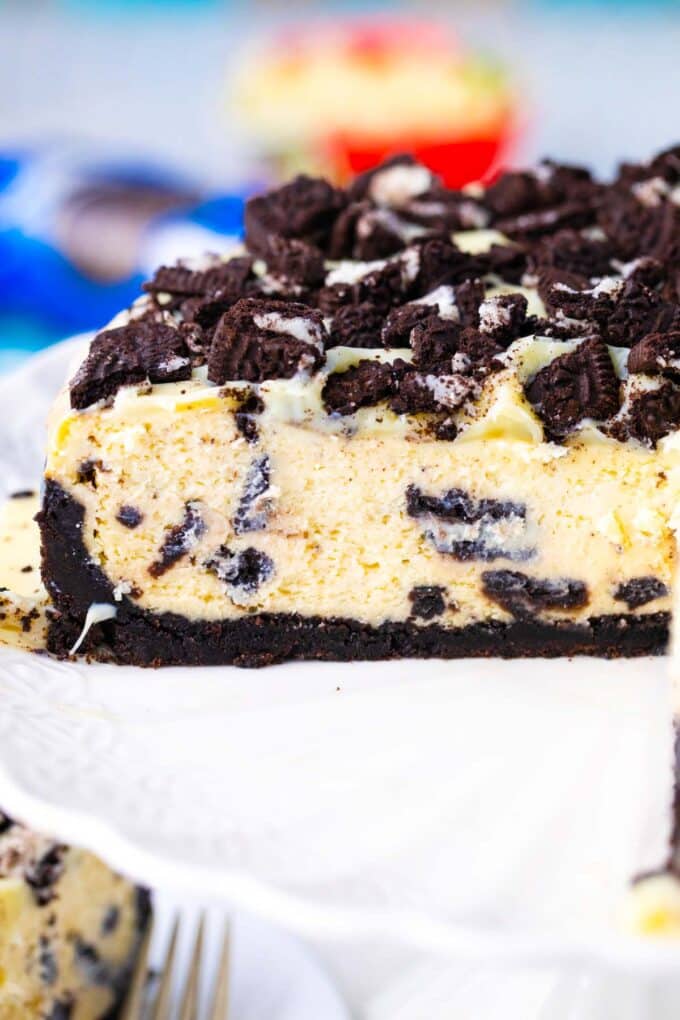
- Rich and velvety texture: This dessert is smooth and creamy, thanks to the perfect balance of creamy ingredients. The Oreo cookies are a delicious addition, adding more flavor, texture, and that extra wow factor.
- No water bath required: The Instant Pot has its water bath built into it, so there are no worries about cracks. The Instant Pot talked out that this recipe can be easily done by experienced and novice cooks.
What you’ll need to make instant pot Oreo cheesecake
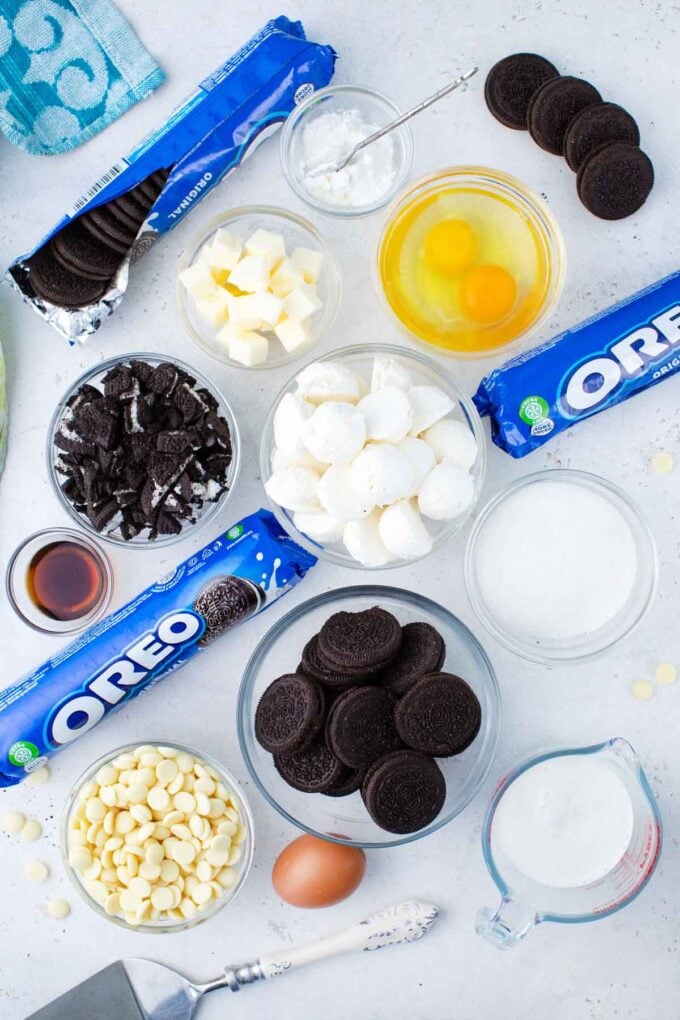
- For the crust: I used 15 regular Oreos and melted butter.
- For the batter: I recommend full-fat, brick-style cream cheese, white sugar, room-temperature heavy cream, and room-temperature eggs. I add cornstarch to thicken the batter, vanilla extract for flavor, and a lot of chopped Oreo cookies.
- For the ganache: High-quality white chocolate, heavy whipping cream, and chopped Oreos to sprinkle on top of the cake.
How to make
Prep the pan and ingredients: I lightly coat a seven-inch springform pan with baking spray and place a parchment circle at the bottom.
Make the crust: The cookies are then finely chopped in the food processor. I mix the cookie mixture with butter and press it into the pan. Using a measuring cup, I press the crust into the bottom and up the sides of the pan before putting it in the freezer to chill for 20 minutes.
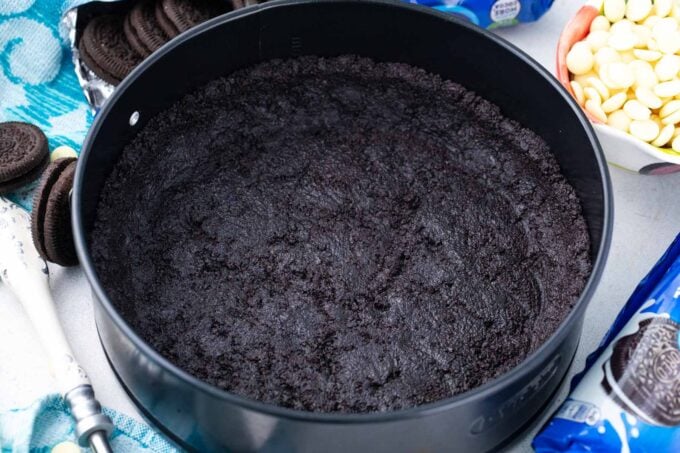
Make the filling: Next, I beat the cream cheese, sugar, and cornstarch in my stand mixer on medium-low until light and fluffy. After scraping the sides of the bowl, I turn the beater to low and add the heavy cream before adding the eggs one at a time.
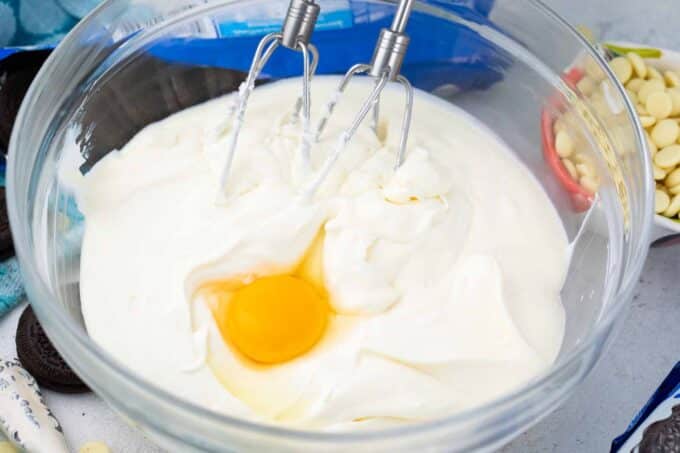
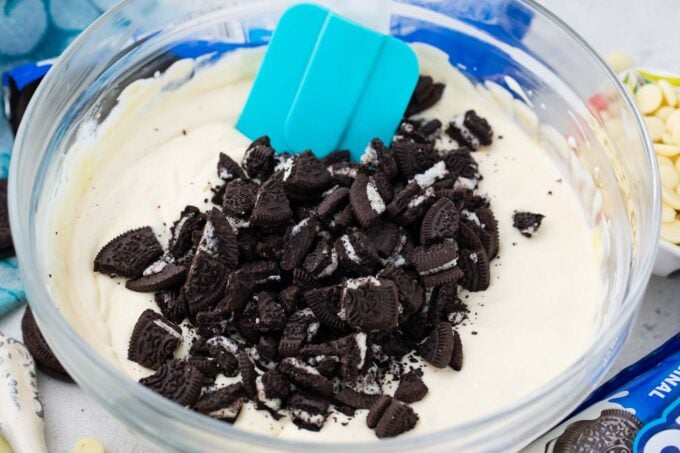
Fold in Oreos: Then, it is time to add the vanilla and scrape the sides and bottom of the bowl again before gently folding in the chopped Oreos. The last thing to do is to pour it into the chilled crust.
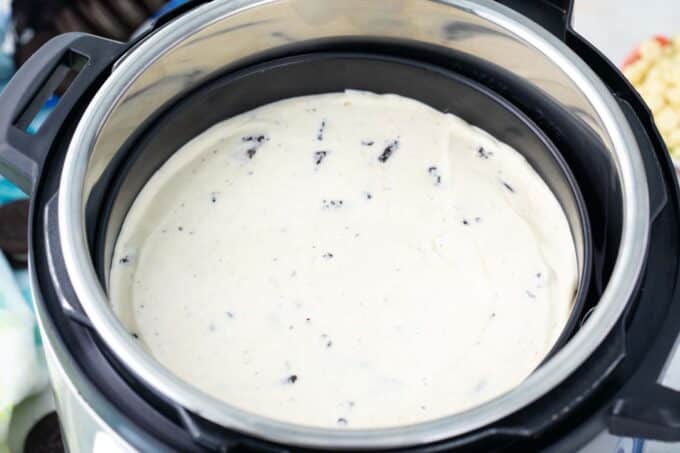
Pressure cook the cake: When all that is done, I put the trivet into the instant pot and then add 1.5 cups of water. I cover the cheesecake with aluminum foil to keep out condensation and place it on top of the trivet before setting it to high for 30 minutes.
Release the pressure: Once the Instant Pot Oreo cheesecake is finished cooking, it will need a 20-minute natural release before being opened. I cool it on a cooling rack for one hour, then leave it in the fridge overnight or for at least six hours.
Make the ganache: To make the ganache, I heat the heavy cream in the microwave for 45 seconds until it starts to bubble. Then, the chocolate chips go into another bowl so I can pour the hot cream on top of them. I let them sit for one minute before stirring. If it is not melted, I give it another 20 seconds in the microwave.
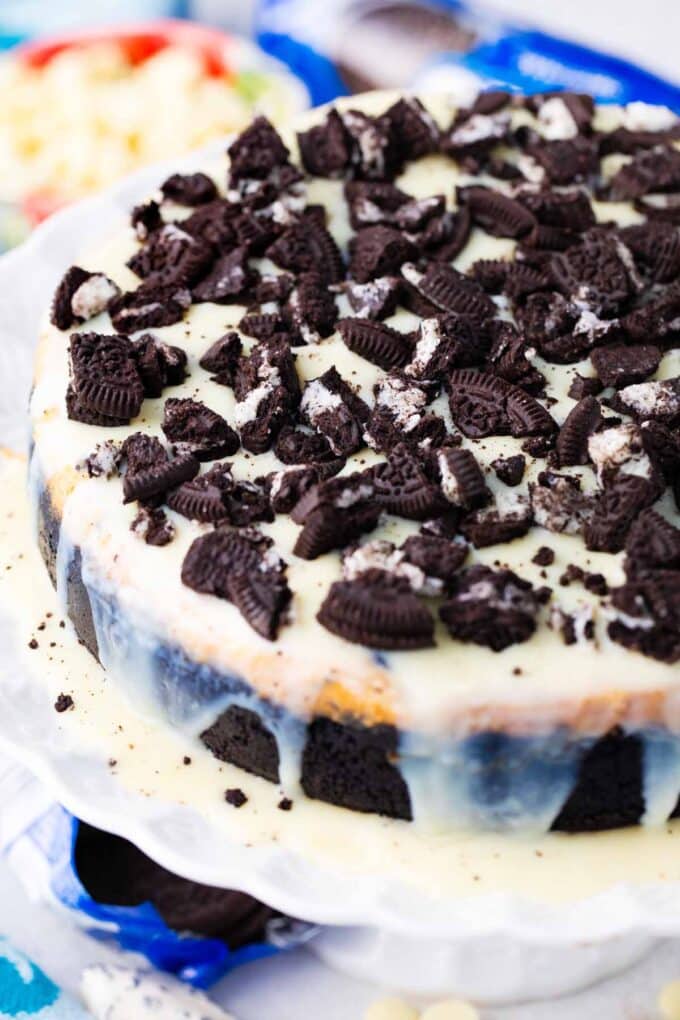
Decorate: Last, I take the cheesecake out of the pan and place it on a serving plate, pour the ganache on top, and top it with chopped Oreos.
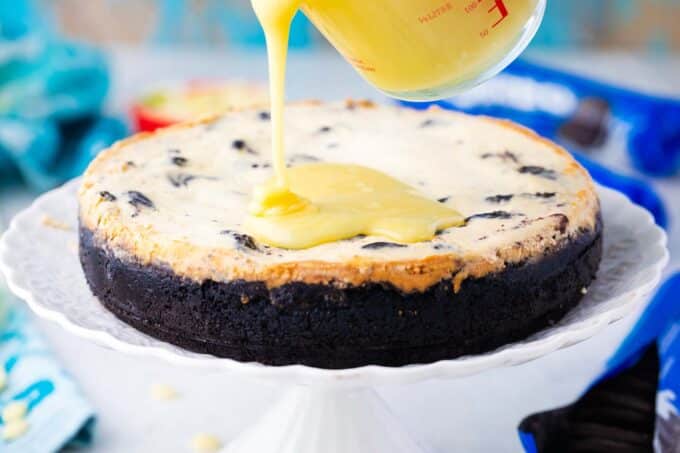
Chill and serve: After it settles, I let it chill for 15 to 30 minutes before serving.
Expert tip
Removing a cheesecake from a springform pan
Springform pans are amazing, but they must be prepared before use. First, spray the bottom and sides with non-stick baking spray. Then, place a round piece of parchment paper in the bottom of the pan. The spray will help keep the parchment paper from moving around in the pan and the cake from sticking to the sides. After the cheesecake has cooked and completely cooled, run a butter knife around the edges to loosen it.
After that, unlock the latch to remove the ring from around the cheesecake and lift it off very carefully. Once it is off, run an offset spatula around the cheesecake to smooth the sides. Then, use a long, flat knife to loosen the cake from the bottom of the pan. Remove the parchment paper and place the cake on a serving platter.
More tips to consider
- Bring the ingredients to room temperature before using them.
- Only use full-fat, brick-style cream cheese for the best flavor, texture, and thickness.
- Using low-fat cream cheese can also cause your cheesecake to crack or become grainy.
- Overbaking can also create cracks and graininess.
- After each cut, I dip my knife in hot water and wipe it off with a paper towel to ensure neat slices.
Recipe variations and add-ins:
- Other flavors: Oreos come in so many flavors that the choices are endless. One of my favorites is a peanut butter Oreo crust with chocolate peanut butter pie Oreo filling and dark chocolate Oreo topping.
- Different crust: Instead of using an Oreo crust, use graham crackers or another type of cookie.
- Whipped cream: Lighten the topping using my easy whipped cream recipe instead.
- Buttercream: Instead of ganache, use this Oreo buttercream frosting to decorate the top of this scrumptious dessert.
- Make it festive: Add some rainbow sprinkles and candy glitter to the top.
- Nutty top: Another way to top this cheesecake is to sprinkle on some chopped pecans or walnuts.
Serving suggestions:
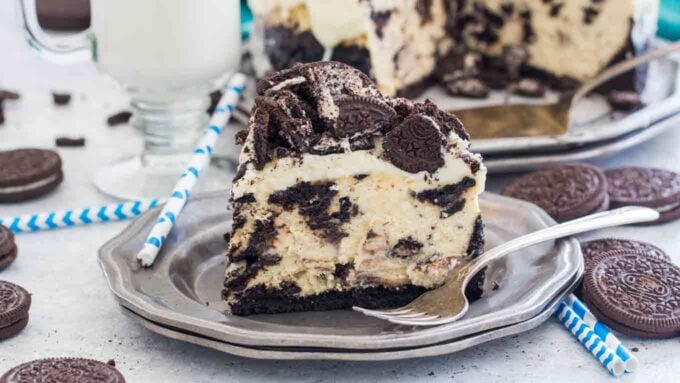
Here are some of my favorite ways to serve this delicious cheesecake. My 3-ingredient Oreo ice cream is the perfect accompaniment. They are made for each other. Serve it drizzled with hot chocolate or caramel sauce and with a dollop of whipped cream on the side.
Oreo cheesecake is a fabulous dessert to follow up on this mouthwatering beef bourguignon. It’s also the perfect dessert for special occasions or to take to a potluck. To add a pop of color, serve it with vanilla ice cream, berry compote, and a handful of fresh berries. I can also suggest a drizzle of this homemade strawberry sauce.
How to store:
- Refrigerate: Refrigerate for up to three days in a sealed container.
- Freezing: Wrap leftovers in plastic and put them in freezer bags; they can be frozen for up to three months.
- Defrost: Thaw overnight in the fridge for the best flavor.
Frequently asked questions
It could be from overmixing the batter or from using a smaller pan than the one recommended. I use a seven-inch pan, so if yours is smaller, it will take longer to cook. Either way, put it back into the instant pot for another five minutes under high pressure, and after that, let the pressure naturally release for 10 minutes. If it is still too runny, give it another five minutes. After that, I would try chilling it longer. Give it another few hours in the fridge.
The easiest way to tell whether the cheesecake is done is to remove the aluminum foil and tap the side of the pan. It is done if the middle has a slight jiggle, but the outer circle is set. A more accurate way to tell is to use an instant-read thermometer; the internal temperature should read 150 degrees F. The problem with an instant pot is that it is closed until the time is up, and then you have to wait for the pressure to be released. After that, check the temperature and see if it needs to be cooked longer.
Using an instant pot is a foolproof method of making a cheesecake without a crack because it has a built-in water bath. However, other things cause cracks. Overcooking is one of the main issues. It can also be caused by using low-fat ingredients. Also, use the best cream cheese. It is the star of the show. Finally, ensure all the ingredients are at room temperature before filling.
One of the main reasons for grainy cheesecake are low-fat ingredients. It could also turn out grainy if whipped cream cheese was used. The whipped cream cheese is coagulated with lactic acid, which can cause graininess. Overbaked cheesecake can also be an issue because it will turn dry and gritty from the egg proteins. But it may also be from a drastic temperature change. Let the cake cool gradually.
More instant pot cheesecakes:
Loved this recipe? I’d love to hear from you! 💛 Leave a 5-star rating ⭐️ in the recipe card below and share your thoughts in the comments – I read and appreciate every single one!
Let’s stay connected! Follow me on Facebook, Instagram, Pinterest, and YouTube for more delicious, sweet and savory recipes. Have a question? Ask in the comments, and I’ll be happy to help! 😊 with love Catalina!
Instant Pot Oreo Cheesecake
Ingredients
Crust:
- 15 Oreo Cookies
- 3 tablespoons melted butter
Batter:
- 2 packages (8 ounces each) cream cheese at room temperature
- 1/2 cup white granulated sugar
- 1 tablespoon cornstarch
- 3 large eggs at room temperature
- 1/2 cup heavy cream at room temperature
- 1 teaspoon vanilla extract
- 10 Oreo Cookies chopped
White Chocolate Ganache (optional):
- 1/3 cup heavy whipping cream
- 1 cup white chocolate chips
Garnish:
- 8 Oreo Cookies chopped
Instructions
Cheesecake Crust:
- Lightly coat a 7×3-inch springform pan with nonstick spray and set aside.
- Add the cookies to a food processor and finely process until crumbs are formed. Or add the cookies to a ziplock bag and crush them using a rolling pin.
- Add the cookie crumbs and melted butter to a large bowl and stir until well combined.
- Press the mixture into the prepared springform pan. Using a measuring cup, press the crust and try to line the sides about to the middle of the pan edges.
- Refrigerate for at least 20 minutes.
Cheesecake Batter:
- Make sure all the ingredients are at room temperature before you begin.
- Add the cream cheese, sugar, and cornstarch to a large bowl using a stand mixer and beat until light and fluffy at medium to low speed. Scrape the sides and bottom of the bowl.
- Beat in heavy cream with the mixer on low speed. Scrape the sides and bottom of the bowl.
- Add the eggs one at a time and beat after each addition until well combined. Beat in the vanilla extract.
- Stir in chopped Oreo cookies.
- Remove the crust from the freezer and pour the cheesecake batter mixture into the prepared pan.
Cook:
- Place the metal trivet into a 6-qt Instant Pot and add 1 1/2 cups water.
- Gently transfer the cheesecake pan to the top of the trivet. Cover the top of the cheesecake pan (not the IP) with foil.
- Select the manual setting and adjust the pressure to high. If using a springform pan that is 7×3 inches, cook for 30 minutes; if using a 6-inch pan, add five more minutes and cook for 35 minutes.
- Note: 30 minutes worked perfectly for me. Cooking time can be different depending on elevation and other factors. If you have never made cheesecakes in your IP and are unsure what cooking time works best, I recommend cooking for 35 minutes to be safe. Thirty minutes will result in a creamier cheesecake, and 35 minutes will result in a denser cheesecake.
- When finished cooking, the Instant Pot beeps and releases pressure naturally for about 20-30 minutes.
- Carefully open the pot and transfer the cheesecake to a cooling rack. Let it cool for 1 hour, then run a paring knife around the edges.
- Transfer the cheesecake to the refrigerator for at least 6 hours or overnight.
White Chocolate Ganache (optional):
- Heat heavy cream in a heat-proof bowl in the microwave for 45 seconds until it's just beginning to bubble.
- Add white chocolate chips to a medium bowl, and pour the hot, heavy cream over them, ensuring they are fully covered with cream. Allow mixture to sit for 1 minute.
- Stir slowly until the cream and white chocolate chips are combined. Some chocolate bits may not be fully melted yet; in that case, heat the mixture again for 20 seconds and stir. Please repeat as necessary until all the chocolate bits are fully melted and incorporated.
- Add a few more chocolate chips or heavy cream if the mixture is too thin or thick.
- Remove the cheesecake from the pan, place it on a serving plate, and pour white chocolate ganaches over it.
- Immediately garnish with chopped Oreo Cookies.
- Wait for the white chocolate ganache to settle/Harden before slicing and serving the cheesecake.
- Refrigerate the cheesecake, covered loosely with aluminum foil or plastic wrap. It will stay in the fridge for up to one week.
Video
Notes
Removing a cheesecake from a springform pan
Springform pans are amazing, but they must be prepared before use. First, spray the bottom and sides with non-stick baking spray. Then, place a round piece of parchment paper in the bottom of the pan. The spray will help keep the parchment paper from moving around in the pan and the cake from sticking to the sides. After the cheesecake has cooked and completely cooled, run a butter knife around the edges to loosen it.
After that, unlock the latch to remove the ring from around the cheesecake and lift it off very carefully. Once it is off, run an offset spatula around the cheesecake to smooth the sides. Then, use a long, flat knife to loosen the cake from the bottom of the pan. Remove the parchment paper and place the cake on a serving platter.
More tips to consider
- Bring the ingredients to room temperature before using them.
- Only use full-fat, brick-style cream cheese for the best flavor, texture, and thickness.
- Using low-fat cream cheese can also cause your cheesecake to crack or become grainy.
- Overbaking can also create cracks and graininess.
- After each cut, I dip my knife in hot water and wipe it off with a paper towel to ensure neat slices.





It all looks delicious.Thanks for sharing
Re the pan size….is it a 7×2 or 7×3? Thank you.
7×3
LOVE this idea! This looks absolutely incredible!
Wow, that looks so good! And I never would have thought you could make something like this in an Instant Pot, cool!
This looks so perfectly creamy! 🙂
I am new to using my instant pot so I haven’t tried any desserts but this make me want to try a cheesecake today!
Ahhhhhh i need this in my life RIGHT NOW!
When making the crust so you use the whole cookie or just the cookie part without the icing in the centre. Also do you put the foil right over your spring form pan or the top
Of the actual pot.
You have to use the whole cookie, and yes you put the foil right over the springform NOT the pot and secure on the sides.
I have a 6 inch pan. Would the cooking time be different than the 7 inch pan?
I would add 3-4 minutes.
I love a good cheesecake, and OREO combo, OMG!! The mix is perfect, I love Oreo and this is really pretty and cool. I am new to IP and will try this cake this weekend, it is really good looking!!!
I have this in the Pot right now and can hardly wait until tomorrow! Two questions, though, please. 1) Since you put nutrition info (thanks for that btw), I’m curious as to how many slices that’s based on. I usually cut mine into 16 small slices. It’s supposed to be portion control, but I usually have two slices. LOL. One slice is great for the kids, though! If it’s 500 calories for 1/16, then I seriously need to exercise some restraint. 2) Why not add the chips to the cream in the same bowl? I’m not seeing the logic in dirtying another bowl that’s still going to go back into the mic, but I’m sure there must he a reason.
Thanks so much for this. I hope mine turns out as well as yours. I’ll he sure to come back and rate it in a couple of days. 5 stars for ease already though!
Hi Red, the recipe says 8 slices. To answer question #2, you need to add HOT cream over the chips, white chocolate is so pretentious, it may curd if you heat it in the microwave with the cream. If the chips don’t fully melt after you add the cream, you can microwave the mixture for 30 seconds, stir and repeat if needed. I really hope you like this recipe 🙂
Hi! Can’t wait to try this and the pumpkin Cheesecake! Question: Can milk be substituted for the heavy cream?
Yes, it can! I hope you like it 🙂
Hi! I purchased a 9×2.75 springform pan for my IP. How will this affect the recipe?
I would not change anything. Do you have a larger IP?
I have an 8 qt, would you recommend adding 2 cups of water to the bottom instead of 1.5 cups? Can’t wait to make this for New Years Eve! Thanks!
Yes, you should always have the min water requirement for your pot.
I did it! I made my very first cheesecake ever and it was also made in an instant pot! Super easy great success – thank you for sharing this wonderful recipe!!
This was my first cheesecake in the Instant Pot. Thank you for the clear instructions and a delicious first attempt. My husband makes a full-sized cheesecake and was skeptical until he tasted it. We have a winner! I cooked it 31 minutes and put extra Oreos in the batter. Will try the ganache topping next time, though it’s so rich with nothing on top. Gracias!
Thank you for such a delicious recipe and so well written out for us to follow. I’ve made it twice now, once without the ganache and this weekend with, and both were a hit. We added extra Oreos to the filling, so it’s like a giant Doublestuf on a plate!
Hi Catalina,
I have made this recipe over 4 times since receiving our IP. This is a huge hit with our family, friends and co-workers, people now ask me to make one to give to other people! I made some changes to this, I did not add the ganache and opted for a whipping cream mix with shaving of Oreo instead.
Thank you so much for posting this!
I am so happy that everyone loves it, its absolutely delicious!
Do you recommend regular or double stuffed Oreos?
Regular are fine, but you can always add double stuffed 🙂
I bought mini springform pans(3) do you think it could work if I do it that way?
cooking time will be different, sorry I haven’t tried it this way.
I’ve made this several times and it’s so delicious! I noticed that you say to put the crust in the refrigerator and then later on down in the directions it says take the crust out of the freezer. Should the crust be placed in the refrigerator or freezer for best results?
I usually pop it in the freezer if I am short in time, for like 10-15 minutes.
This is in the IP right now and I have high hopes. The recipe as followed was so smooth and delicious. However I cannot for the life of me find my springform pan so I used mason jars. I set time the same and loosely covered each with foil and secured with lid. If it turns out I’ll be so happy because I can gift my dad one of the jars for Father’s Day! Thank you!!
This looks so good. I tried my hand at it tonight but it didn’t turn out right-it has a very jiggly springy and custard-y texture….😕 cooling it down hoping it will help with texture… but I have a feeling it just going to make it colder…any thoughts?
Thank you,
In case your cheesecake is still jiggly, just pressure cook it for another 5 minutes.
Do I add the ganache when it comes out of the IP or after it’s refrigerated?
After it is refrigerated.
I have an 8qt IP and 8inch pan. What does the cook time change to?
same cooking time
When you say “release pressure naturally” does this mean to push the knob from ‘sealing’ to ‘venting’ then letting it sit? Sorry, I am still new to the IP! When I did this it definitely took less than 20-30 minutes..
Naturally means you turn off the IP and do NOT do anything, let it sit for how many minutes its indicated, this way the IP “naturally depressurizes”. After that you MANUALLY release the pressure by opening the vent, from sealing to venting.
I’m making this tonight but have one question… It says to refrigerate the crust for 20 minutes and then under the Cheesecake Batter instructions it says to remove the crust from the freezer to pour the batter into. Is the crust supposed to be refrigerated or frozen for 20 minutes?
Freeze for 20 minutes
Wow. Amazing!!! I made it last night and we just tried it this morning. It was PHENOMENAL. I left it in the IP for 40 mins and it was so dense and delicious. Will definitely be making this again!!!
Just put the finishing touches on, I can’t believe how great it looks!! We have to have dinner before eating… but I’m so excited, I feel like a pro baker! 🙂
Thank you for the feedback, so happy that you enjoyed this recipe!
This was my first time making an IP cheesecake and it was delicious and so easy. I didn’t do the ganache and will try that next time. Thanks for sharing!
I have a 10QT IP and was thinking of using a 9inch pan. Any tips on modifying the recipe for the larger pan size?
Thanks!
This turned out amazing! I added the chocolate ganache to the top as well. I am definitely not a seasoned baker by any means and I am not a fan of cheesecake, but my husband loves it so I thought I’d give it a try. He said that it was one of the best cheesecakes he’s ever had! I wish I could attach a picture! Thanks so much for this super delicious and simple to make recipe 🙂
Sorry new to making cheesecakes what is the difference between heavy cream and heavy whipping cream? I am having difficulty in finding just the heavy cream
Hi Mary, there is no difference.
My cheesecake expanded so much it went about an inch over the top of the pan! It still wasn’t done so added another 5 min. Still wasn’t done so I added another 3! What could I have done wrong?
What size of the pan did you use?
I have been making cheesecake for 50+ years and have tried many recipes! This recipe is a home run!! My husband is not a fan of Oreo cookies, but this is his favorite now!! Thank you for sharing your recipe!
Cheesecake was delicious. I had to add a little time to mine to fully bake. However, it’s not 28 minute cook time! If you have 30min on your instant pot, it takes 10min to come to pressure, AND you say to natural release for 20-30min! That’s minimum 60min cook time, possibly 70 or more if you have to add more time. I started this at 9pm thinking I’d be in bed by 10:30. With the prep and cook time, it was closer to 11:15! So do not be fooled, people! 😆
When using high pressure do you use “less”, “normal”, or “more” setting?
usually more
Let me tell you this is one amazing recipe definitely one to make! I used a I used a 7.3 inch circle spring pan and cooked for 33 minutes and time released for 25. absolutely amazing. Next time I’m going to add mini chocolate chips on the top at the very end. Also, the ganache is a must it definitely makes it. Will be making again.