Instant Pot Japanese Cheesecake
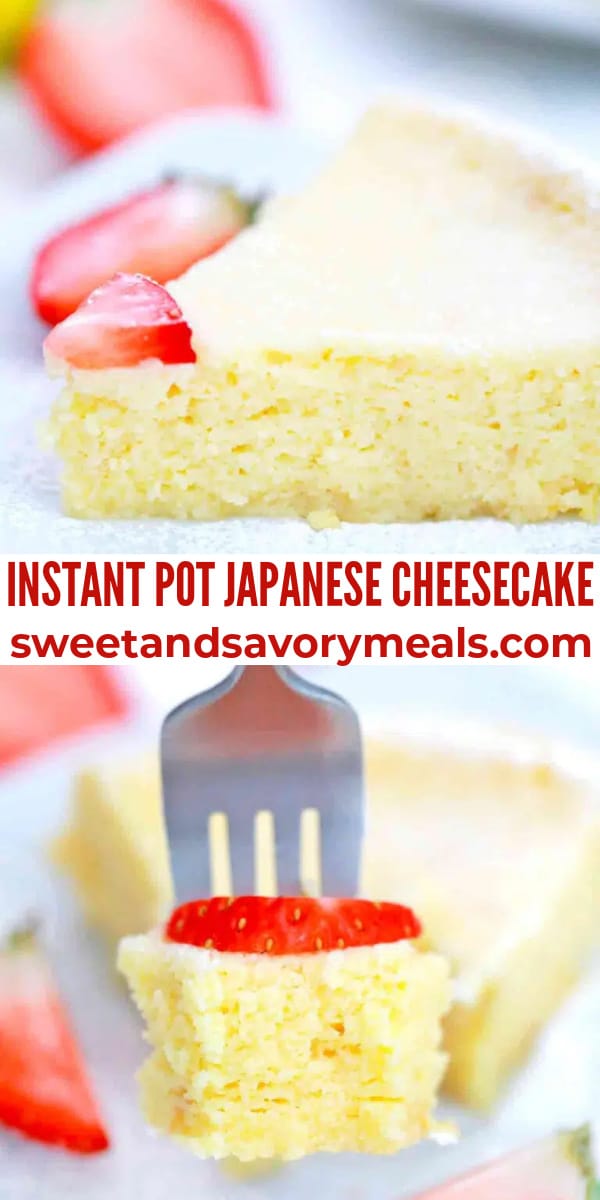
Instant Pot Japanese Cheesecake is a light and fluffy dessert with just a few ingredients including cream cheese, white chocolate, and eggs. You will not need a water bath or an hour of cooking for this simple and easy recipe either. Just mix it up, put it in the pot, and cook for 17 minutes.
For other great instant pot dishes, check out our Beef and Broccoli made with steak and brown sugar, or this Mongolian Beef recipe made with sesame seeds and chives. Add these Instant Pot Corn Muffins to go with one of these beef dishes.
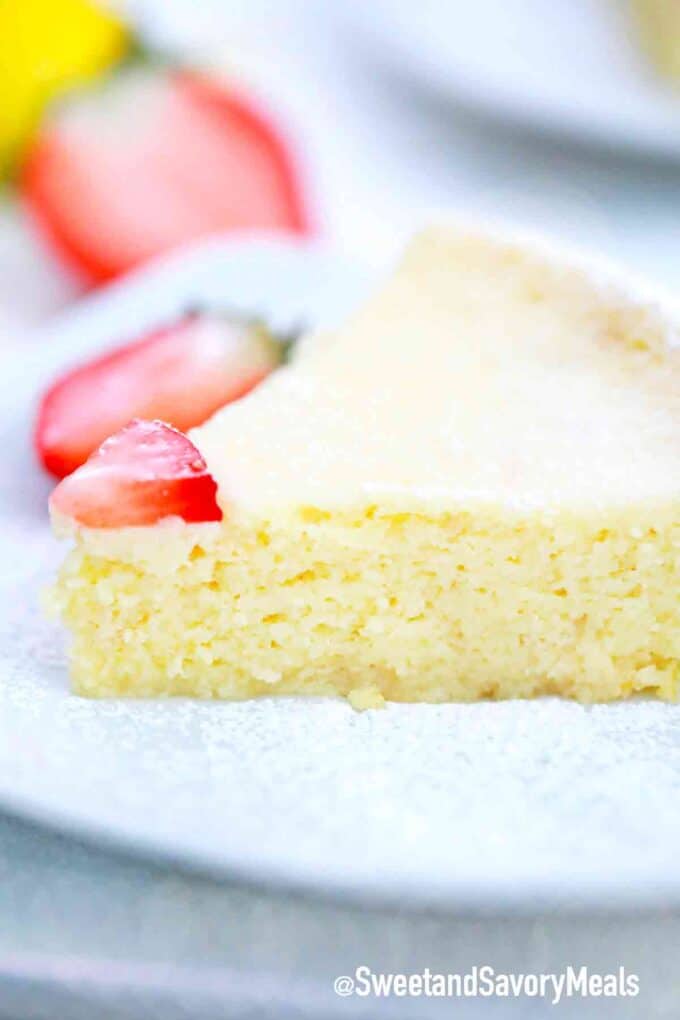
You may also see this recipe with the name three-ingredient Japanese cheesecake, which calls for eggs, white chocolate, and cream cheese.
Some people call it jiggly cake because of the way the middle moves. If you would rather have a regular cheesecake, try our Cheesecake Factory Original Cheesecake Copycat with a buttery graham cracker crust.
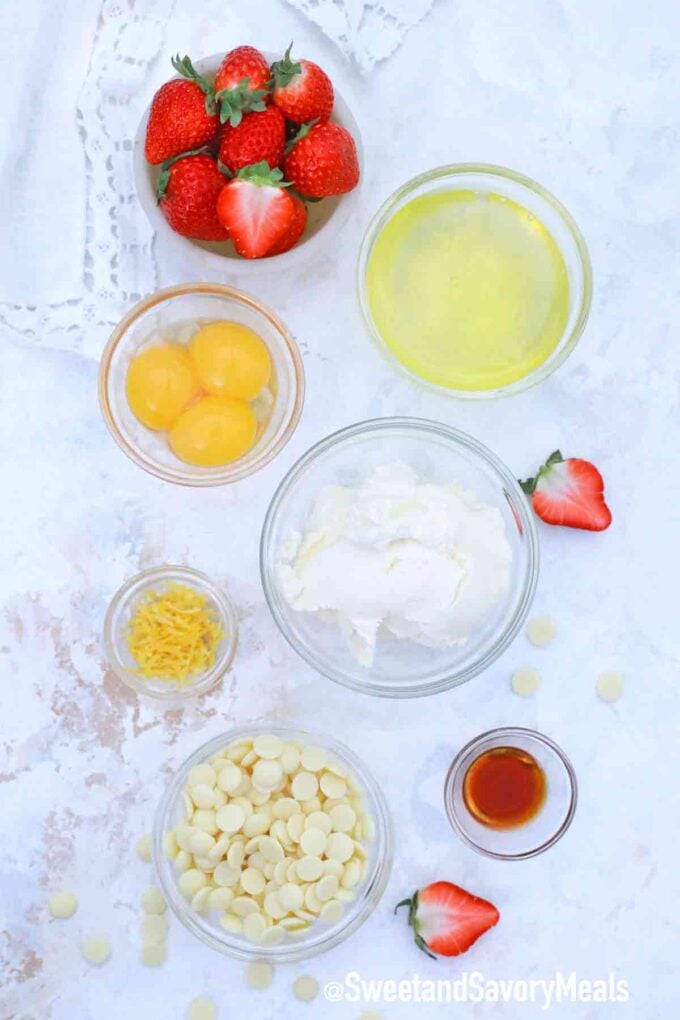
Ingredients needed:
These are the simple ingredients in this easy Japanese cotton cheesecake. If you want the exact measurements and instructions, scroll to the bottom of the page to find our recipe card.
- Large eggs: Separated.
- White chocolate chips: Or candy melts.
- Full-fat cream cheese: Softened to room temperature.
- Lemon zest: Make your own by scraping the yellow off a lemon.
- Vanilla: Pure vanilla extract is best.
- Fresh strawberries: For serving (optional).
- Powdered sugar: For serving (optional).
- Water: You need 1.5 cups of water for the bottom of the pan.
How to make instant pot Japanese cheesecake recipe?
- Prepare: Line the inside of your cake pan or springform pan with parchment paper.
- Separate: After separating your eggs, keep the egg whites in your refrigerator in a clean bowl until you are ready for them. Do not allow anything to contaminate the whites or they will not whip properly.
- Melt: Next, you can use a double boiler or the microwave to melt chocolate pieces. In your microwave, melt in 20- second intervals, stirring between each interval until the chocolate is smooth.
- Cream cheese: Then, whisk in the cream cheese. If it is still too hard to whisk, soften it in your microwave.
- Mix: After the cream cheese mixture is completely smooth, add the egg yolks and whisk some more.
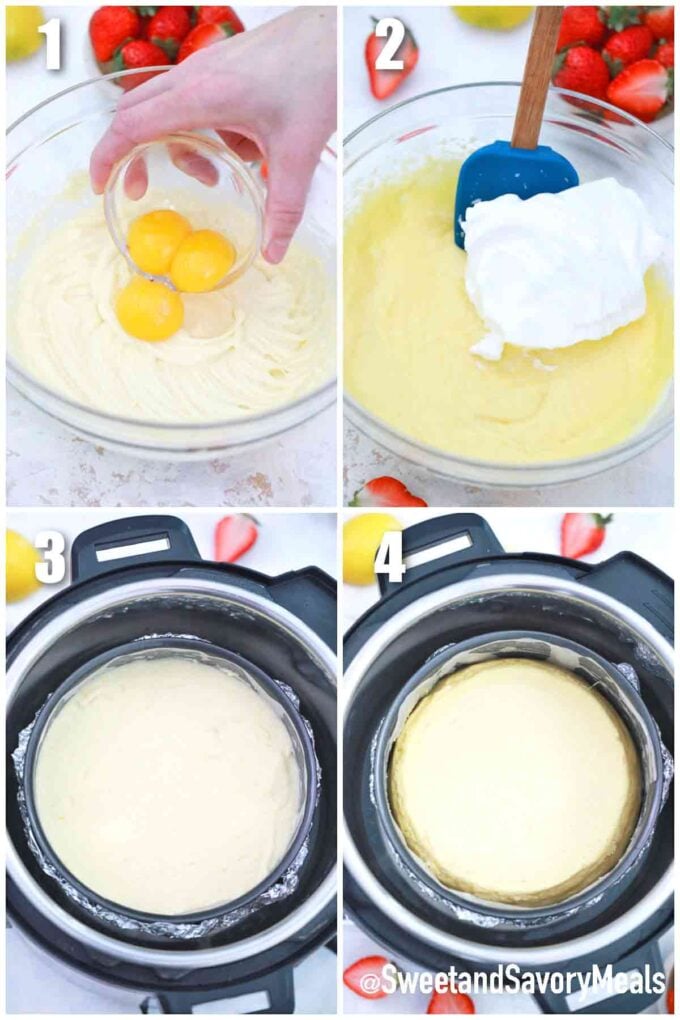
- Beat: Next, in a separate bowl use a stand mixer or electric mixer (hand mixer) on high speed to beat the egg whites until they have stiff peaks. It should be glossy, and the peaks should stand up straight. Stiff peaks are essential for your cake to rise.
- Combine: Then, carefully add 1/3 of the egg whites to the cream cheese batter, folding them in softly until there are no more white streaks. Fold in another third the same way before finishing with the final third with the vanilla extract and lemon zest.
- Place: Immediately, pour your batter into a prepared cake pan and put it on top of the trivet in your pot along with 1 ½ cups of water. Make sure the water does not touch the pan.
- Seal and cook: Lastly, seal the pot and set it to manual high pressure for 17 minutes, using natural release when it is done so the cake continues to set.
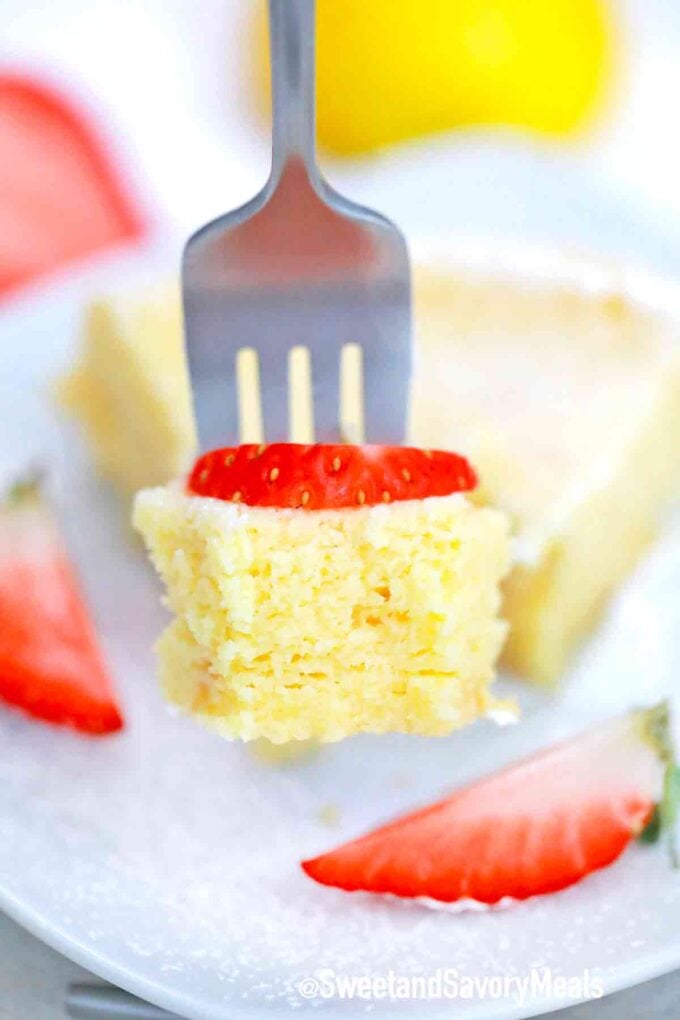
- Remove and chill: Finally, remove the cake and chill it in the fridge for several hours. Although you could eat it warm, the flavor and texture will not be as it should be. It will be more like a souffle than a cheesecake.
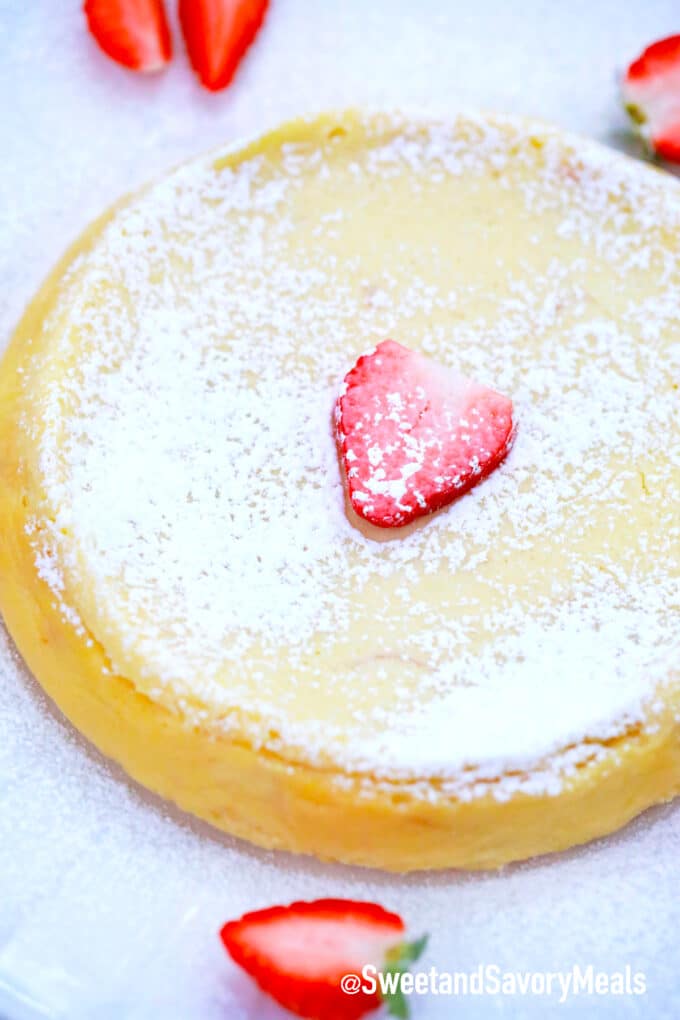
- Serve: Add powdered sugar and fresh strawberries on top of the cheesecake for serving.
Recipe variations:
- Lemon juice: If you do not have lemon zest, feel free to use one teaspoon of lemon juice instead.
- Cornstarch: Add a bit of corn starch or cake flour and beat it into the cream cheese mixture at low speed before adding the egg whites for a firmer texture.
- Brown sugar: For a richer taste, use a half-cup of brown sugar in the cream cheese mix before folding in the egg whites.
- Butter: Alternatively, use melted butter instead of spraying the inside of your pan with cooking oil.
- Chocolate lovers: Add a ½ cup of chocolate chips for more chocolate flavor.
How to serve:
Serve this delicious cheesecake chilled with a small bowl of strawberries or fresh fruit of any kind. Or try one of these serving ideas:
- You could make this cake extra special with a dollop of homemade strawberry sauce or blueberry sauce.
- Another way to decorate your dessert is by adding some rainbow sprinkles or some type of colored sugar.
- Add a scoop of our homemade whipped cream on top for extra creaminess.
- Serve with a mug of warm white hot chocolate or a glass of cold milk.
- Drizzle chocolate syrup on top for a chocolatey taste.
Frequently asked questions
What is the difference between Japanese and regular cheesecake?
The difference is in the ingredients as well as the preparation, which makes the Japanese-style cake much lighter.
A typical cheesecake has a cookie crust and is a more solid and heavier texture. Japanese cheesecake has no crust.
It includes sugar, eggs, sour cream (or heavy cream), and cream cheese while the Japanese style only has cream cheese, separated eggs, and white chocolate. This type of dessert is more like a New York cheesecake than the traditional ones.
Besides the difference in ingredients, with a Japanese cheesecake, you will separate the eggs. Add the egg yolks to the mix first and then adding the egg whites after you create stiff peaks by whisking them. This makes it much lighter and fluffier.
Why did my cheesecake fall?
The main reason this happens is if you are not cooking it at a high enough temperature or it did not cook long enough.
Another reason it may fall is if you did not incorporate the egg whites enough into the final cheesecake batter. Make sure there are no white streaks when you finish.
How do you know when it is done?
If you are not using your pressure cooker or instant pot, you can test your cake just like regular cakes. Poke a toothpick in the middle of the cake and if it comes out clean it is done.
Cook for another 10 to 15 minutes so the top of the cake turns golden brown. Leave the oven door open for an hour after baking to set properly.
How to store leftovers:
- Store: After the cake cools to room temperature, you can save the leftovers in an airtight container in your refrigerator for two or three days.
- Freeze: If you want to freeze your leftovers, wrap it in plastic wrap and aluminum foil before putting them in a freezer bag. It will stay fresh for up to three months in the freezer.
- Thaw: Thaw overnight in the refrigerator before serving for best results. Serve chilled or at room temperature.
More cheesecake recipes:
Cooking tips:
- If you do not whip the egg whites enough, you will not get enough air bubbles in the mixture to make it tall and fluffy.
- The best way to line your cake pan is to cut a circle to fit the bottom and then a long strip to go around the sides. Coat the pan with cooking oil spray to keep the paper in the right place.
- Place paper towels over the top of the pan to absorb any excess moisture.
- Make sure you whisk the eggs until they are stiff peaks rather than soft peaks. The tips should stand up straight instead of leaning over.
- You should also be sure there are no white streaks after mixing in the egg whites.
- If the top does not brown, put it in the broiler for five to 10 minutes, watching carefully so it does not burn.
- If you don’t have a double boiler and don’t want to use the microwave method, use a large bowl atop a simmering pot of water to melt the chocolate.
- It helps to use a silicone sling to easier remove your cake. If you do not have one, you can make a foil sling. Use a seven-inch cake pan for best results.
Loved this recipe? I’d love to hear from you! 💛 Leave a 5-star rating ⭐️ in the recipe card below and share your thoughts in the comments - I read and appreciate every single one!
Let’s stay connected! Follow me on Facebook, Instagram, Pinterest, and YouTube for more delicious, sweet and savory recipes. Have a question? Ask in the comments, and I’ll be happy to help! 😊 with love Catalina!

Instant Pot Japanese Cheesecake
Ingredients
- 3 large eggs
- 4 oz white chocolate chips
- 4 oz full fat cream cheese softened to room temperature
- 1 teaspoon lemon zest
- 1 teaspoon vanilla
- Strawberries to serve
Instructions
- Line the inside of a 7-inch cake pan with parchment paper. Cut a circle that will fit the bottom of the pan and a long strip that will cover the inside of the pan.
- Spray the inside of the pan with a cooking spray before lining it with the parchment paper pieces so they stay in place.
- Separate the egg yolks from the egg whites.
- Keep the egg whites in the fridge until ready to use.
- Microwave the chocolate for 40-50 seconds, and stir, microwave for 20-30 secs more if needed. Stir until chocolate is completely melted and smooth.
- Add in the cream cheese and using a hand mixer whisk until smooth. If your cream cheese is still too hard, soften slightly in the microwave. Make sure your batter is completely smooth before adding in the egg yolks.
- Add in the egg yolks and whisk until smooth.
- In a separate bowl, beat the egg whites on high speed until glossy, stiff peaks form. Make sure they are stiff peaks.
- Add one-third of the egg whites to the cream cheese batter. Gently fold in the egg whites with a spatula until just incorporated and there are no large lumps left. Fold in another one-third. Fold in the final one-third, lemon zest, and vanilla.
- Pour batter into the prepared cake pan.
- Add 1 1/2 cups of water to the Instant Pot. Place the trivet that came with the pot inside. Place your cake pan directly onto the trivet, it should not touch the water.
- Seal the lid and valve if needed. Set to manual, high pressure, for 17 minutes. After that do a natural release.
- Once the natural release is finished, carefully open the IP and remove the pan.
- Let it cool, after that refrigerate for several hours. The cake will shrink as it cools, but it should not collapse.
- Dust with powdered sugar before serving. Top with strawberries and serve.
Nutrition
