Cherry Pie Filling
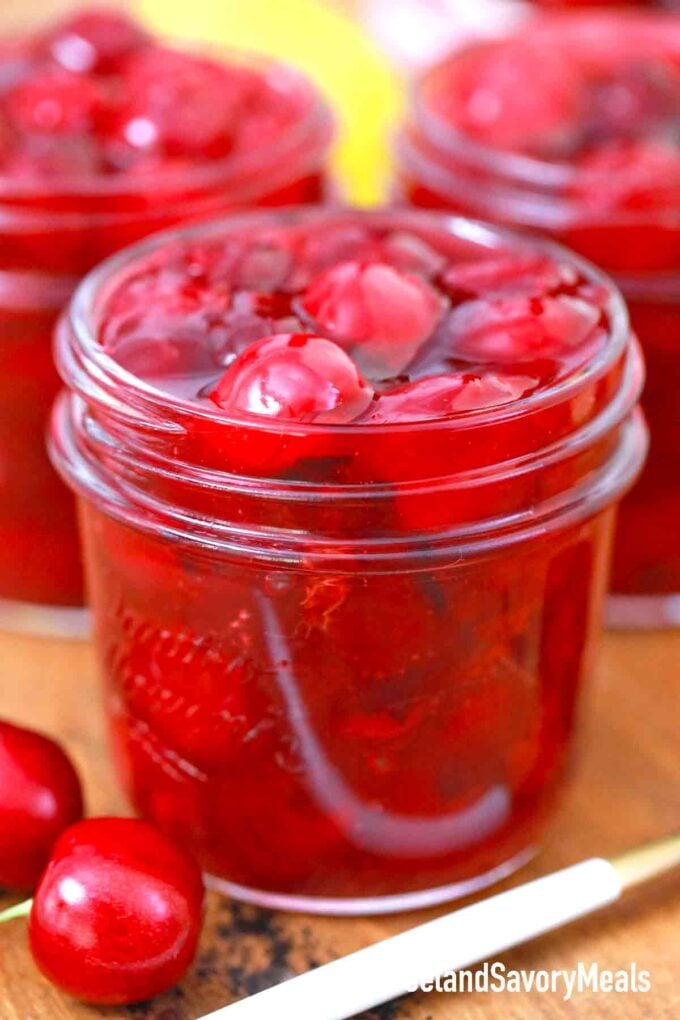
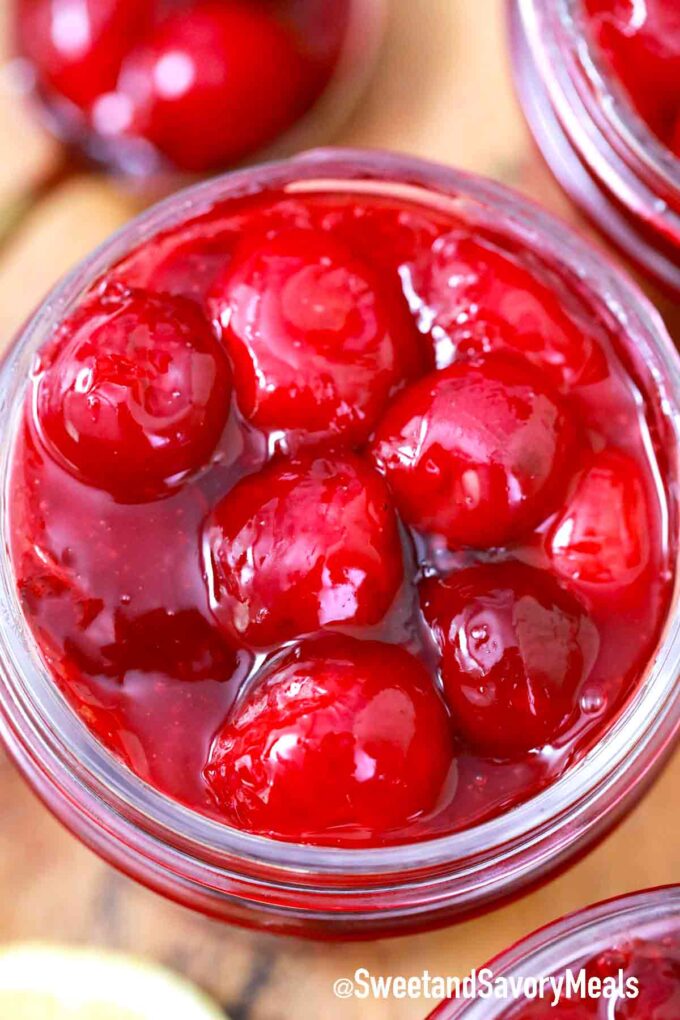
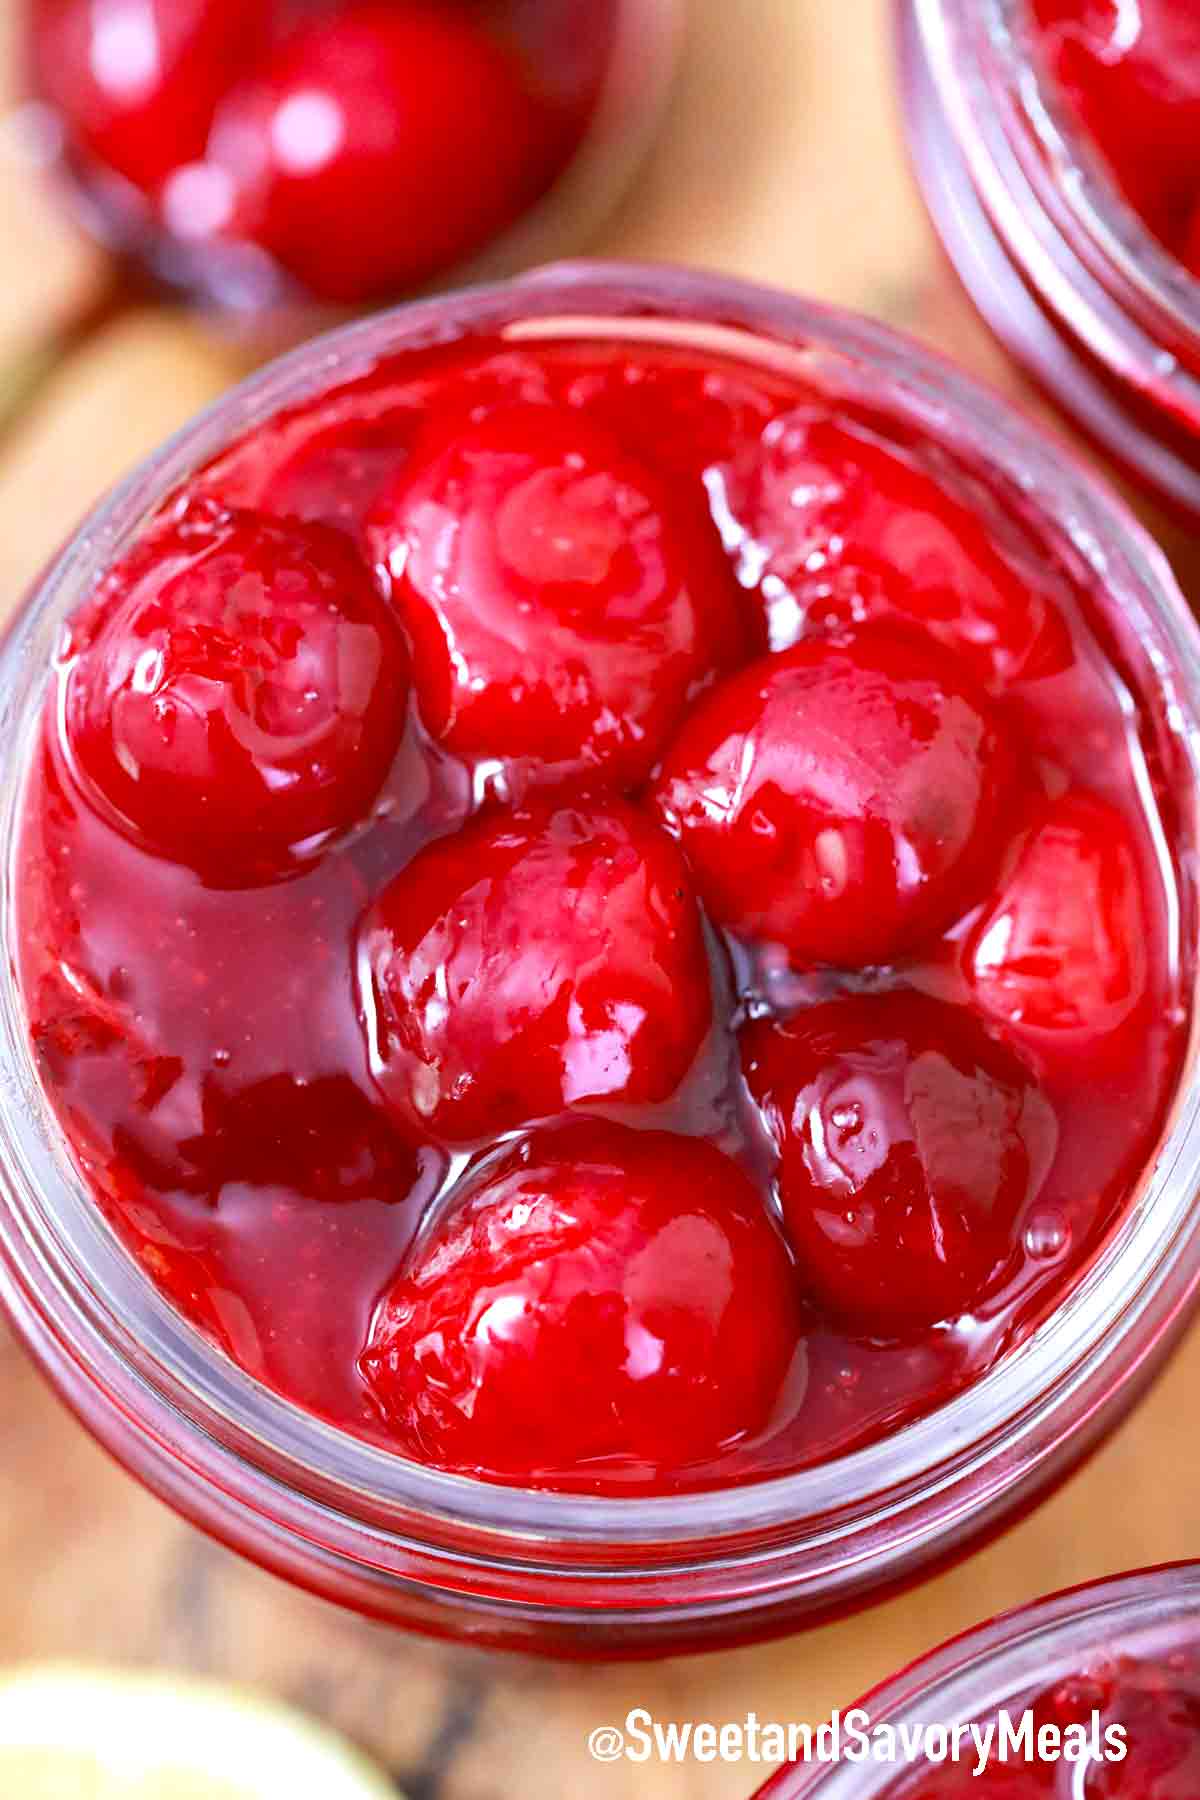
I love making this Cherry Pie Filling with just six ingredients; cherries, lemon juice, sugar, cornstarch, and a splash of almond extract. It takes me around 30 minutes, and I use it for everything from pies to cakes and all kinds of desserts.
Lately I’ve been on a cherry kick and shared two of my favorite desserts made with this amazing fruit. First up is my cherry amaretto tiramisu and oh wow, I’m not even going to try putting it into words; you just need to make it and you’ll get what I mean. Then there’s my maraschino cherry pie, which is so fresh and fun, my kids pretty much claimed it as their favorite the second they took a bite.
Table of contents
And today I’m sharing a classic that I use in all kinds of desserts: homemade cherry pie filling. It’s honestly so much better than anything you’d get from the store, and way more affordable too. Besides the cherries, all you need is lemon, sugar, cornstarch, almond extract, and a little water. It comes together in about 30 minutes on the stove, and then I just pour it into jars to keep in the fridge or freezer until I need it. Super simple and always worth it.
Why you will love this recipe
- Only 6 simple ingredients: I use cherries, lemon juice, sugar, cornstarch, almond extract, and water to make a thick, sweet filling that works for so many desserts.
- Easy to make at home: I just stir everything together on the stove and in about 30 minutes, I have a homemade filling that tastes way better than the canned version. Trust me!
- Perfect for desserts: I use it in pies, cakes, trifles, and even on top of pancakes when I want something fruity and delicious for my family.
- Great to prep ahead: Once it cools, I pour it into jars and keep it in the fridge or freezer so it’s ready whenever I need it. Huge win!
What you will need
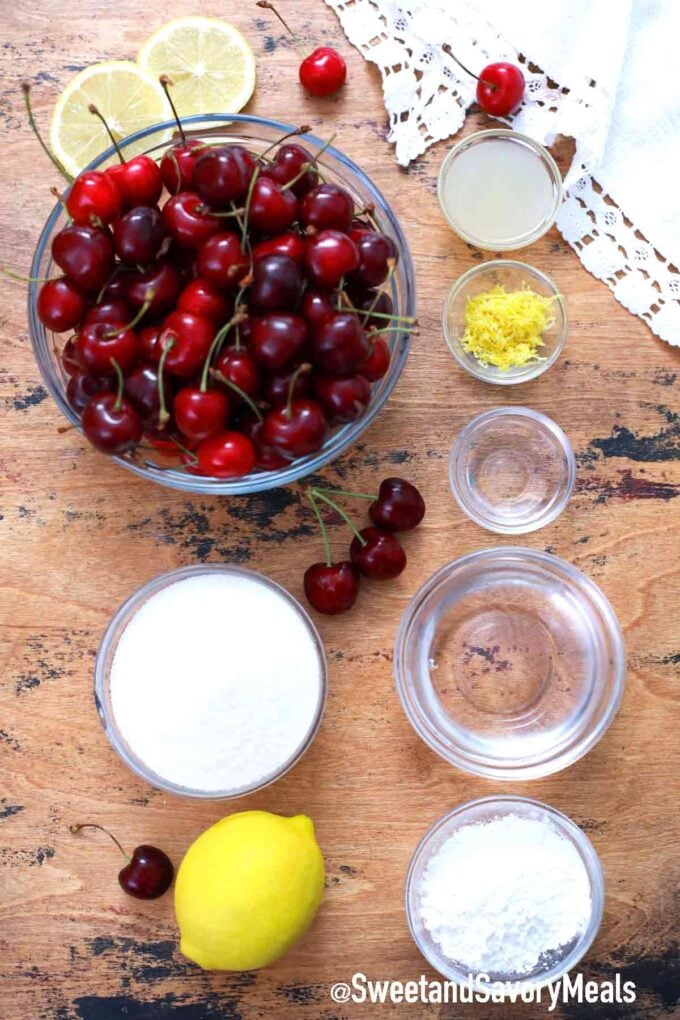
- Fresh cherries: I use washed and pitted cherries, and I love using Bing or Rainier when they’re in season.
- Fresh lemon juice: I usually squeeze it myself, but bottled lemon juice works too.
- Lemon zest: I grate a little zest for extra brightness, or swap in lemon extract if I’m out.
- Granulated sugar: I stick with regular sugar, but you can use a sugar blend to cut it down if you want.
- Cornstarch: I use cornstarch to thicken the filling, but potato starch works just as well.
- Almond extract: I add a splash for flavor, or swap in vanilla if that’s what I have around.
How to make
1. Combine the cornstarch and water: I use a saucepan over medium heat and whisk the cornstarch with water until it’s fully blended and smooth.
2. Add the lemon and cherries: I stir in the lemon zest, lemon juice, and all the bing cherries right into the saucepan with the cornstarch mixture.
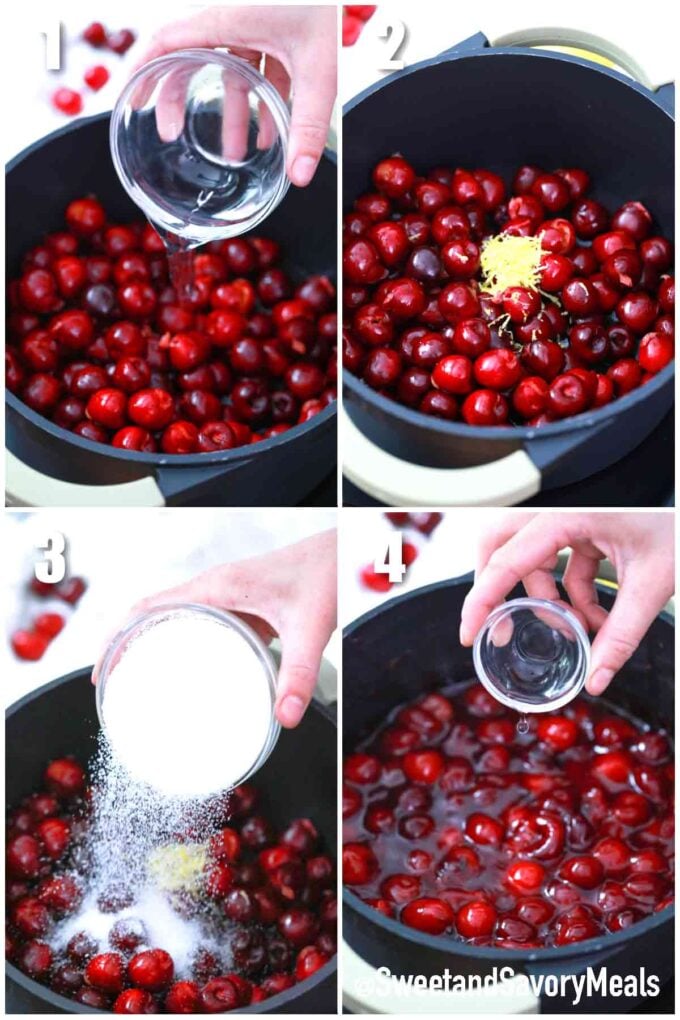
3. Add the sweetener and cook: I pour in the sugar and mix everything well, then let the sauce come to a boil. Once it starts bubbling, I lower the heat and keep cooking for about 10 minutes, stirring often so it doesn’t stick.
4. Finish it off: I stir in the almond extract at the very end, then let the cherry filling cool before serving or storing it for later.
Expert tip
Stir often while cooking
I always recommend staying close to the stove and stirring as it cooks. It’s super easy for the filling to thicken too quickly and start sticking if you walk away. I just give it a quick stir every minute or so, and that keeps it smooth and stops anything from burning.
More tips to consider:
- If you don’t have a cherry pitter, remove it with a paper clip, chopstick, or metal straw.
- Cook your pie filling long enough to thicken it properly. Do not chill it until it cools.
- You can use any pie crust, but cherries go best with a flaky dough crust and lattice topping.
- Ensure your jar lid pops when you are canning your cherry pie filling. If it does not, you can keep it in the fridge for up to two weeks but not in the pantry.
- If cherry pie filling is still not thick after it has cooked and cooled, pour it back into a saucepan, make a cornstarch slurry (1tbsp cornstarch dissolved into 2tbsps of water) and add it to the filling. Bring it to a boil and let it simmer for 10 minutes on low.
- My recipe makes enough filling to fill a 9″ pie crust.
Recipe variations and add-ins:
- Different extract: I swap the almond extract with 1 teaspoon of vanilla for a softer flavor. If I want a little citrus twist, I use 1 teaspoon of orange extract instead.
- Mixed berries: I like adding 1 cup of blackberries or raspberries with the cherries. It gives the filling a fun mix of flavors and textures.
- More spices: A pinch of cinnamon or a tablespoon of brown sugar goes a long way when I want something warmer or a little deeper in flavor.
- Spicy kick: When I want a little heat, I add 1/8 teaspoon of ground ginger or nutmeg. A tiny pinch of chili pepper works too if I’m feeling bold.
- No sugar: I’ve made this with 1/3 cup of maple syrup or honey instead of sugar. It keeps it naturally sweet and still thickens nicely.
Serving suggestions
I love using this cherry pie filling for more than just pies. I spoon it over warm oatmeal or stack it on top of oatmeal pancakes for a sweet start to the day. It also works perfectly layered into yogurt parfaits or even swirled into any ice cream for an easy dessert.
If you’re in the mood for baking, try it in my cherry galette or use it as a sweet layer in a hand pie or tart. It also makes a beautiful topping for my cheesecake factory original cheesecake. For something extra delicious and unique, use this filling in place of blueberries in my blueberry crisp recipe. So good!
How to store leftovers:
- Refrigerate: I pour any leftovers into jars and keep them in the fridge for up to a week.
- Freezing: I store the filling in freezer-safe jars, like canning jars, and it lasts for about three months. If I want to keep it longer, I use the canning method to seal it properly. (see instructions below)
- Defrost: I thaw the frozen cherry pie filling in the fridge overnight to bring back the best texture and flavor.
Cherry pie filling canning instructions:
- Make the mixture: First, follow the steps and prepare the recipe and after that let the mixture cool to room temperature.
- Water bath: In the meantime, after selecting the jars you will be using, fill a large pot with enough water to cover them by 1-inch.
- Prepare the jar: Next, remove the rings and take the lids from the jars. Prepare a medium bowl to have on hand and also place another medium pot with water over medium-high heat. Once the water is boiling, place the jars into it, cover, and boil for 10 minutes. Also, take some of the boiling water and pour it on top of the lids. Next, let them stand in the hot water for 5 minutes. After that remove the jars and the lids and place them on a clean kitchen towel to dry out.
- Add the mixture: Afterwards, distribute the mixture into the prepared jars, and after that add the lids and rings.
- Boil: Next, add the closed jars to the prepared water bath and boil for 5-6 minutes.
- Cool and Store: Once done, remove from the water bath and arrange them on a dry kitchen towel. Also, remember to let the jars rest undisturbed for 12 hours. In the meantime, listen for the jars to pop. If they pop, it means everything is good and you can store it in your pantry, it has been canned! But in case it doesn’t pop, it means the filling will stay good in the jars in the fridge for up to 2 weeks.
Frequently asked questions
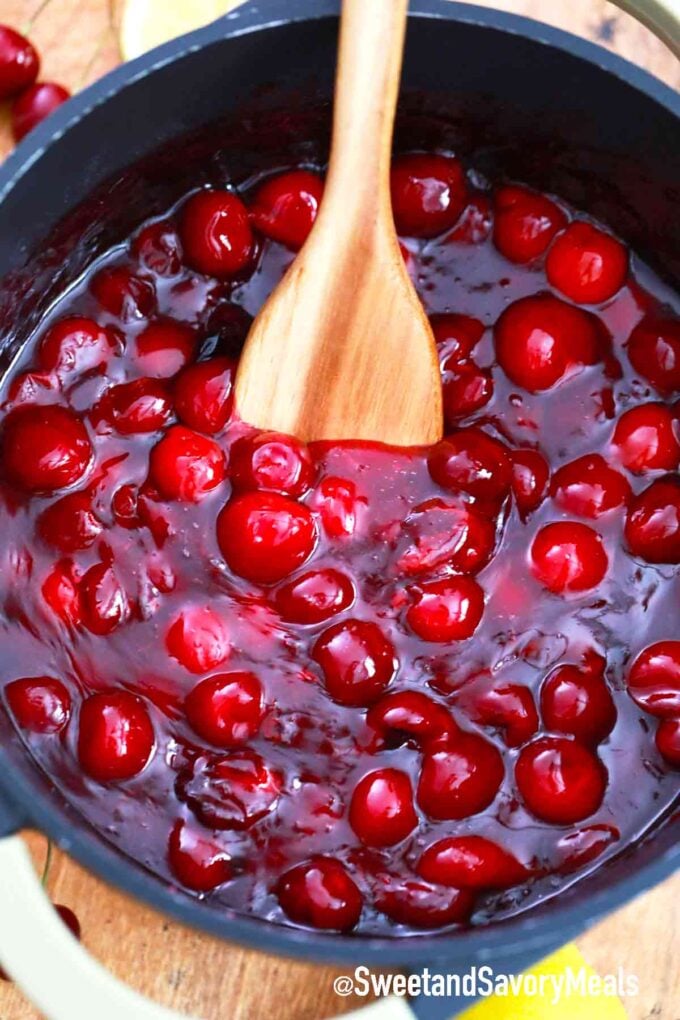
I like the filling to be thick enough to coat a spoon but still soft and spreadable. While it’s cooking, I keep stirring and watch for it to bubble and thicken. Once it cools, it firms up even more, so I don’t worry if it looks a little loose right off the stove.
Sometimes the filling turns out runny if it hasn’t cooked long enough. Cornstarch needs to get nice and hot to work the way it should, and if the mixture doesn’t reach that temperature or stay there for a few minutes, it won’t thicken properly. I watch for slow, thick bubbles instead of fast, watery ones. Another thing I’ve learned is to let the filling cool all the way before using it. It thickens more as it cools, so don’t rush that part, just let it sit until it’s fully cooled down.
Yes, I’ve used frozen cherries quite a few times, especially during the winter months when fresh ones are harder to find. I just let them thaw in a bowl and pour off a bit of the extra juice before adding them to the saucepan. It keeps the filling from getting too watery and still gives you that same sweet cherry flavor.
More easy summer recipes:
Loved this recipe? I’d love to hear from you! 💛 Leave a 5-star rating ⭐️ in the recipe card below and share your thoughts in the comments – I read and appreciate every single one!
Let’s stay connected! Follow me on Facebook, Instagram, Pinterest, and YouTube for more delicious, sweet and savory recipes. Have a question? Ask in the comments, and I’ll be happy to help! 😊 with love Catalina!
Cherry Pie Filling
Ingredients
- 6 cups fresh pitted cherries about 3 pounds – or frozen cherries
- 1/2 cup water
- 2 tablespoons freshly squeezed lemon juice
- 1 teaspoon lemon zest
- 1 cup granulated sugar
- 4 tablespoons cornstarch
- 1/4 teaspoon almond extract
Instructions
Prepare the fruit:
- If using fresh cherries, remove the pits using a cherry pitter.
Combine:
- Place a medium to large saucepan over medium heat. Add the cherries, water, lemon juice, zest, sugar, and cornstarch. Stir very well.
Bring to a boil:
- Bring the mixture to a boil, then reduce the heat to low and cook, stirring frequently, for about 10 minutes.
Flavoring:
- If using, stir in the almond extract.
Serve or use:
- Let it cool slightly before using it in a recipe or as a topping. You can also check the post for instructions for canning.
Video
Notes
Stir often while cooking
I always recommend staying close to the stove and stirring as it cooks. It’s super easy for the filling to thicken too quickly and start sticking if you walk away. I just give it a quick stir every minute or so, and that keeps it smooth and stops anything from burning.More tips to consider:
- If you don’t have a cherry pitter, remove it with a paper clip, chopstick, or metal straw.
- Cook your pie filling long enough to thicken it properly. Do not chill it until it cools.
- You can use any pie crust, but cherries go best with a flaky dough crust and lattice topping.
- Ensure your jar lid pops when you are canning your cherry pie filling. If it does not, you can keep it in the fridge for up to two weeks but not in the pantry.
- If cherry pie filling is still not thick after it has cooked and cooled, pour it back into a saucepan, make a cornstarch slurry (1tbsp cornstarch dissolved into 2tbsps of water) and add it to the filling. Bring it to a boil and let it simmer for 10 minutes on low.
- The recipe makes enough filling to fill a 9″ pie crust.





I do love fresh cherries. I just wish they were easier to de pit.
Now that it is cherry season this seems like a great way to use them. I do not bake too often but when I do in the summer cherry pie or cheesecake would be so nice.
I’ve never actually made a cherry pie. This sounds delicious! I would love to make this with my daughter.
You can’t go wrong with this filling. I like that it’s easy to manage
Thanks, I’ll copy this for my best friend’s upcoming birthday.
It’s so pretty. Seems great to serve or as a birthday gift.. Yum!
I love the vibrant red of this cherry pie filling. It looks so fresh and tempting to eat as it is.
I do love cherry pie. I’ve made it a few different ways now. This filling recipe sounds great. I really need to try it soon!!!
i usually don’t do cherry filling. but I love a blueberry pie. this does look tempting though
Oh wow, this cherry pie filling itself looks so yummy and colorful, it’ll definitely enhance the taste of other dessert dishes 😍
This post is really informative, I would love to make cherry pie at home.
The only thing I would add would be a pinch or two of table salt to bring out the sweetness, otherwise, it’s a good recipe.