Blueberry Fudge Recipe
A delicious dessert does not necessarily take hours to make—for example, this no-bake blueberry fudge recipe has just three ingredients and takes 10 minutes to make. This is my go-to recipe whenever I am in the mood for something sweet that is quick and easy to make.
I am a huge fan of no-bake recipes. They are great to make with kids as there is no mess, and they can have fun by adding many mix-ins to customize them. My kids like to make these no-bake raspberry truffles; at this point, they know the recipe by heart. This peanut butter fudge is another favorite. We usually have a stash in the fridge to have a little something sweet on hand.
Table of contents
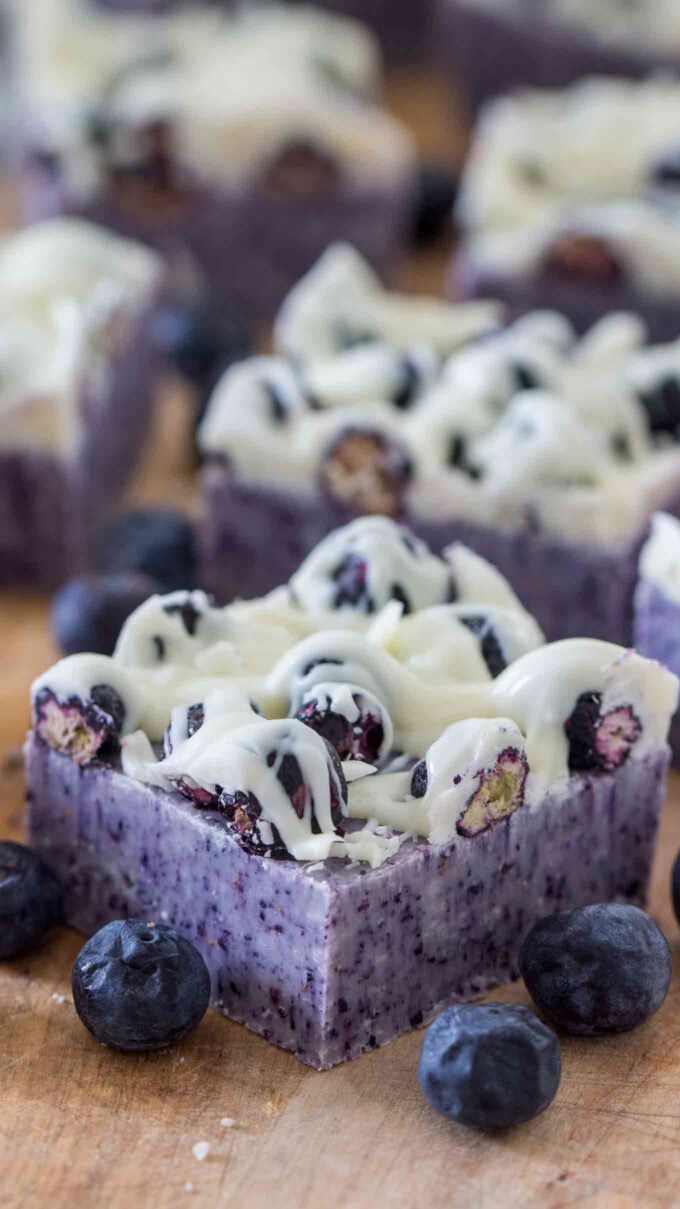
This homemade blueberry fudge is one of those recipes that is effortless to make but tastes and looks special. It’s the perfect mixture of creamy, decadent fudge bursting with blueberry flavor. It comes together in minutes, and after that, you just have to wait for it to chill in the fridge. No matter the occasion I make it for, this pretty purple fudge never fails to impress.
Why you will love this recipe
- Just three ingredients: What could be easier and less expensive? A sweet treat with just three ingredients? Yes, please!
- No baking needed: There is no reason to turn on the oven either. How much easier can it get?
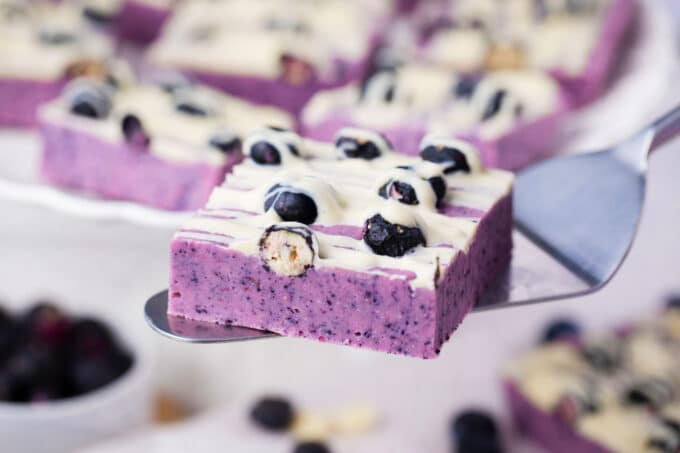
- Looks as good as it tastes: With a few drops of food coloring and some berries on top, this dessert is ready for a party or Instagram. It’s also perfect for gift-giving.
- Freezes well too: Since it is so easy and inexpensive to make, I like to make extra and freeze it.
What you will need
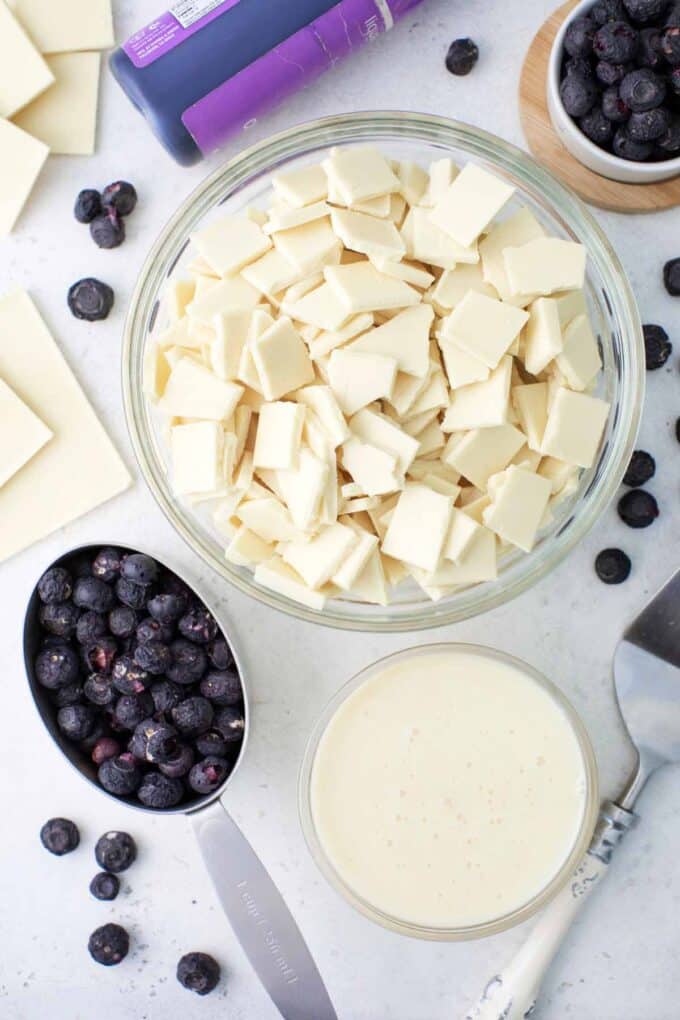
- The main ingredient: I use freeze-dried blueberries for their concentrated sweet berry flavor and color. They also break down into a powder without adding liquid to the fudge, which is good because water and fudge do not mix.
- The fudge: The other main ingredient is white chocolate melting wafers and sweetened condensed milk. I do not like using any other kind of chocolate for this because melting wafers melt quicker and easier.
- For extra color: I like to add a little bit of purple gel food coloring to make the fudge look more attractive.
How to make
Prep the pan: First, I line a 9×9-inch pan with parchment paper so it hangs over on two sides.
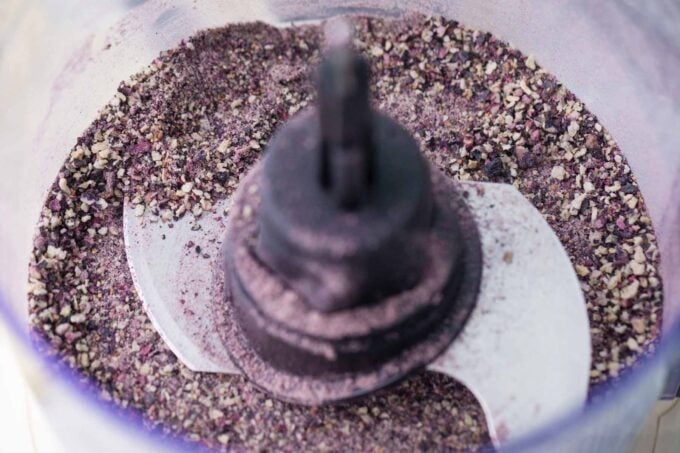
Pulse the dried blueberries: I pulse the dried blueberries in the food processor until they resemble a fine powder.
Melt the chocolate: I pour the chocolate and condensed milk into a bowl and melt it in the microwave. I only melt it for 20 seconds at a time, melting well after each stirring well after each increment until it has melted. It only takes me 40 seconds if I use the right melting wafers and stir them well.
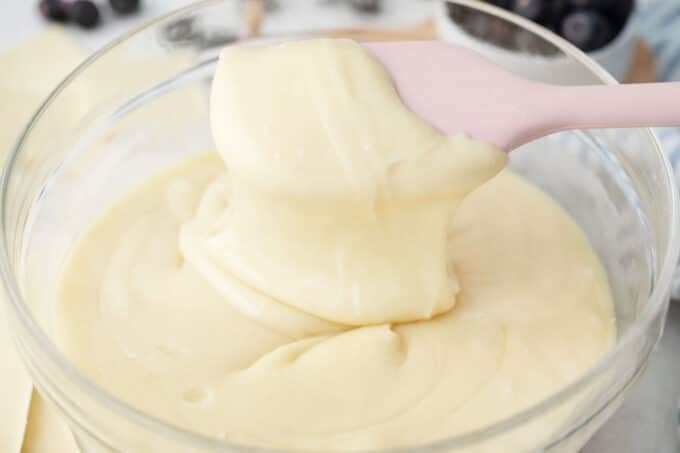
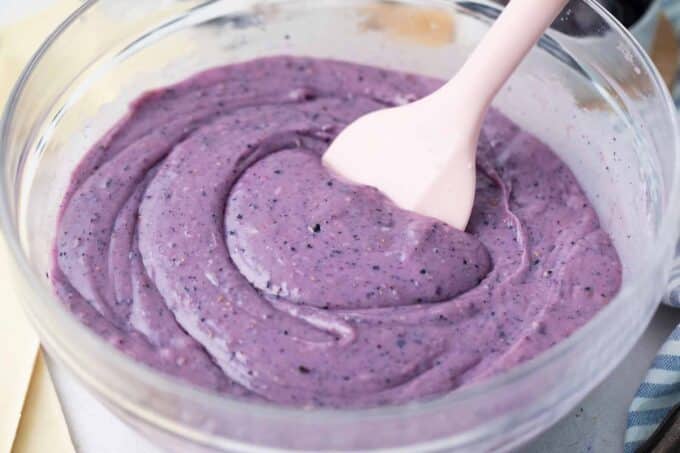
Combine: Now, I stir the blueberries into the chocolate mixture until they are combined, and then I add a few drops of gel food coloring to make it prettier.
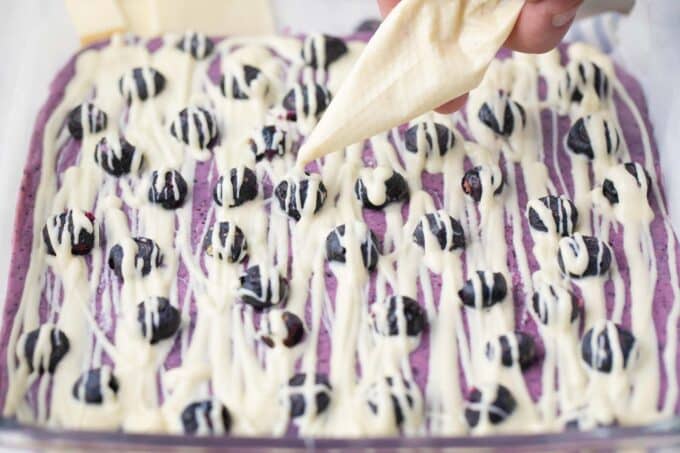
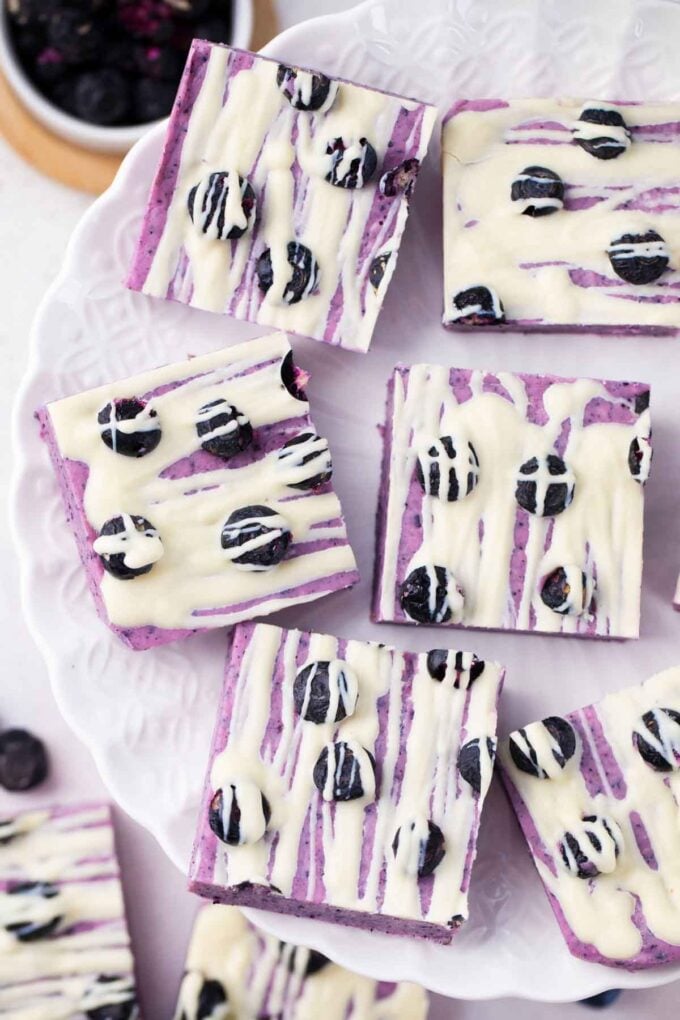
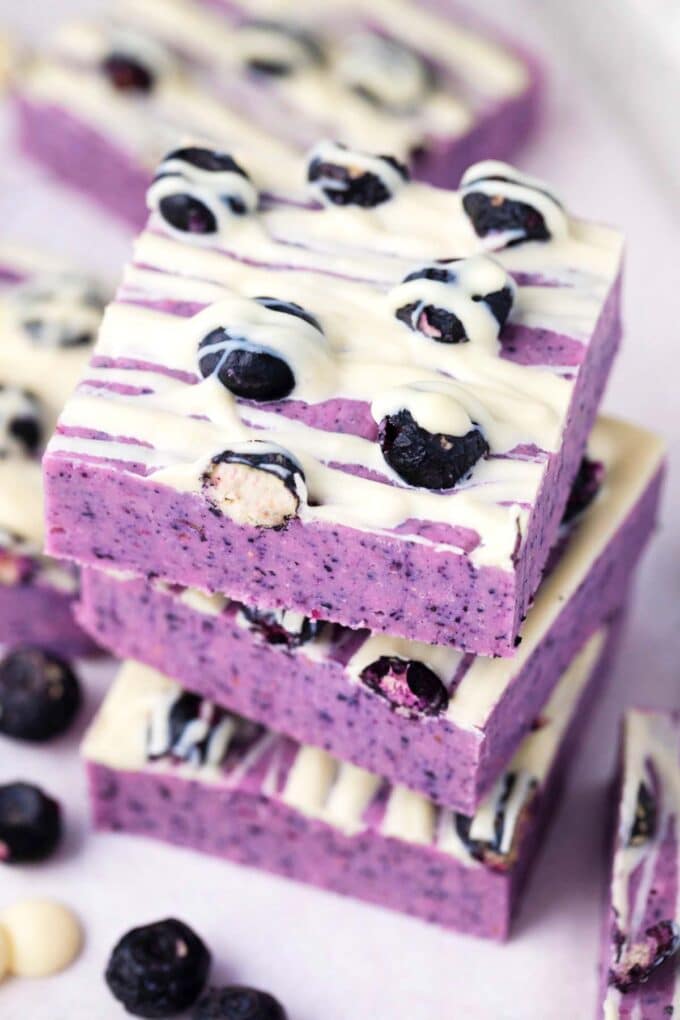
Let it chill: Afterward, I transfer the fudge mixture into the prepared pan, sprinkle dried blueberries, and drizzle melted white chocolate on top, then let it chill for at least three hours.
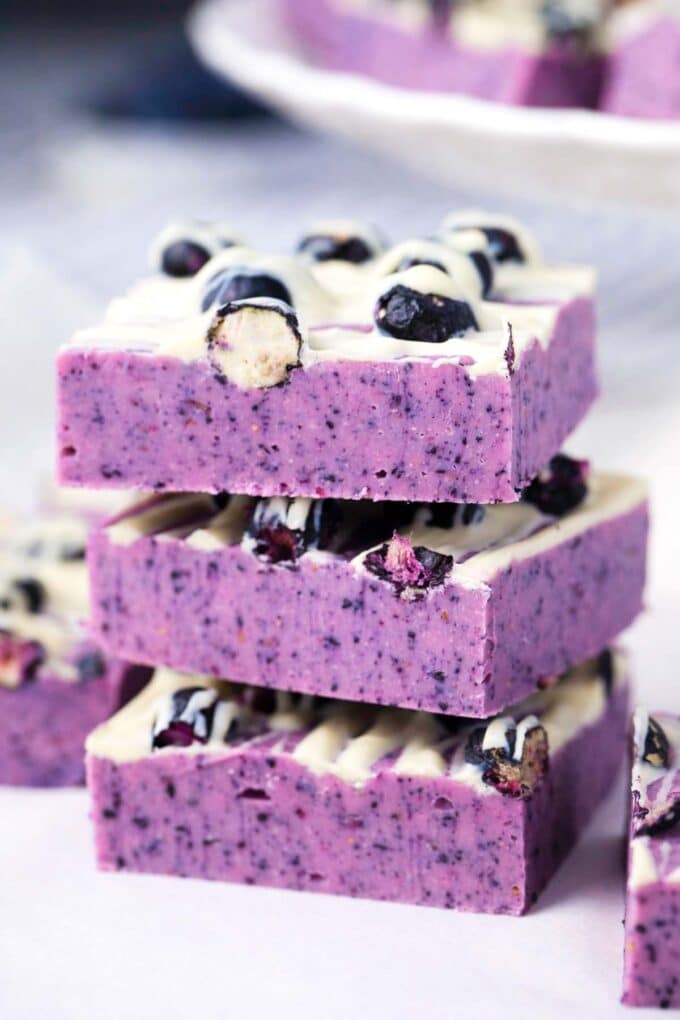
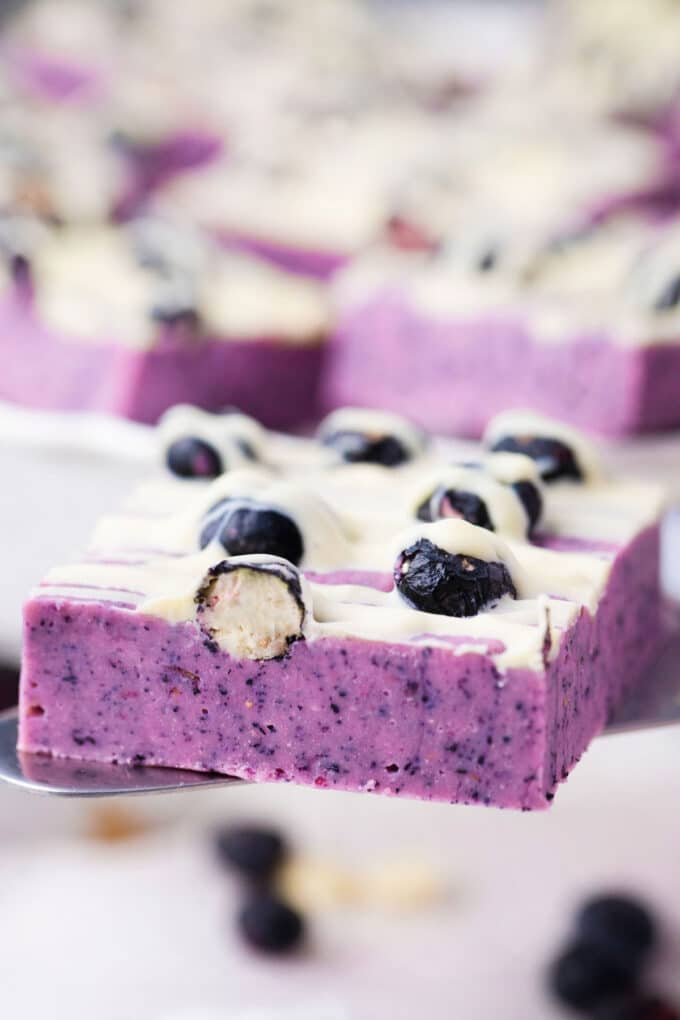
Slice and serve: Finally, once it is solid, I slice it into squares and serve.
Expert tip
Using freeze-dried or dried blueberries
I like using freeze-dried blueberries instead of dried blueberries because they blend better into the fudge. After grinding them in the food processor, they come out nice and smooth, whereas the dried ones are still lumpy. The freeze-dried berries also do not contain any moisture, so they do not add any excess liquid.
Dried blueberries do not taste as intense as freeze-dried ones. Because freeze-dried berries actually turn into a fine powder, they blend into the chocolate and make the whole thing taste like blueberries. Dried berries will work great for fudge with chewy pieces of blueberries. But freeze-dried blueberries are the best choice for smooth fudge infused with a bold blueberry flavor.
More tips to consider
- Use gel food coloring instead of liquid for vibrant color without excess liquid.
- For the smoothest melted chocolate, get chocolate wafers made specifically for melting.
- Also, get the best quality chocolate you can afford.
- To keep the fudge from sticking to the pan, line it with parchment or wax paper.
- Make sure to get sweetened condensed milk instead of evaporated milk.
- Use a large knife and run it under hot water for easier slicing.
Recipe variations and add-ins:
- Mixed berries: I sometimes like adding freeze-dried raspberries and strawberries to this recipe. The result is incredible.
- Lemon berry: To enhance the flavor of the blueberries, add a pinch of lemon zest.
- Dark chocolate: I also like to use dark chocolate instead of white chocolate in this recipe.
- Vanilla extract: Another way to enhance the blueberry flavor is to add ½ teaspoon of vanilla extract to the mix.
- Make it nutty: Before chilling, sprinkle chopped pecans or walnuts on top of the fudge to add crunch.
Serving suggestions:
I like to serve this fudge as a snack at summer gatherings or picnics. It goes great with my blueberry margaritas. This sweet and tangy cocktail is perfect for a summer party and only takes a few minutes to make with five ingredients. This is the perfect dessert for a baby shower. To go with the theme, you can serve my signature blueberry pork chops as the main meal.
I also make these for Christmas and add them to my holiday gift boxes with other treats, like pecan pie fudge, gingerbread fudge, and classic molasses cookies. Be the perfect host, and include a jar of this homemade blueberry sauce with a recipe card neatly attached!
How to store leftovers:
- Refrigerate: This fudge does not have to be refrigerated. It can stay fresh for up to two weeks by keeping it in an airtight container.
- Freezing: To freeze, wrap it in plastic, then foil, and then place it in freezer bags. It can be stored for up to three months.
- Defrost: Thaw overnight in the refrigerator for the best flavor.
Frequently Asked Questions
The problem is probably due to excess liquid if freeze-dried blueberries were not used. Fresh, frozen, and even dried blueberries can add too much liquid to the mixture and make it too soft to set properly with this recipe. Another reason could be that the chocolate did not get hot enough. If the chocolate does not melt properly, it will not set properly. Make sure the chocolate is completely melted. It should be between 230 and 240 degrees F.
Stirring too much can cause this problem, as it can form crystals. Only stir until the chocolate is melted. Overheating the chocolate is another possible cause. This is why I say it is essential only to heat the chocolate in 20-second increments. Overcooking will lead to sugar crystallization.
If the fudge cools too quickly, the sugar crystals can form too quickly. That is why I do not recommend putting the fudge in the freezer to cool it quickly. It is better to let it set at room temperature for a few minutes first. I let mine cool on the counter while I added the toppings. Then, it goes into the fridge to cool, where it can crystallize at a normal rate.
This usually happens if the liquid ratio is off. There could be too much liquid, such as frozen or fresh berries or the wrong kind of milk. Stirring it too much can also cause this. To fix this, try reheating it to a liquid form and then chilling it to see if it sets properly.
More recipes with blueberries:
Loved this recipe? I’d love to hear from you! 💛 Leave a 5-star rating ⭐️ in the recipe card below and share your thoughts in the comments – I read and appreciate every single one!
Let’s stay connected! Follow me on Facebook, Instagram, Pinterest, and YouTube for more delicious, sweet and savory recipes. Have a question? Ask in the comments, and I’ll be happy to help! 😊 with love Catalina!
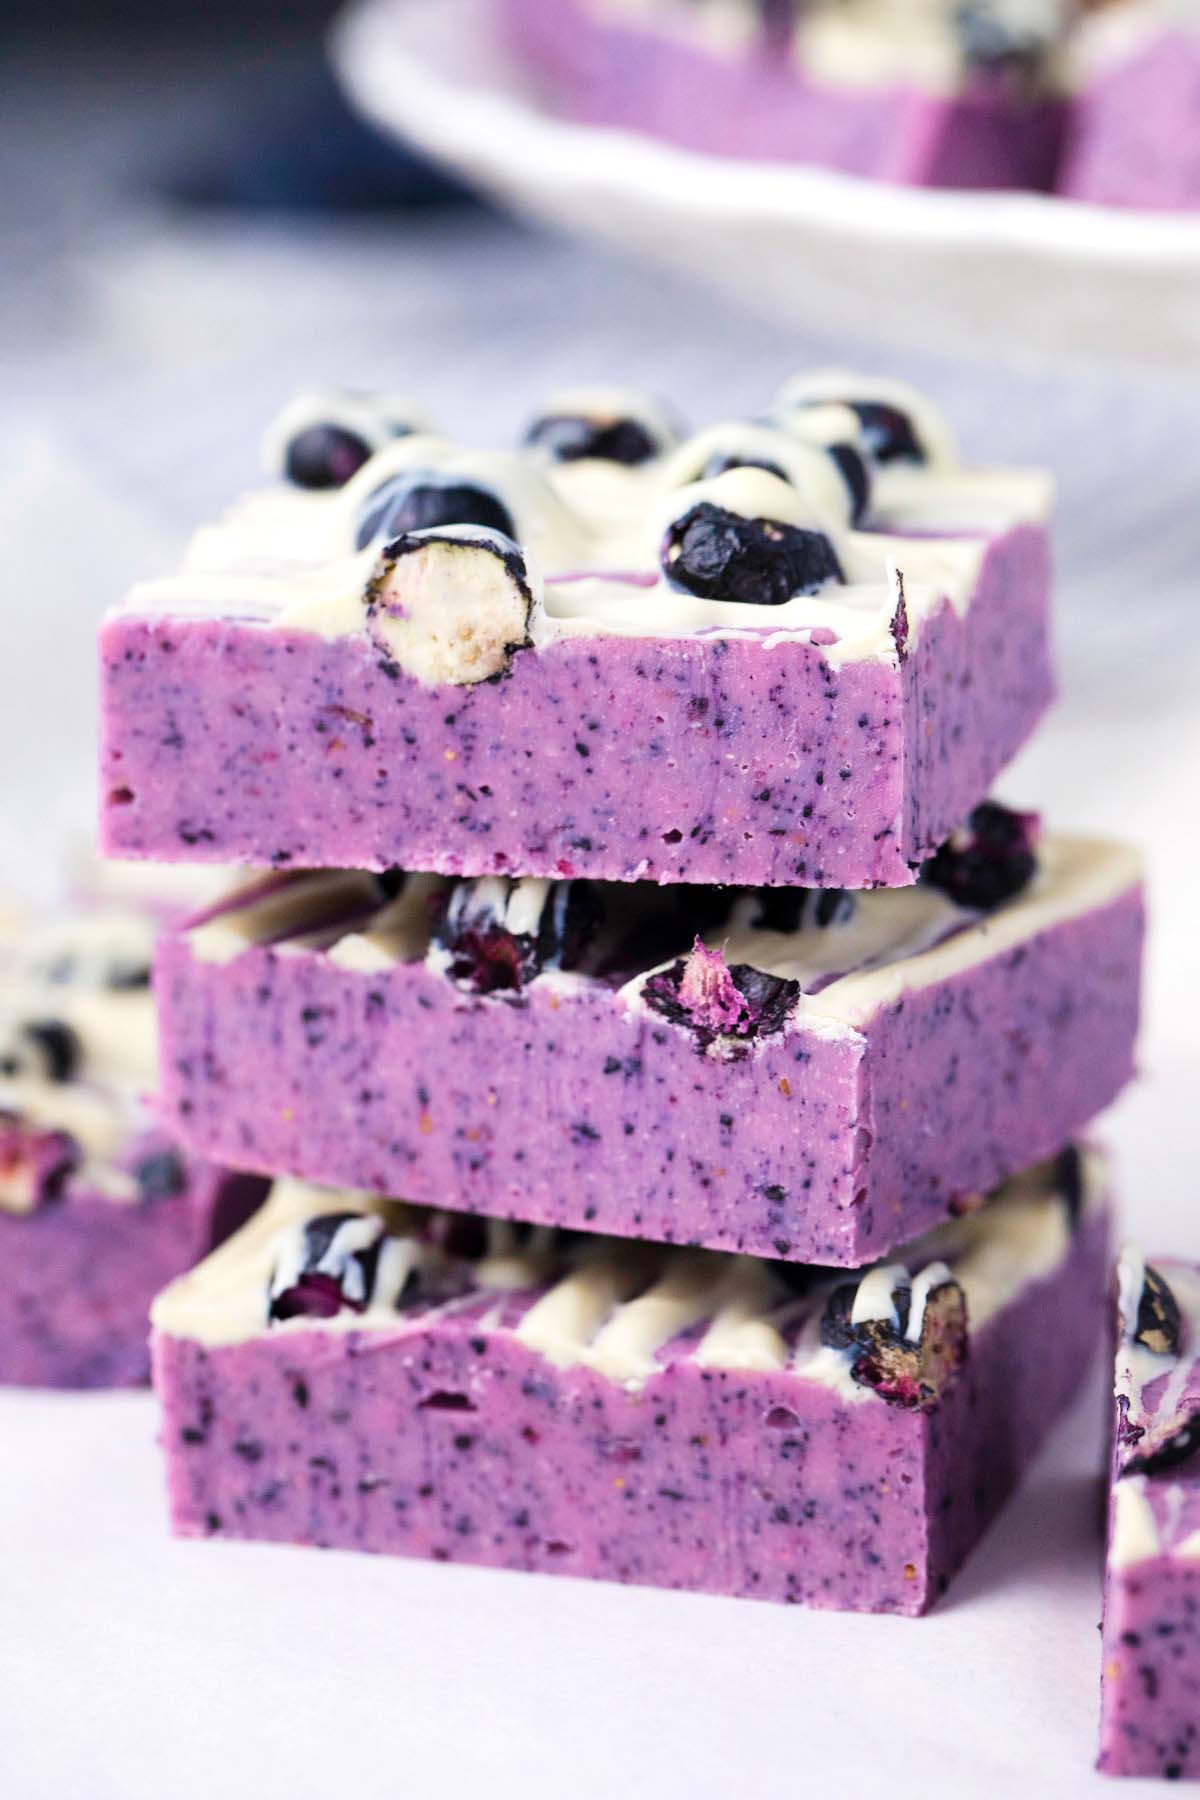
Blueberry Fudge
Ingredients
- 20 ounces white chocolate melting wafers
- 1 cup sweetened condensed milk
- 1 cup freeze dried blueberries
- 1/2 teaspoon purple gel food coloring optional
Optional Garnish:
- 6 ounces white chocolate melting wafers
- 1/4 cup freeze dried blueberries
Instructions
- Line a 9×9 inch pan with parchment paper so it overhangs on two sides. Set aside.
- Add one cup of freeze-dried blueberries to a food processor. Pulse a few times to turn the berries into a powder.
- Combine the chocolate wafers and condensed milk in a large, microwave-safe bowl.
- Microwave in 20-second increments and stir very, very well after each one until the chocolate has melted. It took me two intervals only to melt the chocolate. Make sure you stir well before you microwave again, as the remaining heat will melt the chocolate.
- Note: If you are using regular chocolate, chop it into small pieces before adding it to the bowl to microwave.
- Stir well until smooth. Add the chopped freeze-dried blueberries and stir well to combine.
- Pour the mixture into the prepared pan. If desired, sprinkle freeze-dried dried blueberries on top and drizzle with melted white chocolate. Refrigerate for 1 hour.
- Slice the fudge and serve.
- Fudge can be stored at room temperature for one week or in an airtight container in the fridge for longer.
Notes
Using freeze-dried or dried blueberries
I like using freeze-dried blueberries instead of dried blueberries because they blend better into the fudge. After grinding them in the food processor, they come out nice and smooth, whereas the dried ones are still lumpy. The freeze-dried berries also do not contain any moisture, so they do not add any excess liquid. Dried blueberries do not taste as intense as freeze-dried ones. Because freeze-dried berries actually turn into a fine powder, they blend into the chocolate and make the whole thing taste like blueberries. Dried berries will work great for fudge with chewy pieces of blueberries. But freeze-dried blueberries are the best choice for smooth fudge infused with a bold blueberry flavor.More tips to consider
- Use gel food coloring instead of liquid for vibrant color without excess liquid.
- For the smoothest melted chocolate, get chocolate wafers made specifically for melting.
- Also, get the best quality chocolate you can afford.
- To keep the fudge from sticking to the pan, line it with parchment or wax paper.
- Make sure to get sweetened condensed milk instead of evaporated milk.
- Use a large knife and run it under hot water for easier slicing.

What a treat! I’m definitely into trying that blueberry flavor in a dessert like this. It looks so pretty!
This looks AMAZING! And only 3 ingredients? Yes please!
OMG this looks and sounds A M A Z I N G! Saved!
Only 3 ingredients?!? This looks so good!
Swooning over this berry fudge! I could eat the whole pan!
I love the color these came out! I cannot wait to try them out!
I love how these only took minutes to make…thanks!!
I need to try this immediately, it looks so good!
Can I make these in a silicone mold? Do you think they would be sturdy enough?
Yes, definitely!
I can’t find freeze dried anything. How can I make freeze dried blueberries? We are living in Guatemala.
oh you would need special equipment to make freeze-dried blueberries, sorry, maybe you can order some online?
Can You use Imitation Blueberry powder as a substitute for the dried blueberries? Will I need to add granulated sugar to the recipe?
Hi Janet, sorry but I am not familiar with the powder you mentioned.
Hi Catalina,
Can you use fresh blueberries or blueberry jam as a substitute for freeze dried?
yes, you can, but the result will be a bit different. Freeze dried blueberries turned into powder, so the taste is a bit different.
Can you use dehydrated blueberries instead of the freeze dried?
no, as they don’t turn into a powder
This fudge was so good! I’m a huge fan of blueberries, so I enjoyed it immensely.
I really loved this recipe! I’ve made all kinds of fudge in my life, but I never made a berry fudge like this. It’s so good!
One of the best fudges I’ve seen to date – thank you for sharing all the tips and tricks!
Really delicious and so simple to make! I like having that fudge texture in something with a fruity flavor