
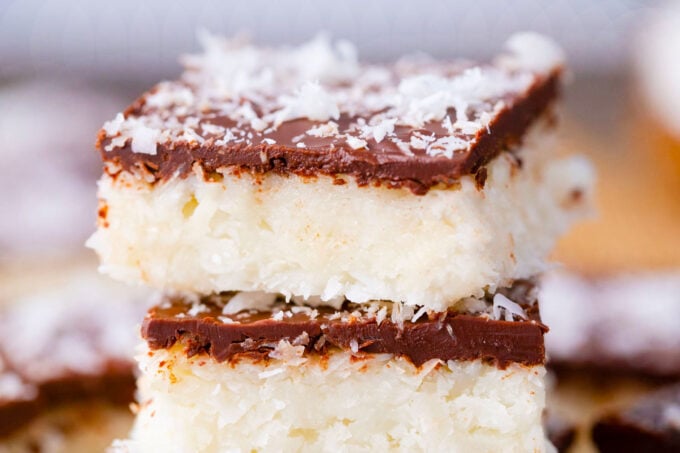
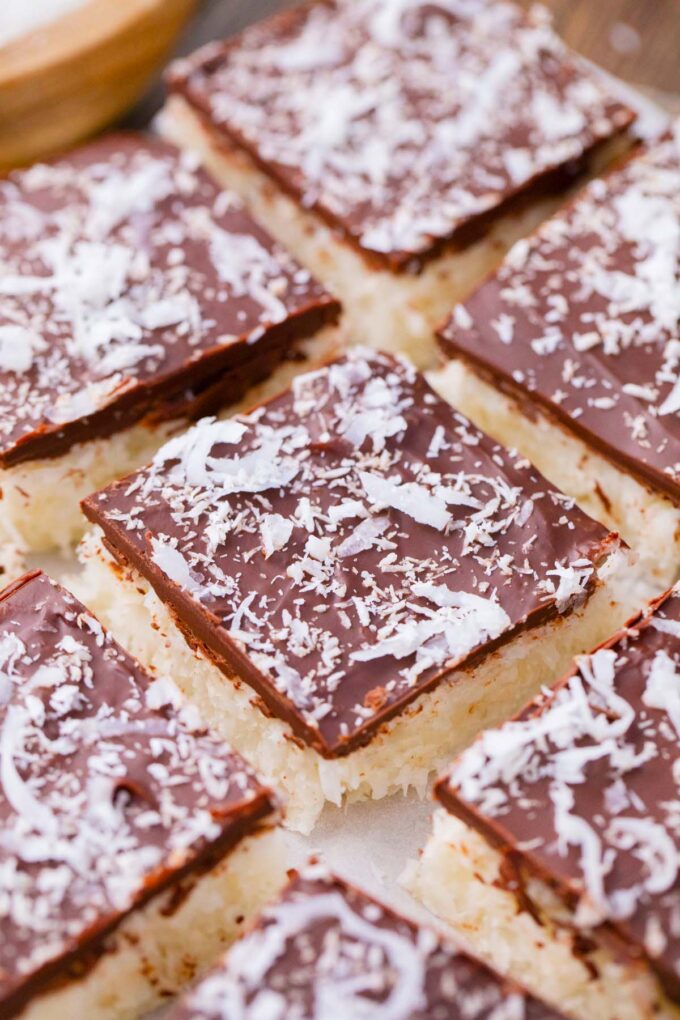
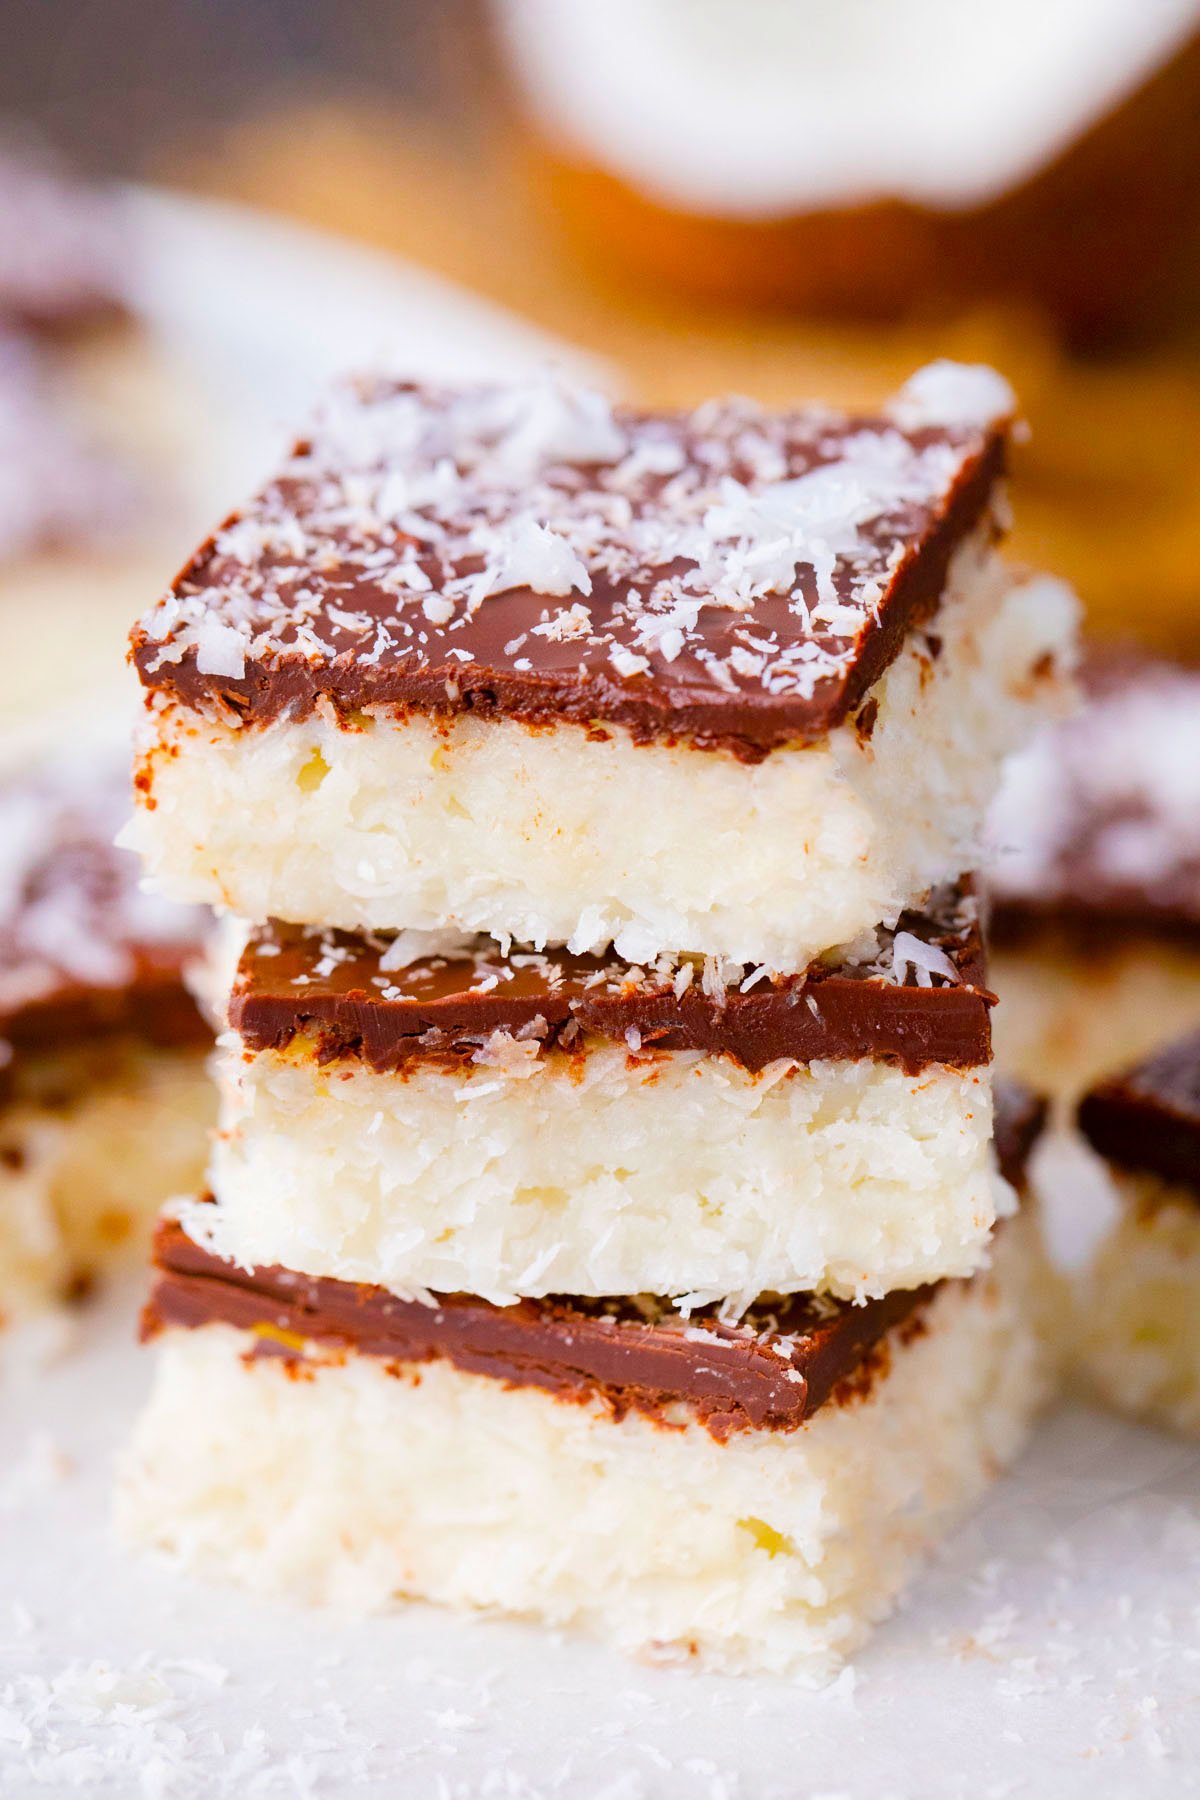
Coconut Crack Bars – No Bake
I am always trying to come up with recipes that require almost no effort, yet taste decadent and indulgent. These coconut crack bars fit the bill, delivering big flavor and a fantastic texture, and need only six ingredients and 10 minutes to make.

Every time I make these bars, I feel like a hero, because I can say, you see – it’s possible. It’s possible to have fun in the kitchen, and effortless, foolproof recipes do exist – and they work. This is precisely how I feel when I make my 3-ingredient no-bake Oreo dessert or 1-ingredient sorbet! These coconut crack bars have become my go-to treat, and I always make sure to have some in the fridge!
Table of contents
Truly, this is one of those no-bake desserts that once you try it, it is meant to become a favorite. If you love coconut and fuss-free recipes as much as I do, I don’t know what you are waiting for; you should already be mixing the ingredients. This recipe is no-bake, naturally gluten-free and vegan, and refined sugar-free.
And because it’s so simple to make, I like to have the kids mix the ingredients, melt the chocolate, and assemble the bars. The result? It is a rich, dense, and chewy bar loaded with aromatic coconut flavor, coated in a layer of chocolate that is truly addictive. I recommend you customize yours. I personally like mine with chopped glazed pecans and a sprinkle of sea salt.
Why you will love this recipe
- No-bake: There’s no need to turn on the oven; these bars are completely no-bake. All you need is a bowl, a microwave, and a pan, which you will have to refrigerate.
- Six ingredients: To make the coconut crack bars, you only need six readily available ingredients. They are packed with a rich coconut flavor, thanks to the addition of coconut flakes, butter, and oil.
- Mind-blowingly good: Every time I serve these, everyone is blown away at how good they are, and no one can stop at just one bar. If you love coconut, these are a must-try.
- Perfect on the go: I keep mine chilled in the refrigerator and grab one in the morning when I run out the door, or as an afternoon snack. They are also great for packing part of the lunch boxes; the kids love them!
What you will need
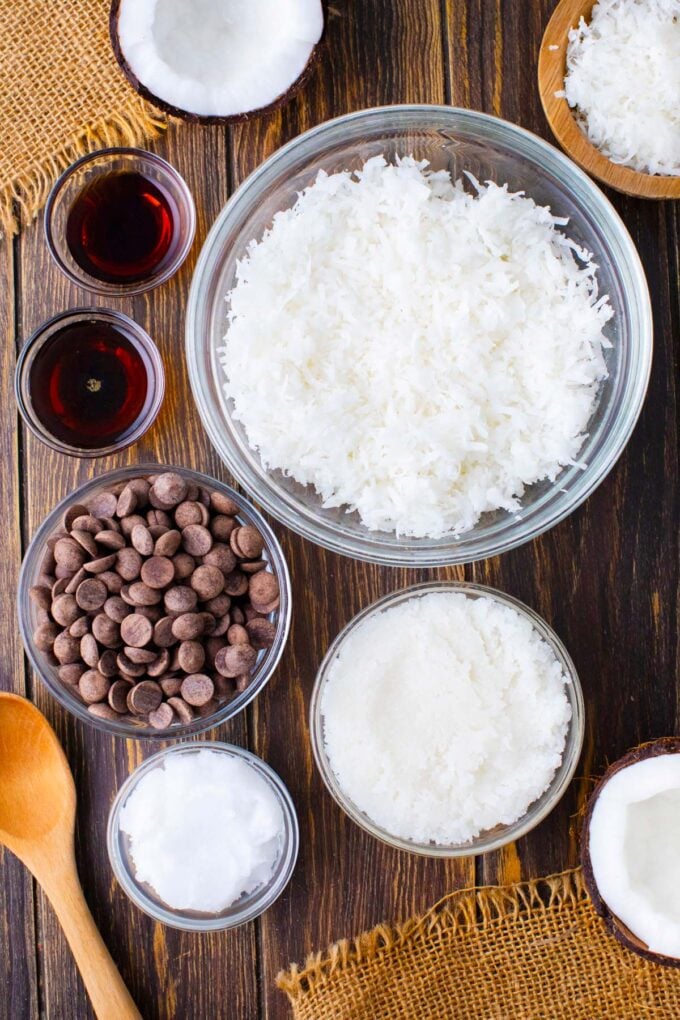
- Coconut flakes: I prefer shredded sweetened coconut flakes, as they have a softer texture, but unsweetened coconut flakes will also work.
- Butter and oil: I use a mixture of melted coconut butter and oil; once they solidify, they create an amazing creamy and irresistible texture. Every bite melts in your mouth with a burst of coconut goodness.
- Sweetener: I prefer maple syrup in this recipe, but honey or agave will also work.
- Vanilla: I like to add a bit of vanilla extract; it pairs beautifully with the tropical flavor from the coconut.
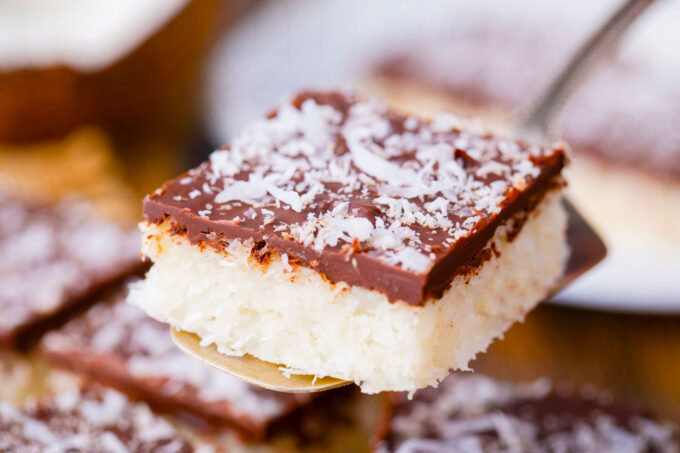
- Topping: I melt chocolate with coconut oil and pour the mixture on top of the coconut layer. I also like to add shredded coconut flakes on top.
How to make:
Prep: I start by lining an 8×8-inch pan with parchment paper and spraying it with coconut oil.
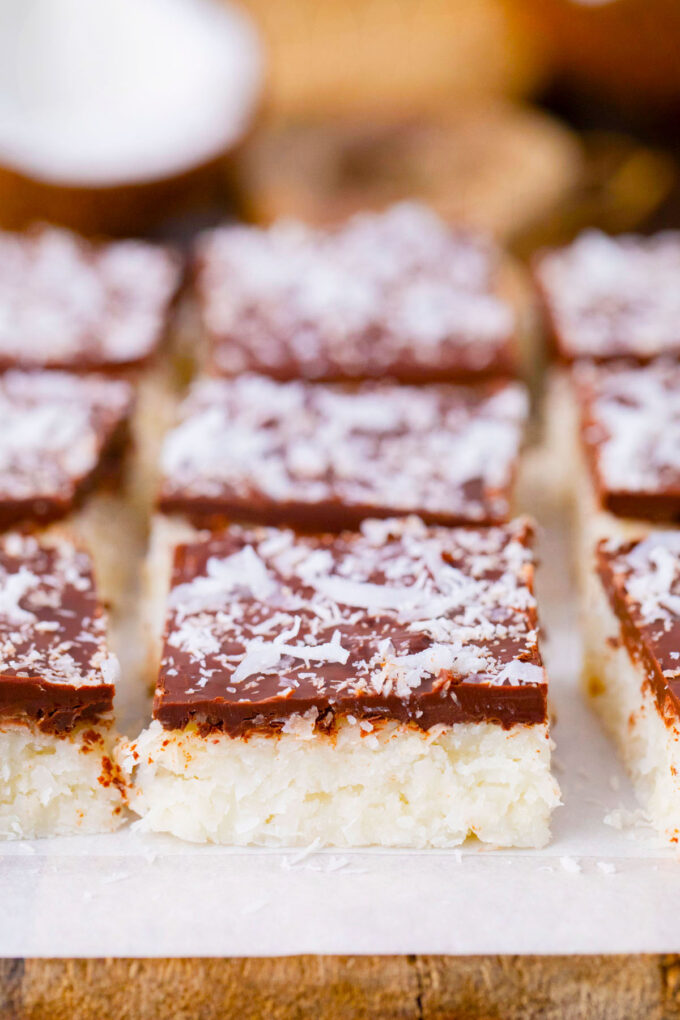
Coconut layer: Melt the coconut butter and oil, and then stir all the ingredients for the coconut layer in a bowl.

Press: I transfer the mixture to the prepared pan and, using a measuring cup, I press it into an even layer.
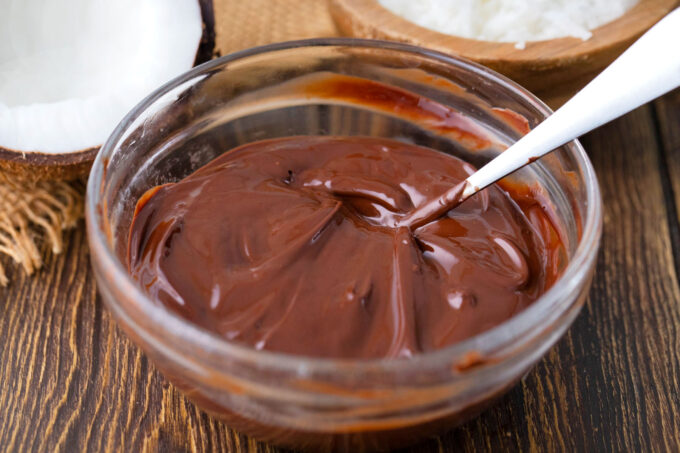
Melted chocolate: I combine the chocolate chips with coconut oil and melt them in the microwave.
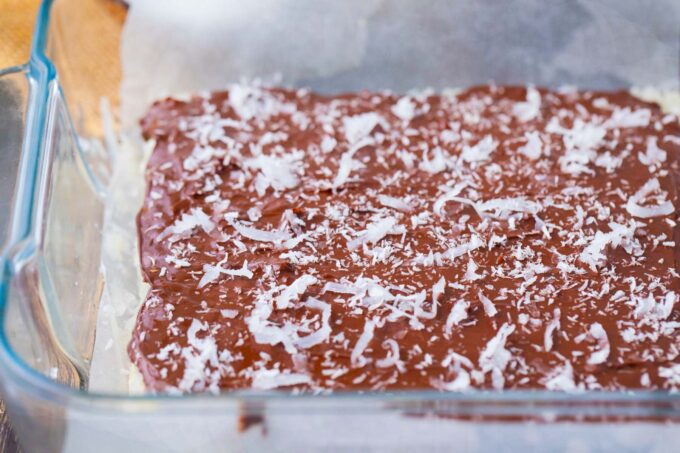
Refrigerate: After that, I pour the melted chocolate on top of the coconut layer and spread it evenly. I sprinkle shredded coconut on top and refrigerate the bars for 1-2 hours before slicing and serving them.
Expert tip
The perfect texture
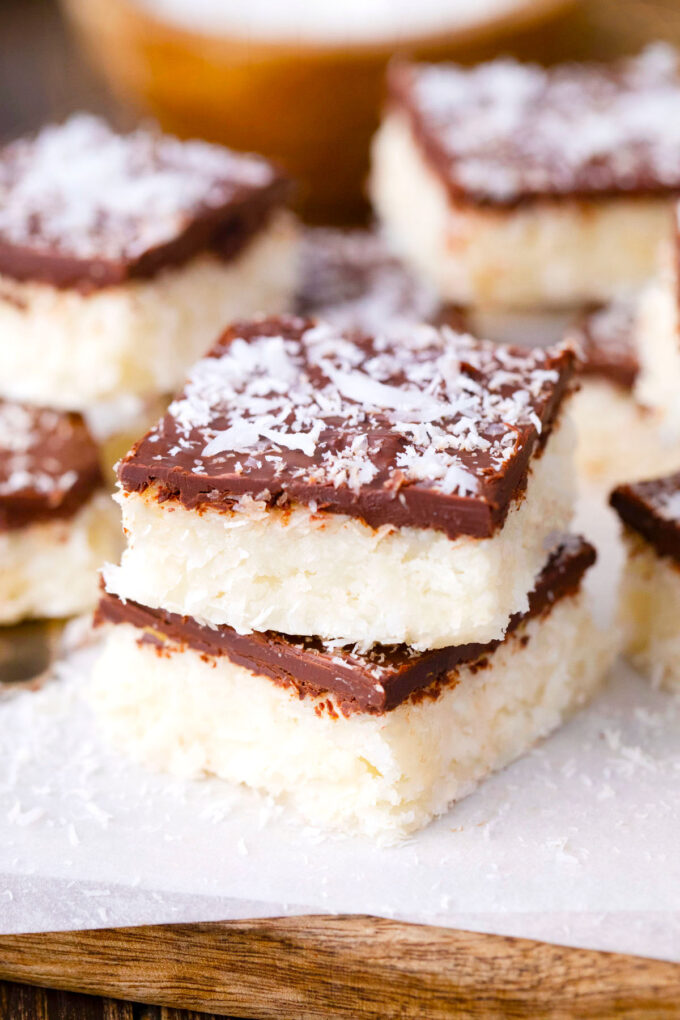
For the perfect texture of your crack bars, where they are tender enough to melt in your mouth but firm enough to hold their shape, you need to ensure the correct ratio of coconut oil to coconut flakes in the batter. The mixture should not feel dry and crumbly; if it does, add 1-2 extra tablespoons of coconut oil to bind everything together. If the mixture is too wet, add a bit more shredded coconut.
More tips to consider
- Use high-quality chocolate, as it will make a significant difference in taste.
- Use high-quality coconut flakes, as they offer the best taste; you can choose between sweetened and unsweetened varieties.
- Don’t skip the chill time; they need at least 2 hours in the fridge or 40-50 minutes in the freezer. The oil and butter need to solidify properly so you can slice the bars.
- Keep the bars refrigerated or in a cool place, as the coconut butter and oil tend to melt.
Recipe variations
- Flavored butter: Choose coconut butter in your favorite flavor, such as birthday cake or chocolate coconut butter, which works great in this recipe.
- Funfetti: I like to take this over the top and add rainbow sprinkles to the coconut layer, as well as some on top of the chocolate layer. The kiddos love this version.
- Nuts and raisins: The chocolate layer serves as a canvas; you can add chopped glazed pecans, raisins, almonds, or any other topping you prefer.
- Sweet and salty: I enjoy sprinkling some sea salt on top of the chocolate layer, or another favorite is chopped salty pretzels or peanuts.
- Candy: Also, when we have leftover Halloween candy, we chop it and add it on top of these bars.
- Citrusy: I like this combination and highly suggest you try it too. Add some lemon zest or orange zest to the coconut layer; the refreshing citrus is fantastic in these bars.
How to serve
These bars are always a crowd-pleaser, and since they are so easy to prepare, I usually make a batch when I expect company. I served them as part of a dessert spread for game night, along with homemade caramel popcorn, Jell-O shots, and Oreo truffles, and everyone couldn’t stop raving about them.
I like to have a stash in the freezer, and sometimes I eat them straight from the freezer; they are so crunchy and refreshing! My kids enjoy these as an after-school snack with some turkey pinwheels and a tropical smoothie. They are also delicious with a side of hot chocolate.
How to store
- Refrigerate: Store the bars in an airtight container in the refrigerator for up to 10 days. I recommend placing parchment paper between the layers to prevent the bars from sticking to the chocolate. The bars are best served chilled.
- Freeze: Wrap the bars in parchment paper and add them to an airtight, freezer-safe container. They will last up to 3 months in the freezer. To serve, just let the bars sit at room temperature for 20 minutes; the coconut oil and butter will soften, and the bars can be enjoyed.
Frequently asked questions
Yes, you can use both sweetened and unsweetened shredded coconut flakes in this recipe. If opting for sweetened, keep in mind that the bars will be sweeter; in that case, I recommend skipping the maple syrup.
Coconut oil can be substituted with coconut condensed milk or regular sweetened condensed milk. Just make sure to add enough to give the mixture the texture of a sticky, pressable dough.
Yes, these bars are ideal to be made in advance as they can be stored in an airtight container in the fridge for up to 10 days. Therefore, they can be prepared a few days ahead of the date you plan to serve them.
More no-bake recipes to try:


Loved this recipe? I’d love to hear from you! 💛 Leave a 5-star rating ⭐️ in the recipe card below and share your thoughts in the comments – I read and appreciate every single one!
Let’s stay connected! Follow me on Facebook, Instagram, Pinterest, and YouTube for more delicious, sweet and savory recipes. Have a question? Ask in the comments, and I’ll be happy to help! 😊 with love Catalina!
Paleo Coconut Crack Bars
Ingredients
- 3 cups shredded coconut flakes unsweetened or sweetened
- 1 cup unsweetened coconut butter melted
- 1/4 cup coconut oil melted
- 1 teaspoon vanilla extract
- 2 tablespoons maple syrup skip if using sweetened coconut flakes
Chocolate Glaze:
- 1 cup pure dark chocolate chips or milk chocolate chips
- 4 tablespoons coconut oil
Instructions
- Line an 8-by-8-inch baking pan with parchment paper, so that the paper overhangs two sides like handles. Spray with coconut baking oil.
- To melt the coconut butter, place it in a microwave-safe bowl and heat for 1 minute. Stir, then continue heating in 30-second increments if necessary.
- To melt coconut oil, place it in a safe microwavable bowl and microwave for 30 seconds. Stir and repeat in 30-second increments if needed.
- In a large bowl, combine the coconut flakes, melted coconut butter, melted coconut oil, maple syrup, and vanilla extract. Stir with a spatula until everything is well combined.
- Pour the mixture into the prepared pan. Using a measuring cup or your fingers, press it evenly into the pan.
- Add dark chocolate chips and coconut oil to a microwave-safe bowl. Microwave for 1 minute, then stir. If necessary, microwave for an additional 30 seconds until the chocolate has melted.
- Poor chocolate glaze over the coconut mixture. Garnish with shredded coconut.
- Refrigerate for at least 1.5 to 2 hours before serving.
- Cut into bars and store them in a container in the fridge at all times, as coconut oil and butter tend to melt at room temperature.
Video
Notes
The perfect texture
For the perfect texture of your crack bars, where they are tender enough to melt in your mouth but firm enough to hold their shape, you need to ensure the correct ratio of coconut oil to coconut flakes in the batter. The mixture should not feel dry and crumbly; if it does, add 1-2 extra tablespoons of coconut oil to bind everything together. If the mixture is too wet, add a bit more shredded coconut.More tips to consider
- Use high-quality chocolate, as it will make a significant difference in taste.
- Use high-quality coconut flakes, as they offer the best taste; you can choose between sweetened and unsweetened varieties.
- Don’t skip the chill time; they need at least 2 hours in the fridge or 40-50 minutes in the freezer. The oil and butter need to solidify properly so you can slice the bars.
- Keep the bars refrigerated or in a cool place, as the coconut butter and oil tend to melt.
Im already in love with this just by the name, Coconut is so yummy! I can’t wait to make this! also can’t go wrong with no bake! Love it!
Thank you very much Mary, these are so unbelievably good!
These look so good. I love coconut and chocolate so this is a must try. Pinning for later 🙂
Thanks Stephanie!
Oh my, this looks toooo good. It might become my next favorite go to treat. I am thinking about using heated coconut manna instead of the heated conconut butter oil. Thanks for a great way to bring together chocolate & coconut.
These look amazing! I’m sure my vegan friends would be super happy with this snack!
Looks really easy, healthy, and delicious!
Microwaves being so unhealthy, I will try just melting on the stove. Do you think that will be ok?
Patti
yes, it will be ok 🙂
I must try these! They sound so good. However, where would one find coconut butter? I have never seen that in our stores. (I live in the area of Edmonton Alberta Canada) I must make these asap,my mouth is watering just thinking about them. I wounder if they taste like my favorite chocolate bar: Bounty? Yum yum! Thanks for the receipt. I can’t wait to make it. I just hope I can find coconut butter. One recipe I wanted to try a long time ago required coconut cream NOT coconut milk, so it said. Never did find it. I wounder if they are indeed the same thing???
No, they are not the same. Most grocery stores carry coconut butter, Whole Foods has some for sure, also you can order it on Amazon, you will not regret the purchase 🙂
Thanks Catalina (not sure which spelling of your name is correct. I see it spelled both Catalina and Katalina on this page).
The Coconut butter was very hard to find. I finally found it at Superstore in the natural foods section. I made these bars last night. I have to say, when deciding to add 1 or 2 tbsp of the maple syrup I tried a little bit of the coconut mixture to see. It tasted terrible, it was just greasy coconut, had no sweetness to it at all. So I decided to add the full 2 tbsp of the maple syrup and completed the recipe as I had already completed the chocolate mixture. I hoped once the chocolate was added and was refrigerated it would taste better. BOY DID EVER!!! I am so glad I decide to finish the recipe, I was real close to throwing it out. This is such a great recipe for coconut lovers! It was so easy to make, well, except for trying to dig out the one cup of coconut butter from the jar. That stuff is hard. Lol Easy clean up and oh so tasty!
Catalina, this is a really great recipe, thank you. I do have a couple questions. Does this need to be kept in the fridge? I think it should be ok covered and left on the counter, right? Secondly, as this was not an inexpensive recipe to make, I wonder, have you tried freezing any? I would think this would freeze good, but sure would appreciate your opinion on it.
( I also finally found coconut cream which I have been looking for for over a year now. I got it at Safeway. The gentleman said they just started bringing it in this week. I know your recipe doesn’t call for it though, it is just a side note. lol )
Hi Jennifer, I have no idea how I missed this comment but THANK YOU very much for taking the time to share your feedback. First, sorry for the name confusion lol the right spelling is Catalina 🙂 but I dont mind Katalina either.
I agree, that is a great recipe and the bars taste so good, I am so happy that you took the time to finish it!
To answer your questions: better keep the bars in the refrigerator, the coconut cream tends to melt at room temperature, hence the bars will become softer or if its too warm, they will melt.
Yes, you can freeze them! Wrap tightly in plastic wrap, after that in foil and freeze. Thaw in the fridge before serving 🙂 I even like them frozen 🙂 they taste like a harder ice cream bar lol
Hi, I have a question it may seem silly. Can I meet the coconut butter with the oil at the same time or,is it going to cause something weird to happen? Thanks!
as long as both are room temperature it will work
I made these Keto by using Lilly’s stevia sweetened chocolate chips and Choco Love’s Maple flavored sugar-free syrup. They were fantastic!!! Thanks so much for such a delicious treat!
Such a great idea, thank you for sharing the substitutions with us, I am sure it will help other readers.
Awesome recipe! Turned out well for low sugar! 🙂
I added extra coconut oil in the chocolate glaze and extra coconut butter on the base which helped make it a little less crumbly. Make sure you press in the pan well!
These are so amazing tasting!! I bought some to work and had many people asking for the recipe. I look forward to trying some of your other items.
so happy that you enjoyed these
What should I use if I can’t find coconut butter?
Thanks
For these bars, I would not recommend substituting the coconut butter.
What can i use instead of coconut butter?
This recipe is based on coconut butter, so I do not recommend substituting it.
What chocolate chips are paleo?? I can’t find them.
You can use Terrasoul Superfoods Raw Organic Cacao Nib, check them on amazon
These look so delicious and as someone who loves coconut, I’m surely going to create this recipe for me and the kids. Love that it’s a no bake recipe..
Well, I see where they got the name. They are so addictive!
These couldn’t be more perfect. They’re absolutely delicious, and they’re so easy to make!
This is the first time I tried coconut crack bars, and I am so pleased with the result. They are delicious!