
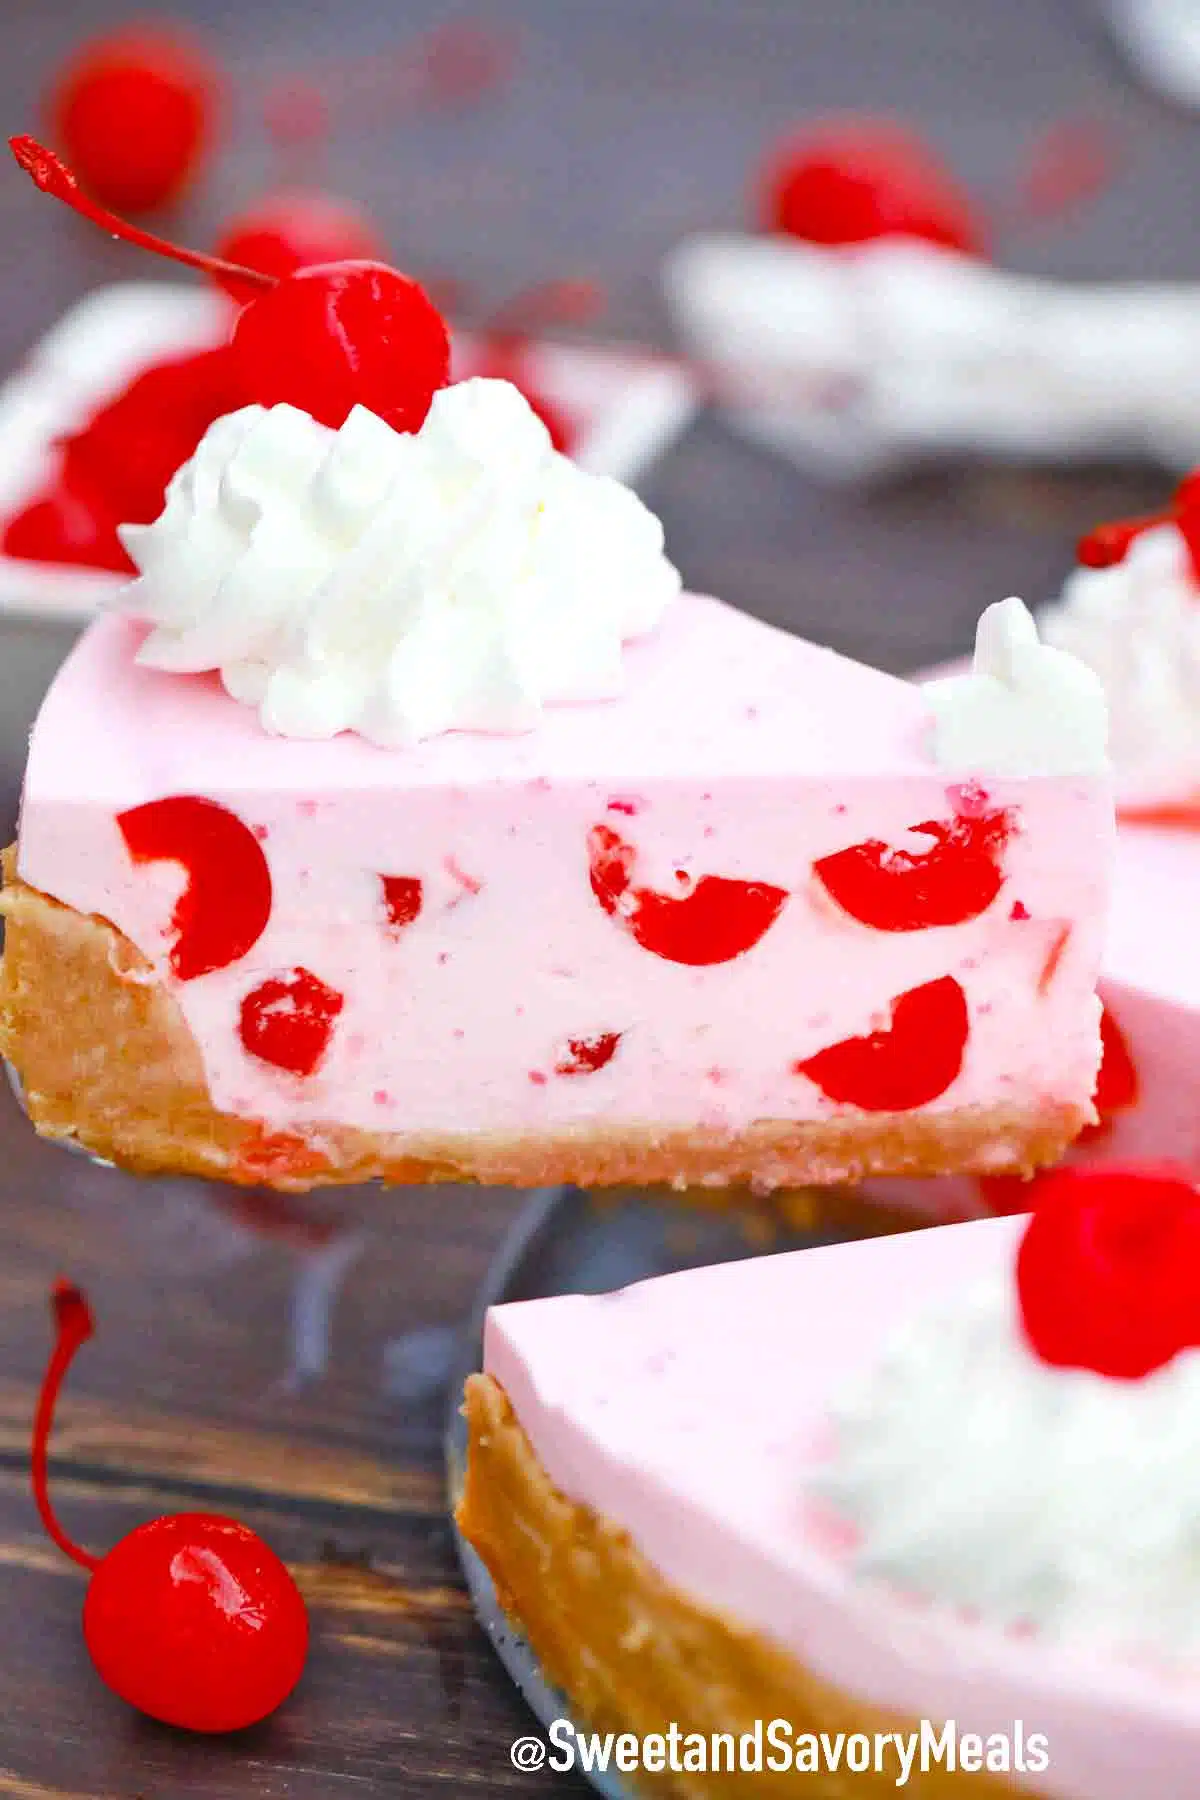
No-Bake Pineapple Dream Dessert
This No-Bake Pineapple Dream Dessert is creamy, smooth, and sweet, with a graham cracker pecan crust and a delicious cream cheese pineapple filling. It’s become a family favorite in my house, and I bet it will in yours too. Sweet and cool treats like this are always great at holiday gatherings or family dinners.

Pineapple has to be one of my favorite fruits to bake (and cook!) with. It’s just so versatile, I toss it in dinner like my pineapple shrimp, blend it into a pineapple smoothie, and of course, use it in desserts like this one. If you’re into pineapple sweets, don’t skip my pineapple cake recipe… it’s seriously so good!
Table of contents
Some people call this pineapple delight, others say pineapple bars – honestly, it doesn’t matter what you call it because we all agree it’s super tasty. No oven, no stress, and it is ready fast, which is always a win for me. I make this Pineapple Dream Dessert year-round, but it’s especially perfect in summer. If you love pineapple as much as I do, you’ve got to try my pineapple crumb bars too. They’re just as tasty, especially when I make them with crushed pineapple and a little unsweetened coconut mixed in.
Why you will love this recipe
- It’s a no-bake dream come true: I can make this creamy pineapple dessert without turning on the oven, which is a lifesaver on hot days or when I’m busy with the kids. It chills in the fridge and comes out perfectly smooth and sliceable.
- The crust is everything: That graham cracker and pecan crust gives this dessert a sweet and nutty crunch that my whole family loves.
- It tastes like summer: Between the crushed pineapple, cream cheese, and whipped topping, this dessert has the light and fruity flavor I crave all year long. It’s especially great for potlucks, barbecues, or holiday tables.
- No one can resist: Whenever I serve this at family gatherings or backyard dinners, it’s the first dish to disappear. I’ve even caught my kids sneaking an extra square straight from the fridge!
What you will need

To make the crust:
- Graham crackers: I use graham crackers and set some aside for the topping.
- Pecans: I pulse the pecans in the food processor.
- Unsalted butter: I let the butter soften at room temperature so it’s easy to mix into the crust.
For the filling:
- Creamy base: Softened cream cheese and butter is what I prep for easy mixing. The powdered sugar blends right in for a sweet base.
- Tropical ingredients: I stir in crushed pineapple, lime juice and zest, and a little coconut extract.
- Fluffy finish: Thawed Cool Whip is what I use, and shredded coconut at the end.
How to make
1. Make the crust: I crush the graham crackers and drain the pineapple first so everything’s ready. Then, I melt a stick of butter in the microwave and stir in the crushed graham crackers and pecans until it looks like damp sand. I press about two cups of the crumb mixture into a square baking pan and pop it in the fridge to chill for 15 minutes, saving the rest for topping later.
2. Beat the butter: Then, I beat the butter and cream cheese in a big mixing bowl until the texture is creamy. I slowly add in the powdered sugar while the mixer is on low so it doesn’t go flying everywhere. After that, I stir in the coconut extract, lime zest and juice, and a tablespoon of sweet pineapple.

3. Fill the crust: I spread the cream cheese mixture right over the chilled graham cracker crust and smooth it out with a spatula. Then, in another bowl, I gently fold together the pineapple, shredded coconut, and whipped topping until it’s all mixed and fluffy.
4. Make the top layer: I give the pineapple topping a good stir, then gently spread it over the cream cheese layer using the back of a spoon. To finish, I sprinkle the leftover graham cracker and pecan crumbs on top for a sweet little crunch
5. Cover and serve: I cover the pan with plastic wrap and let it chill in the fridge for at least four hours so everything sets perfectly. Serve!

Expert tip
Drain the pineapple really well
I always take a few extra minutes to really drain the crushed pineapple before mixing it in. If you skip that step, the filling can end up too watery and the dessert won’t hold together as well. I usually pour the pineapple into a small strainer and gently press it with a spoon or a clean paper towel to get out the extra juice. It’s a small step, but it really helps keep the layers firm and creamy.
More tips to consider:
- I like to refrigerate the dessert overnight to let it firm up nicely. It tastes even better the next day.
- Toasted coconut makes such a difference. It adds a nutty flavor that I love.
- When I want to make it look a bit more fun and bright, I mix in a tiny bit of yellow food coloring, just about half a teaspoon.
- I always take a minute to smooth the top layer evenly so every slice looks nice and nothing tilts to one side.
- Sometimes I bake the crust at 350°F for eight minutes to help it set up firmer. Just let it cool all the way before adding the filling.
- When I’m short on time, I grab a pre-made graham cracker crust from the store. It’s super quick and still tastes great.
Recipe variations
- Whip it fresh: I like to top mine with a big scoop of homemade whipped cream. It’s super easy and really makes the dessert taste extra fresh.
- No crushed? No problem: If I’m out of crushed pineapple, I just use pineapple tidbits instead. I make sure to drain them really well.
- Use the fresh stuff: Fresh pineapple works too! I run it through my blender or food processor so it’s nice and soft before mixing it in.
- Leave it chunky: When I want more texture, I don’t blend the fruit all the way. Leaving a few pineapple chunks in the whipped topping makes it fun.
- Switch the crust: I’ve made this with crushed vanilla wafers and even crushed Oreos.
- Boost the flavor: For even more pineapple flavor, I sometimes add one tablespoon of pineapple extract right into the filling.
Serving suggestions
This pineapple dream dessert always makes an appearance when we’re hosting friends or celebrating something special. I’ve served it at backyard BBQs next to grilled burgers and a big dish of pineapple teriyaki chicken and of course it disappears fast. It’s so delicious!
Sometimes I use the leftovers to make a quick batch of my pineapple dump cake or mix them into a creamy pineapple casserole for another round of dessert later in the week. And if I’ve got extra strawberries in the fridge, I’ll chop those up and toss them on top too. This one is just easy, breezy, and always worth keeping in the fridge when company’s coming.
How to store leftovers
- Store: I keep any leftovers in an airtight container in the fridge, and they stay fresh for up to three days.
- Freeze: I don’t usually freeze this dessert because it changes the texture, but if I really need to, I wrap the slices tightly in plastic wrap and foil, then pop them in a freezer bag. They’re best eaten within about three months.
- Thaw: When I’m ready to serve them, I just let the slices thaw in the fridge overnight.

Frequently asked questions
Yes, I’ve done that a few times when I had extra fresh pineapple. Just make sure to chop it really small or pulse it in a food processor. The most important part is draining it really well, otherwise, the filling can get a little too soft or watery. I usually press it through a strainer or squeeze gently with a clean kitchen towel.
Nope, and that’s one of the reasons I love this recipe. I just mix the graham crumbs, butter, and pecans, press them into the pan, and chill. But if you like your crust a little firmer, you can bake it for a few minutes and let it cool before adding the filling. Totally up to you!
I’ve found that pressing the crust mixture really firmly into the dish makes a big difference. I use the bottom of a measuring cup or even just my hand to really pack it in tightly, especially around the edges.

More no-bake dessert recipes:


Loved this recipe? I’d love to hear from you! 💛 Leave a 5-star rating ⭐️ in the recipe card below and share your thoughts in the comments – I read and appreciate every single one!
Let’s stay connected! Follow me on Facebook, Instagram, Pinterest, and YouTube for more delicious, sweet and savory recipes. Have a question? Ask in the comments, and I’ll be happy to help! 😊 with love Catalina!
No-Bake Pineapple Dream Dessert
Ingredients
Crust:
- 2 1/2 cups graham cracker crumbs divided
- 1/2 cup pecans finely processed in a food processor
- 1/2 cup unsalted butter melted
Filling:
- 8 ounces cream cheese softened to room temperature
- 1/2 cup butter softened to room temperature
- 2 1/3 cups powdered sugar
- 8 ounce container frozen whipped topping thawed
- 20 ounce can crushed pineapple drained very well
- 1 lime zested and juiced
- 1/2 cup shredded unsweetened coconut
- 1 teaspoon coconut extract
Instructions
Make the crust:
- In a large bowl mix all the crust ingredients and stir until combined.
- Transfer 2 cups of the crumb mixture to a 9 x 9 square baking dish and press it firmly into the bottom of the pan.
- Chill in the fridge for 15 mins.
- Set aside the remaining crumb mixture. You will use it for the topping.
Make the filling:
- In the bowl of a stand mixer or using an electric mixer, beat the cream cheese and butter together until creamy.
- Add the powdered sugar and beat on low-medium speed until smooth. Stop to scrape the sides and bottom of the bowl.
- Next, add a heaping tablespoon of the well-drained crushed pineapple, lime juice, zest, and coconut extract. Stir to combine.
- After that, spread the cream cheese mixture over the chilled graham cracker crust.
- In a separate bowl, combine the whipped topping with the remaining pineapple, and add the coconut. Stir well until fully combined.
- Spread the whipped topping mixture over the cream cheese layer evenly and gently using the back of a spoon.
- Finally, sprinkle the remaining graham cracker crumb mixture on the top.
- Cover the baking dish with plastic wrap and refrigerate it for at least 4 hours or overnight.
- Slice and serve.
Video
Notes
Drain the pineapple really well
I always take a few extra minutes to really drain the crushed pineapple before mixing it in. If you skip that step, the filling can end up too watery and the dessert won’t hold together as well. I usually pour the pineapple into a small strainer and gently press it with a spoon or a clean paper towel to get out the extra juice. It’s a small step, but it really helps keep the layers firm and creamy.More tips to consider:
- I like to refrigerate the dessert overnight to let it firm up nicely. It tastes even better the next day.
- Toasted coconut makes such a difference. It adds a nutty flavor that I love.
- When I want to make it look a bit more fun and bright, I mix in a tiny bit of yellow food coloring, just about half a teaspoon.
- I always take a minute to smooth the top layer evenly so every slice looks nice and nothing tilts to one side.
- Sometimes I bake the crust at 350°F for eight minutes to help it set up firmer. Just let it cool all the way before adding the filling.
- When I’m short on time, I grab a pre-made graham cracker crust from the store. It’s super quick and still tastes great.