
Homemade Apple Pie
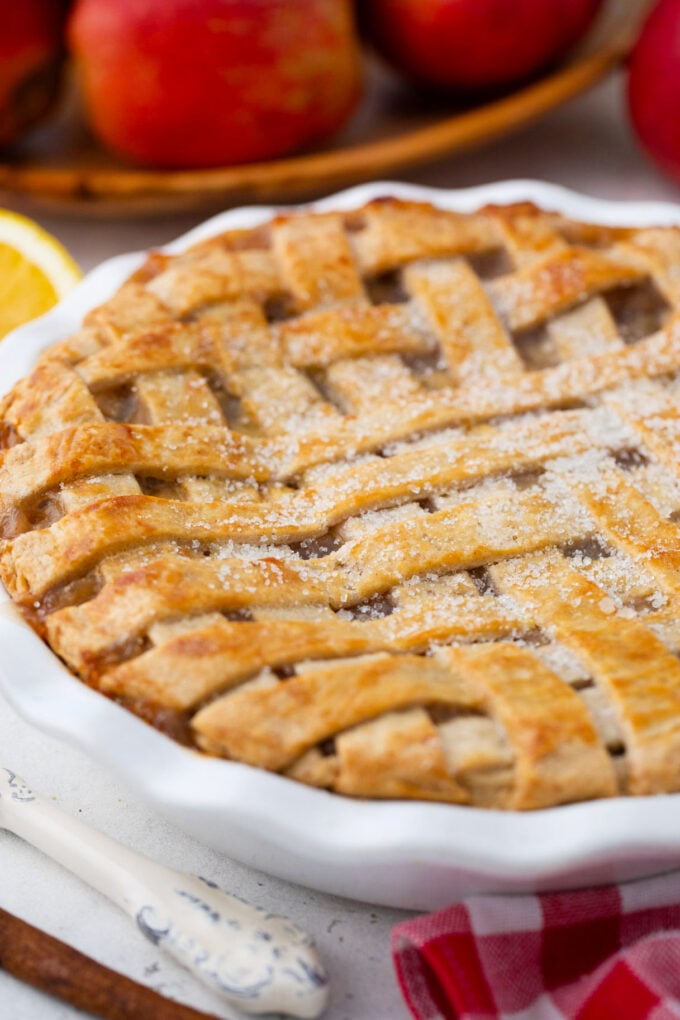
This is my Best Homemade Apple Pie recipe, made with a flaky crust, sweet apple pie filling, and a creamy cheesecake layer that takes it to another level. You simply cannot resist a buttery crust that melts in your mouth. I love serving a warm slice with vanilla ice cream, and it is perfect for holiday celebrations.

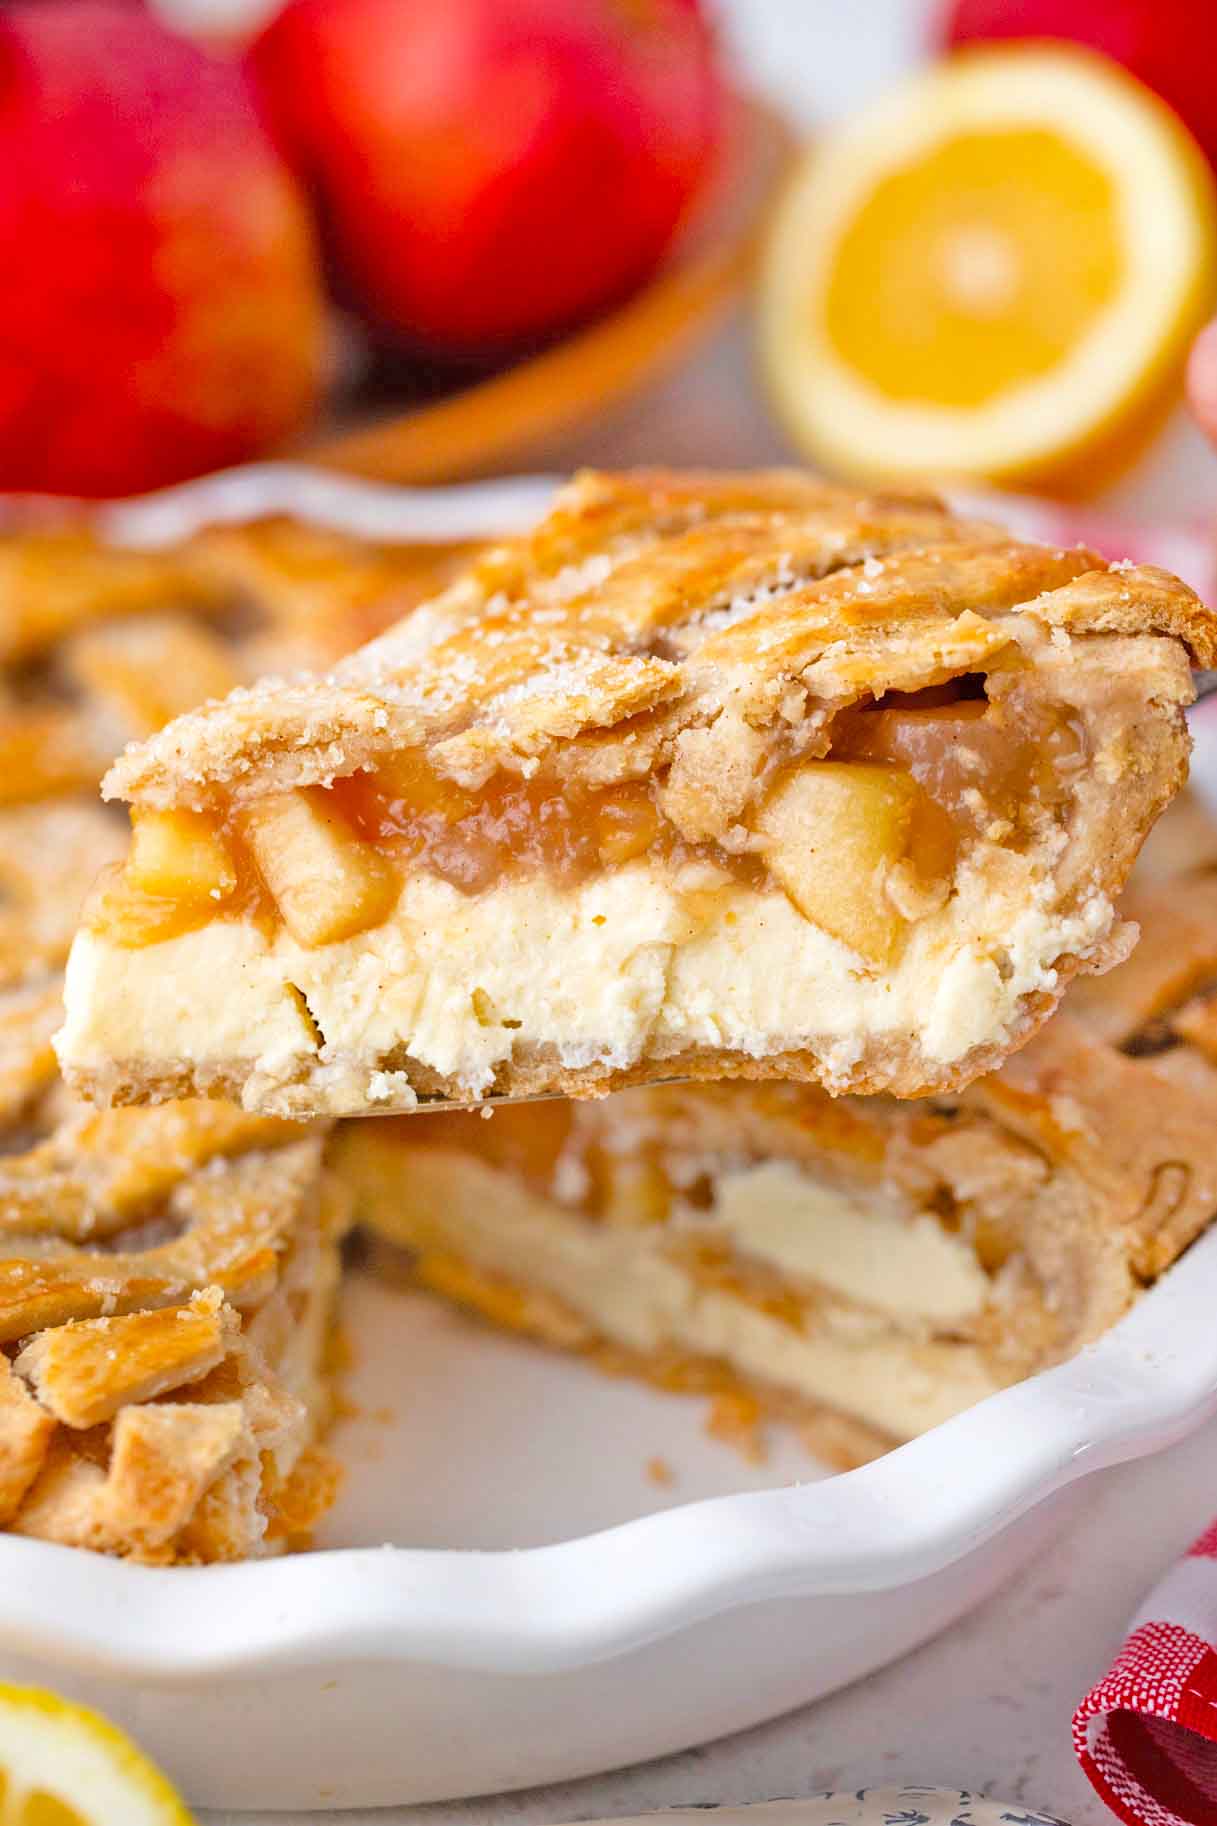
This decadent dessert combines two of my all-time favorites, cheesecake and apple pie. I mean… seriously? Putting these two in one pie was pure genius because they pair so perfectly. The rich and creamy cheesecake layer is a dreamy treat sitting on top of a flaky crust, holding my sweet apple filling that I make from scratch. Yes, it is absolutely worth it! To finish, I top it with a golden sugar-coated crust that is crisp and buttery. Oh… my… I will stop talking now and let you make it yourself so you can taste just how good it is.
Table of contents
I love making recipes with apples, from my apple cinnamon pork chops to my slow cooker baked apples, I really enjoy serving them to my family and friends. But nothing tops tender and sweet apples layered over creamy cheesecake. That combination is pure dessert bliss! This just might become your new favorite apple pie recipe and a holiday tradition everyone will look forward to. I am excited to show you step by step how to make it, so let’s get started.

Why you will love this recipe
- Two desserts in one: I combined creamy cheesecake and homemade apple pie so you can enjoy two favorites in every slice. It is rich, sweet, and has the perfect balance of creamy and fruity flavors.
- Homemade crust that melts in your mouth: I tested this buttery crust recipe over and over until it came out flaky and perfect every time. It holds the cheesecake layer and tender apples perfectly without getting soggy.
- Make-ahead friendly: I love that I can make the crust and apple pie filling ahead of time and just assemble the day I plan to serve it. It saves me time and makes holiday prep so much easier.
- Freezer friendly treat: I always make two pies at once and freeze one for later. That way, I can pull out a delicious dessert whenever I have guests or a special family dinner.
What you will need

For the pie crust:
- All-purpose flour: I stick with all-purpose flour for my crust because it is easy to handle and makes a nice flaky texture.
- Cold butter: I always use cold butter for a crust that is both flaky and tender.
- Cold shortening: Cold shortening works just like butter, helping the crust turn out tender and flaky while holding its shape during baking.
- White ground sugar: I add a bit of sugar to give the crust a light sweetness and to keep it from tasting too plain or starchy.
- Ground cinnamon: A little cinnamon adds a warm flavor and sweetness that works perfectly with apples without needing more sugar.
- Ground nutmeg: Nutmeg blends wonderfully with cinnamon to give the crust a familiar comforting holiday taste.
- Salt: Just enough salt balances the sweetness.
- Cold water: Using ice-cold water helps keep the butter and shortening from melting too soon so the crust stays light and flaky.
For the cheesecake layer:
- Cream cheese: I always use brick-style cream cheese at room temperature so the batter blends smoothly and bakes without cracks.
- Large egg: A room temperature egg mixes in more evenly and helps trap air, giving the cheesecake a light and creamy texture.
- Granulated white sugar: This adds just the right amount of sweetness, keeps the cheesecake moist, and helps make it extra soft.
- All-purpose flour: A small amount of flour helps thicken the batter and keeps it lump free.
- Heavy whipping cream: I use cold heavy cream with at least 36% fat to whip up firm peaks for a fluffy and airy cheesecake layer.
- Vanilla extract: I stick with pure vanilla extract for a rich flavor without any bitterness.
For the pie filling:
- Apple pie filling: You can use a good store-bought filling to save time, or make my homemade apple pie filling for the freshest flavor and texture.
For the egg wash:
- Large egg: No need to bring it to room temperature. I whisk it with cold milk until frothy, then brush it over the pie for a golden finish.
- Milk: Any type of milk works here, but I like using whole milk for a richer color and flavor on the crust.
How to make
The crust pie:
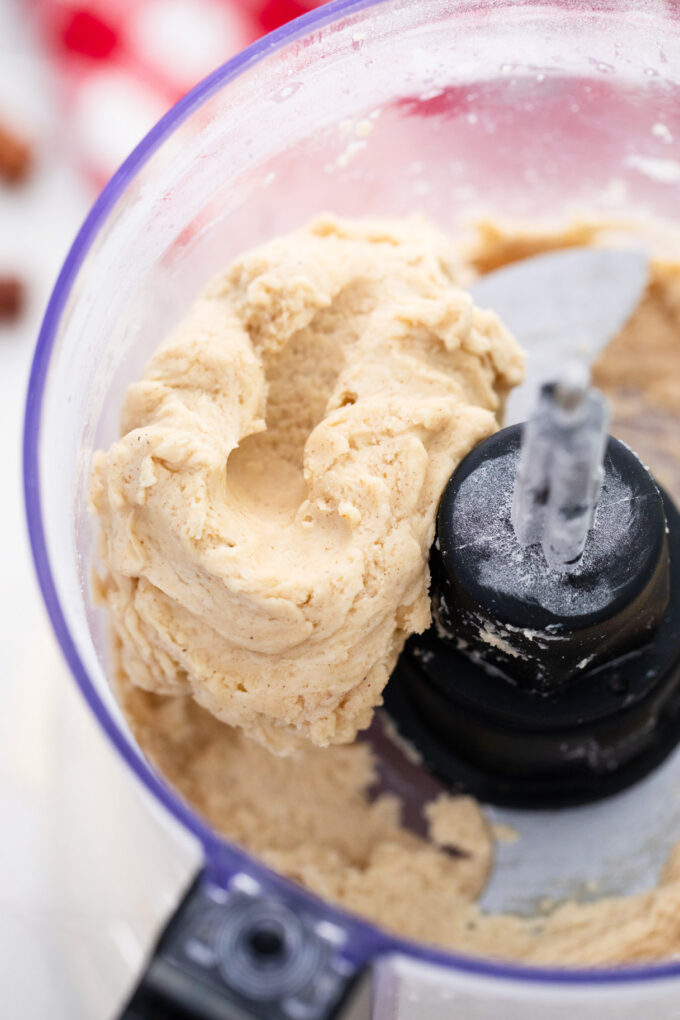
Mix dry ingredients and add dairy: First, I mix all the dry ingredients in a large mixing bowl. Then, I add the unsalted butter and shortening, and use a pastry cutter or food processor to blend everything until it looks like coarse crumbs.
Add water and chill: Afterward, I add the cold water and mix until the dough looks like coarse sand and sticks together when pressed between your fingers. Roll it into a smooth ball without overworking it, cover with plastic wrap, and refrigerate for at least 30 minutes or overnight. Note: Keep in mind that you will need two dough discs for the bottom and the top of the pie.
The filling:
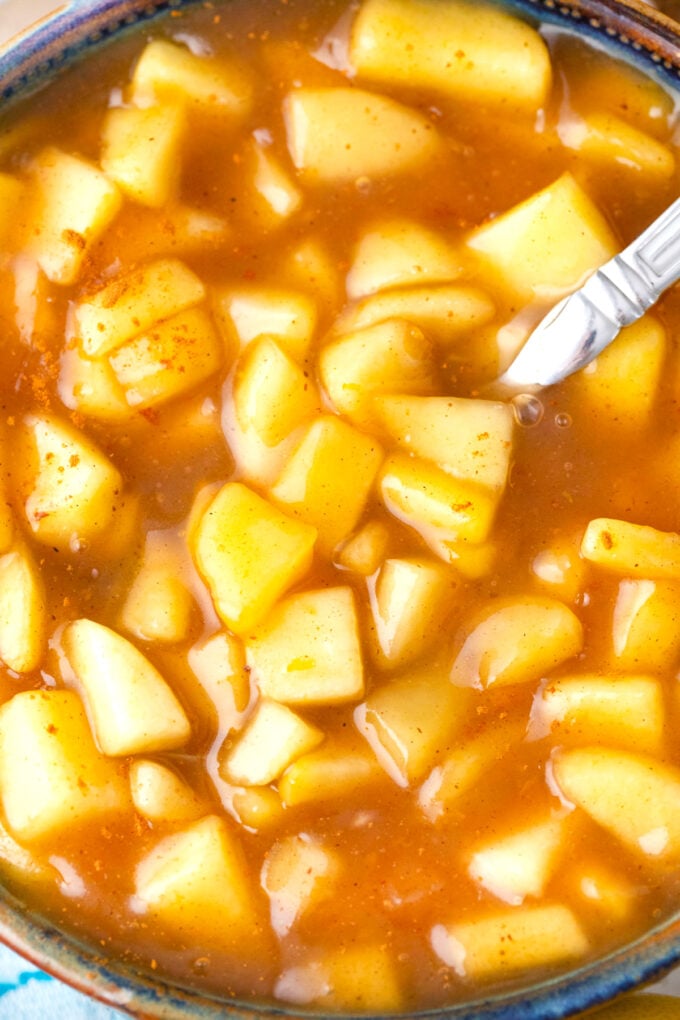
Homemade is best: When I make the homemade version, I pick my favorite apples from the local market and then follow my homemade apple filling instructions. Note: you can always get store-bought pie filling.
Cheesecake layer:
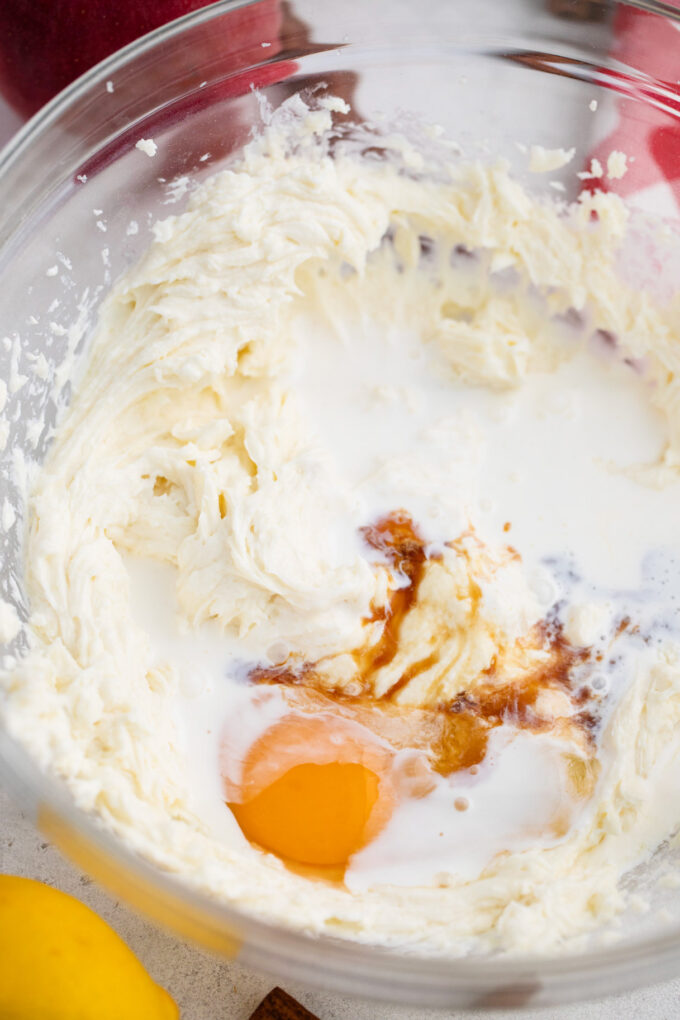
Optional but worth it: In a large bowl, I beat the cream cheese, sugar, and flour until it is light and fluffy. Then, I add the rest of the ingredients and keep mixing until the cheesecake filling is smooth and creamy.
Assemble the pie
Roll the dough: I take the dough out of the fridge and set it on a lightly floured surface or a piece of waxed paper on a flat surface. Then, I flatten it into a disk and roll it out from the center into a nice even circle.
Add to pie pan: I use the waxed paper to lift the dough and carefully place it into a 9-inch pie plate. Then I poke a few small holes with a fork before adding the cheesecake layer and topping it with the apple pie filling.
Assemble: I spread the cheesecake mixture over the bottom crust, then pop it in the freezer for about an hour so it firms up before adding the apples.

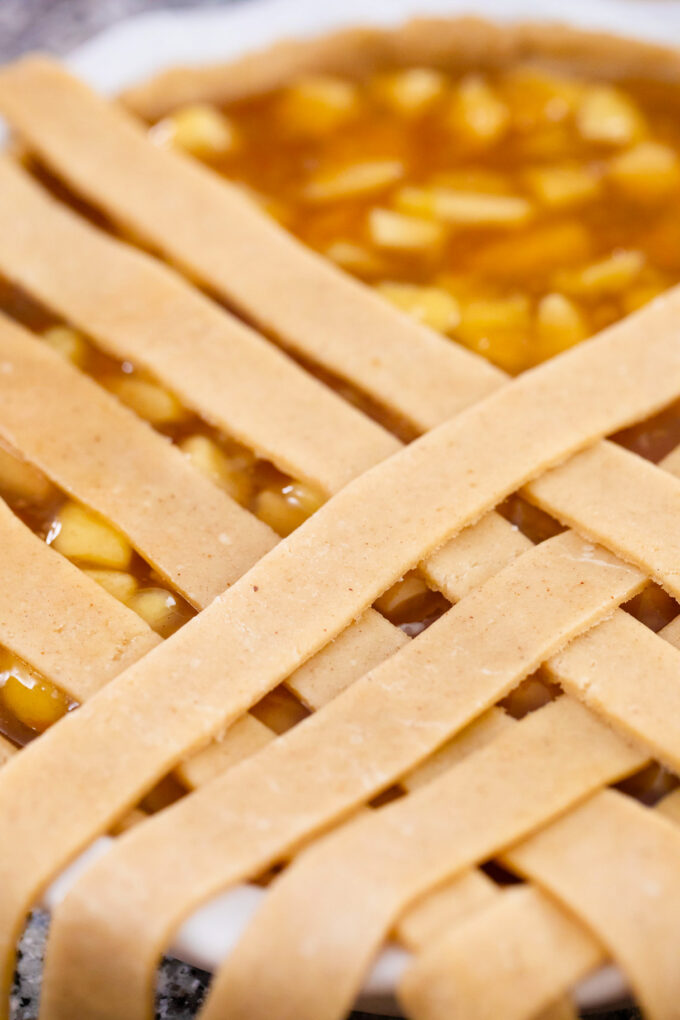
Filling: I spoon the apple pie filling over the chilled cheesecake layer, then weave a simple lattice crust on top for that classic pie look.
Bake: I whisk an egg with a splash of milk and brush it over the top and edges of the pie, then sprinkle coarse sugar for a sweet crunch. I bake it for about 55 minutes until golden, then let it cool on a wire rack before serving.

Serve: I like to enjoy this pie warm or chilled with a scoop of ice cream and a drizzle of caramel sauce. You can check my serving suggestion section for more tasty ways to serve it.
Expert tip
Make the flakiest pie crust
When I want the flakiest pie crust, I always start with cold butter and shortening cut into small pieces so they stay in little lumps while I work them into the flour. The butter gives that rich flavor I love, while the shortening holds its shape longer and helps create beautiful layers. Once the dough comes together, I chill it for at least three hours, but honestly, six to eight is even better. This extra time keeps the fat firm, relaxes the gluten, and makes the crust easy to roll out without shrinking in the oven.
More tips to consider:
- Keep the butter, shortening, and water ice cold so the crust turns out perfectly flaky. Cold ingredients make all the difference here.
- Bring the cream cheese and cream to room temperature before mixing the cheesecake layer. This helps everything blend smooth without lumps.
- I like mixing different apple varieties for the filling. It gives the pie a deeper, more balanced apple flavor.
- Work quickly when rolling the crust so the butter stays cold. This keeps the texture light and flaky.
- Dust the rolling pin with flour so the dough does not stick. It makes rolling smoother and less messy.
- Let the pie cool for at least two to three hours before cutting. This way, the filling sets and slices stay neat.
- If you add the cheesecake layer, serve the pie fully chilled. It keeps the cheesecake firm and delicious.

Recipe variations and add-ins:
- Sweet caramel twist: I like adding about ½ cup of caramel sauce to the filling. It makes the pie extra sweet and rich.
- Creamy caramel swirl: I mix ½ cup of dulce de leche into the cream cheese layer. It gives the cheesecake a smooth caramel flavor.
- Crunch lovers dream: I toss in about ½ cup of chopped walnuts, almonds, or pecans. They add a nice crunch and nutty taste to the pie.
- Fruity flavor mix: I sometimes mix in 1 cup of sliced pears, peaches, berries, or plums. It adds more flavor and makes the filling extra colorful.
- Mini pie fun: I use the same recipe but make smaller portions in 4-inch rounds. They are fun for parties and easy to serve.

Serving suggestions:
When I make this apple cheesecake pie for the holidays, I always save room for dessert because I know it will be the star of the table. My kids wait all day just so they can help me scoop big mounds of my three-ingredient Oreo ice cream next to each slice. If ice cream is not on the menu, I whip up a bowl of homemade whipped cream, and we all take turns adding an extra dollop before digging in.
For summer barbecues or potlucks, I love packing slices into a big cooler with apple fennel chicken salad sandwiches and a jug of detox water. At birthday parties, I have even served it with warm apple cider for the kids and a chilled glass of pineapple mojito for the grownups. Every time, people come back for seconds, and there are never leftovers to take home.
How to store leftovers
- Refrigerate: I keep the pie covered in the fridge, and it stays fresh for about four days. The cheesecake layer tastes even better the next day.
- Freezing: I wrap the whole pie or individual slices in plastic wrap and store them in a freezer bag. It can last for up to three months this way.
- Reheating: If I want to serve it warm, I heat slices in the oven at a low temperature until just warmed through. I never reheat the cheesecake layer too much so it keeps its creamy texture.

Frequently asked questions
For this recipe, I like to use crisp, tart apples that keep their shape when baked. My go-to combo is Gala for their sweetness and Granny Smith for their tang, but I also love mixing in Honeycrisp, Jonagold, or Braeburn. Using a mix of varieties gives the filling a richer flavor and the perfect balance of sweet and tart we love.
The key is to keep the apple filling from being too wet and to create a little barrier between the filling and the crust. I’ll sometimes brush the bottom crust with egg wash or a light sprinkle of flour before adding the apples. This helps keep the bottom flaky and sturdy so it can hold up to all that juicy filling.
Yes, you can keep it simple with a solid top crust, or make it extra special with a crumb topping. I’ve done both, and each gives the pie a different personality. The crumb topping is more casual and sweet, while the solid top crust feels a bit more classic and traditional.

More homemade pie recipes:


Loved this recipe? I’d love to hear from you! 💛 Leave a 5-star rating ⭐️ in the recipe card below and share your thoughts in the comments – I read and appreciate every single one!
Let’s stay connected! Follow me on Facebook, Instagram, Pinterest, and YouTube for more delicious, sweet and savory recipes. Have a question? Ask in the comments, and I’ll be happy to help! 😊 with love Catalina!
Homemade Apple Pie
Ingredients
Pie Crust Top-Bottom or use store-bought:
- 1 1/4 cups all-purpose flour
- 1/4 cup cold butter unsalted and diced
- 1/4 cup cold shortening diced
- 1/4 teaspoon salt
- 1 teaspoon sugar
- 1/4 teaspoon ground cinnamon optional
- 1/2 teaspoon ground nutmeg optional
- 4 tablespoons cold water
Cheesecake Layer Optional:
- 1 package (8 oz) cream cheese room temperature
- 1/4 cup white sugar
- 1 egg
- 1/4 cup cream room temperature
- 1 tablespoon all-purpose flour
- 1 teaspoon vanilla extract
Apple Pie Filling:
- 2 20 oz cans (4 cups) apple pie filling or 6 cups if you are not making the cheesecake layer
Egg Wash:
- 1 egg
- 1 tablespoon milk
Instructions
Pie Crust:
- I prefer to make the bottom and top separately; it makes it easier to mix the dough, especially if you have a smaller food processor. Also, it's easier to roll the dough. Follow the instructions and make two dough balls, one for the bottom and one for the top.
- Add flour, salt, sugar, cinnamon, and nutmeg to a food processor. Add butter and shortening and process until the mixture resembles coarse crumbs.
- Add the water and pulsate to combine.
- The dough can also be made in a large bowl using a pastry blender or your fingers.
- Shape the dough into a ball and wrap it in plastic wrap. Refrigerate for 3 hours or overnight.
- Repeat this to make the top crust and place it in the fridge.
- When ready, place waxed paper on a flat surface and lightly dust it with flour.
- Roll one dough ball out to fit a 9-inch pie plate.
- Transfer the crust to the pie plate and press evenly into the bottom and sides of the pie dish.
Cheesecake Layer (Optional):
- Make sure all the ingredients are at room temperature before you begin.
- In the bowl of a stand mixer or a large bowl using a hand mixer, beat cream cheese, flour, and sugar until light and fluffy at medium to low speed.
- Add the rest of the ingredients from the "Cheesecake Layer" list and continue beating until well combined and creamy. Scrape the sides and bottom of the bowl with a spatula.
- Add the cheesecake batter to the prepared bottom of the prepared crust. Level the top with a spatula.
- Transfer to the freezer for about one hour until the cheesecake layer is hard enough to pour the apple pie filling on top of it.
Apple Pie Filling:
- Use my recipe for homemade Apple Pie Filling or use the canned store-bought filling.
- Add it on top of the cheesecake layer. Level the top with a spatula.
Pie Crust Top:
- When you are ready to bake the pie, preheat the oven to 375 degrees F.
- Roll the remaining dough ball out to fit a 9-inch pie plate and place it on top of the apple pie filling.
- Another option is to cut one-inch strings and arrange them on top of the apple pie filling overlapping to create a lattice top.
- Trim the edges of the pie and leave a half-inch overhang. Fold the dough under itself and use your fingertips to seal it.
Egg Wash:
- Whisk egg and milk until fully combined.
- Brush the top and edges of the pie with the egg wash. Sprinkle some sugar on top.
Bake:
- Bake the pie in the preheated oven for 55 minutes until golden.
- Remove from the oven and cool on a wire rack.
Serve:
- The pie can be served immediately, warm if you didn't add the cheesecake layer.
- Otherwise, let it cool on a wire rack, and after that, refrigerate for at least 3 hours before slicing and serving.
Video
Notes
Make the flakiest pie crust
When I want the flakiest pie crust, I always start with cold butter and shortening cut into small pieces so they stay in little lumps while I work them into the flour. The butter gives that rich flavor I love, while the shortening holds its shape longer and helps create beautiful layers. Once the dough comes together, I chill it for at least three hours, but honestly, six to eight is even better. This extra time keeps the fat firm, relaxes the gluten, and makes the crust easy to roll out without shrinking in the oven.More tips to consider:
- Keep the butter, shortening, and water ice cold so the crust turns out perfectly flaky. Cold ingredients make all the difference here.
- Bring the cream cheese and cream to room temperature before mixing the cheesecake layer. This helps everything blend smooth without lumps.
- I like mixing different apple varieties for the filling. It gives the pie a deeper, more balanced apple flavor.
- Work quickly when rolling the crust so the butter stays cold. This keeps the texture light and flaky.
- Dust the rolling pin with flour so the dough does not stick. It makes rolling smoother and less messy.
- Let the pie cool for at least two to three hours before cutting. This way, the filling sets and slices stay neat.
- If you add the cheesecake layer, serve the pie fully chilled. It keeps the cheesecake firm and delicious.