Red Velvet Cheesecake Bites
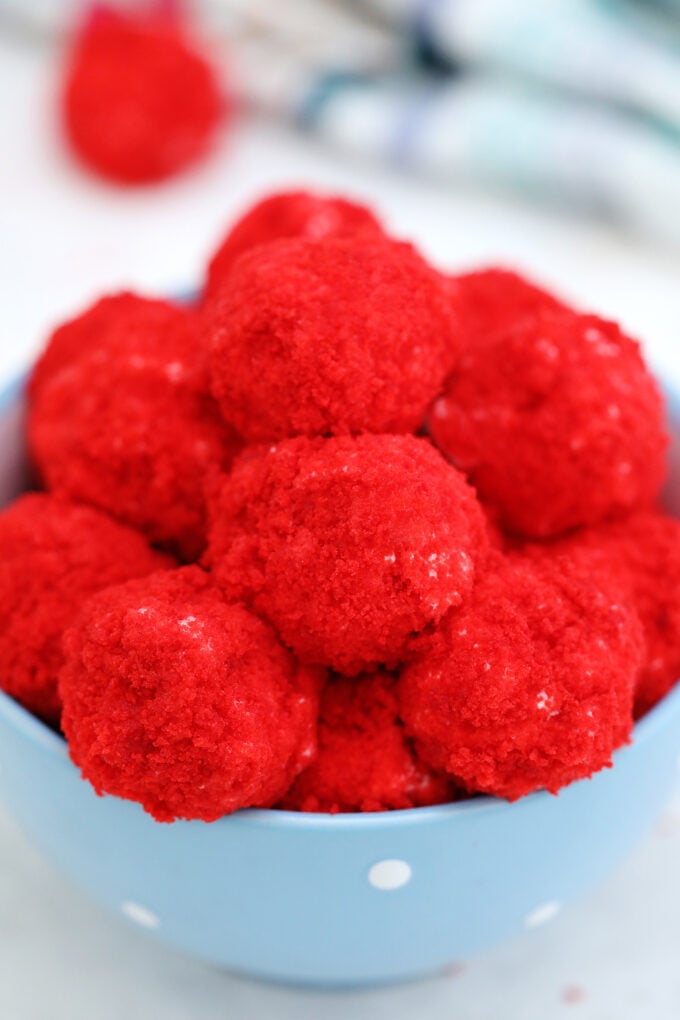
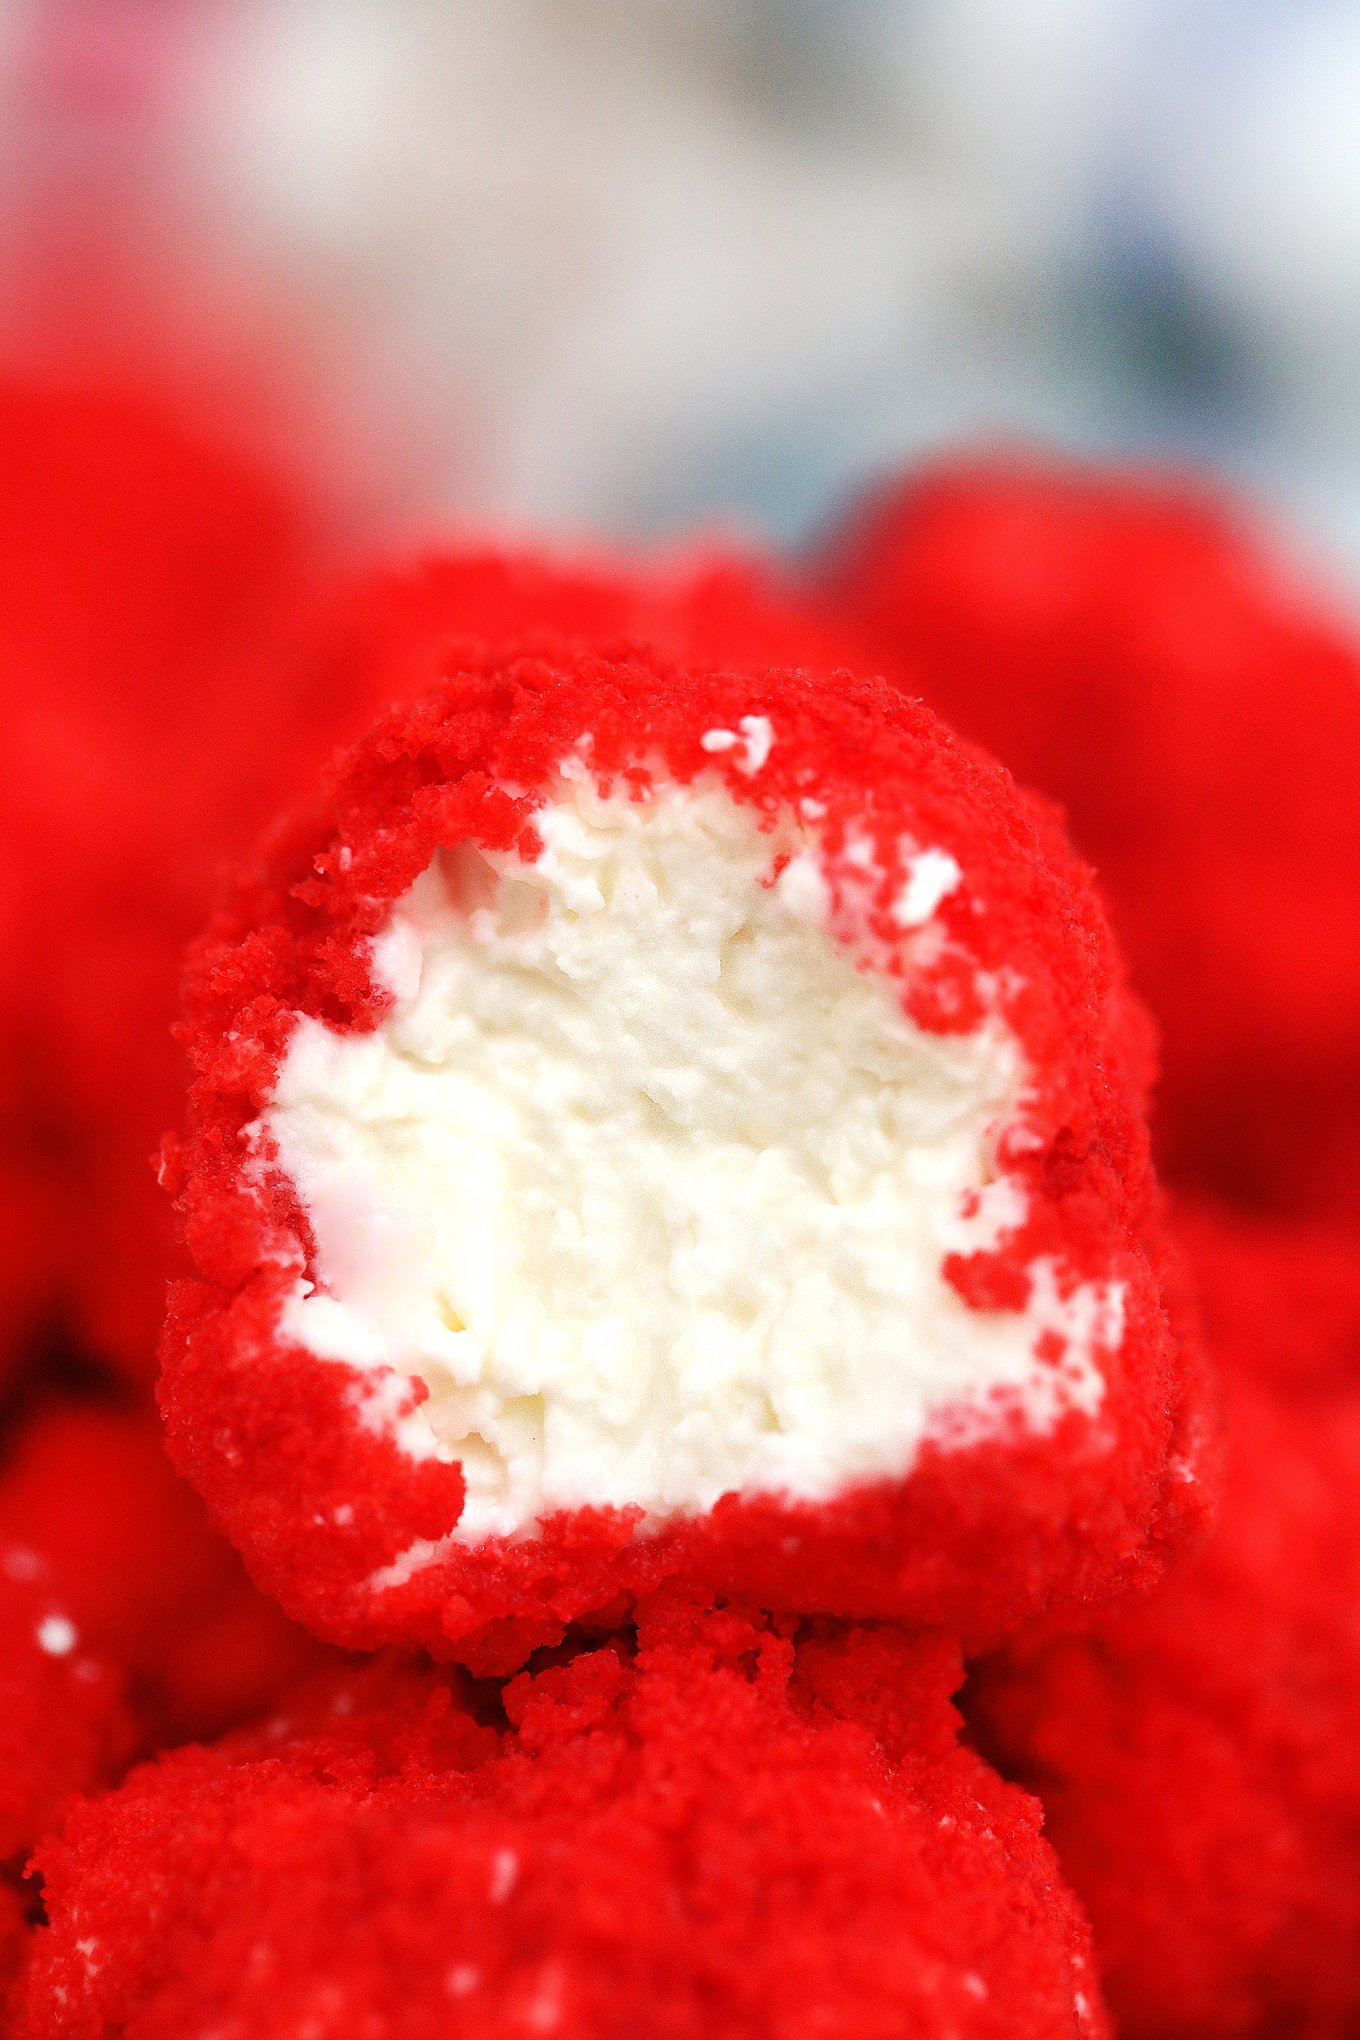
I like a good, hassle-free dessert that I can make in advance, and these Red Velvet Cheesecake Bites are all that, plus creamy, velvety, and decadent! With their festive color and rich taste, they make for a great party dessert. Five ingredients and 30 minutes it’s all it takes to make this delicious recipe!
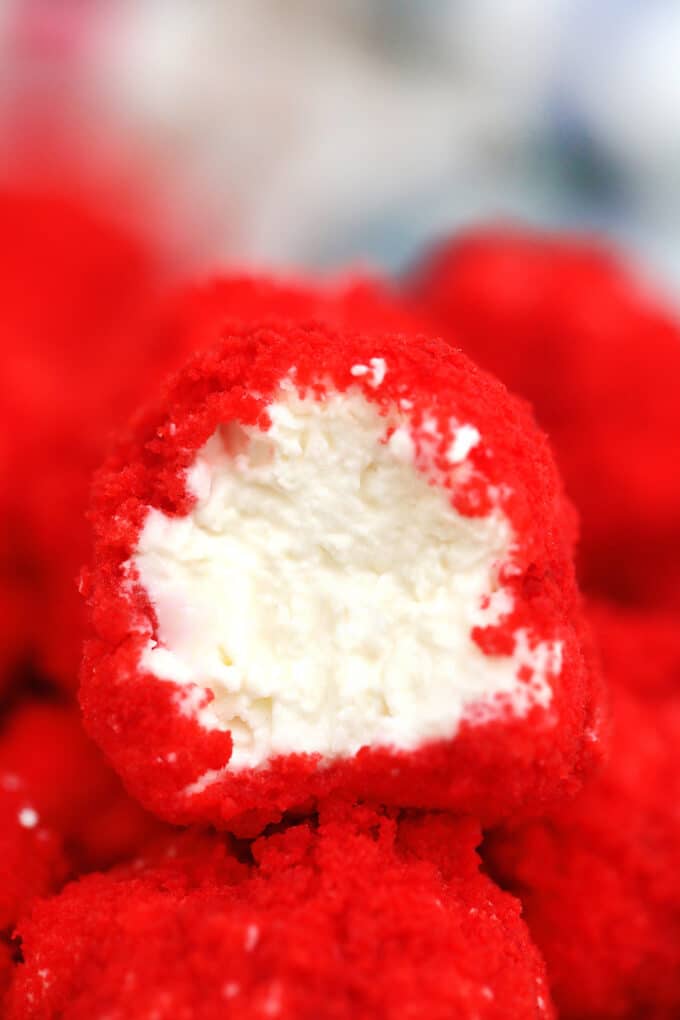
This is the bite-size dessert that never fails to impress and I make these creamy bites for almost every party. The color is festive and the flavor is awesome — everything you want in a decadent treat! I have packed all the flavors of an elaborate red velvet cake in this easy-to-make, scrumptious treat.
Table of contents
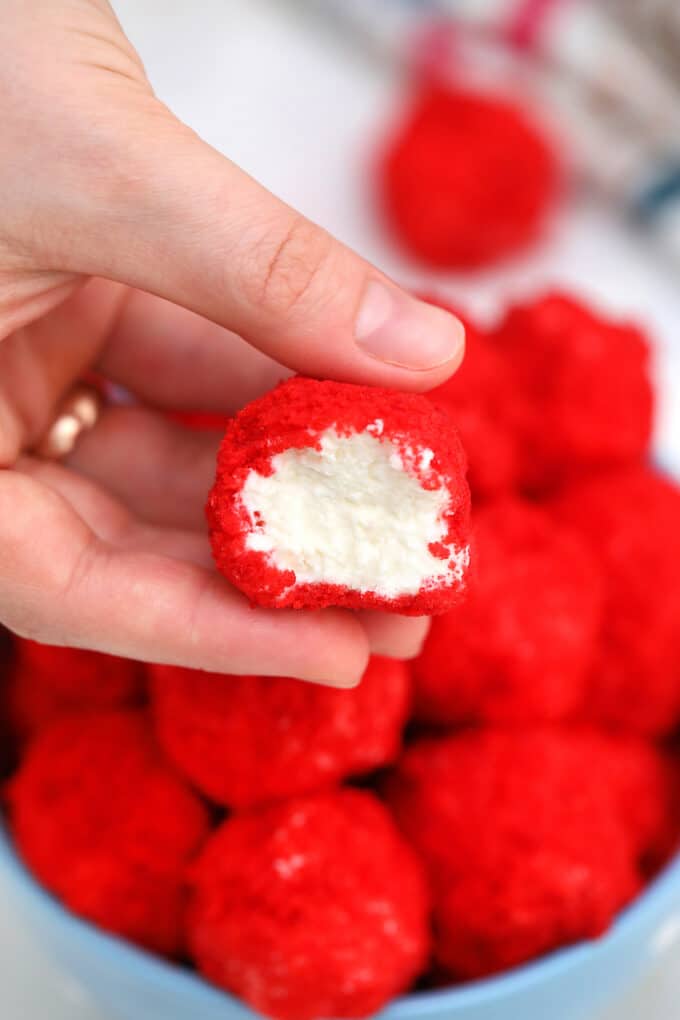
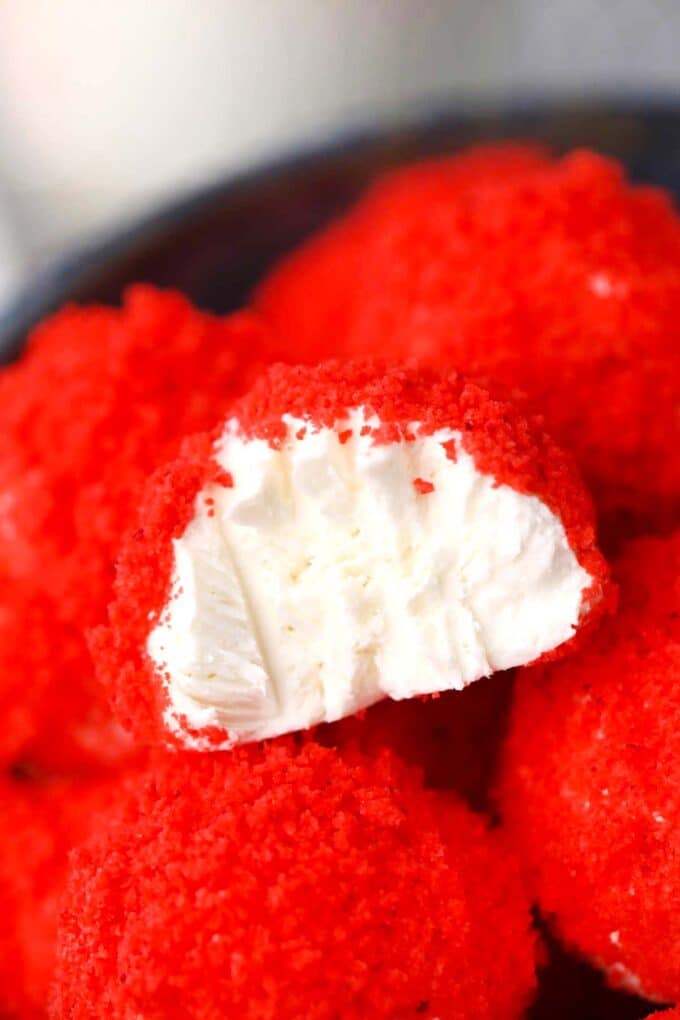
Believe me, these are a huge hit every time I serve them, and they are even better chilled, right out of the fridge. Because they are red, they make the most incredible Valentine’s Day or Christmas dessert. I call these soft and creamy little balls of heaven cheesecake truffles, and they are great for any occasion.
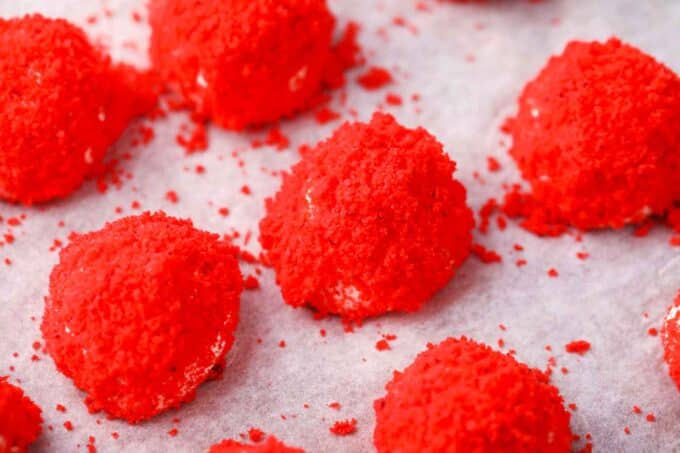
Why you will love this recipe
- This is the perfect Valentine’s Day treat. The beautiful, vibrant red color of these delicious treats makes them perfect for Valentine’s Day and Christmas parties. But they are also a wonderful addition to the dessert tables at other gatherings any day of the year.
- They are so easy to make: Just crumble the cake, whip the cheesecake filling, and roll the balls in the crumbs. Not only is it easy but it is also a lot of fun. Let the kids help. They will love it too.
- Only five ingredients: With just a few ingredients, the shopping trip will be easy as well as inexpensive.
- Always ready for a party: One of the best parts about these no-bake cheesecake bites is that they can be made ahead of time. They can be refrigerated or even frozen for longer-term storage.
What you will need
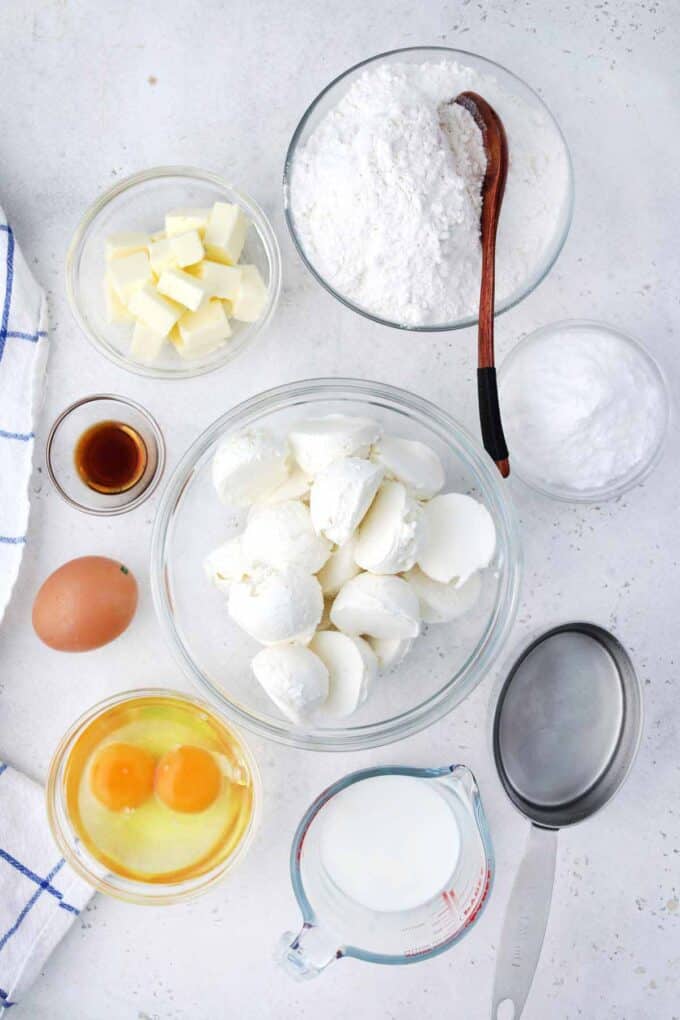
- Red velvet cake mix – Use a high-quality cake brand. By that, I do not mean to get the most expensive. In fact, I use Duncan Hines, and I know several bakery owners who like using Betty Crocker.
- Softened cream cheese – Philadelphia full-fat, brick-style cream cheese is what I always use. It is the richest and creamiest in my opinion.
- Powdered sugar – For the smoothest and silkiest texture.
- Milk – Whole milk, not low-fat or fat-free, is best for this recipe. The light stuff will not make it taste as creamy and rich.
- Pure vanilla extract – Adds an extra layer of flavor with a hint of floral essence.
How to make
Make the cake: First, I preheat the oven to 350 degrees and line a large baking sheet with parchment paper. Then, I prepare and bake the cake per the box directions.
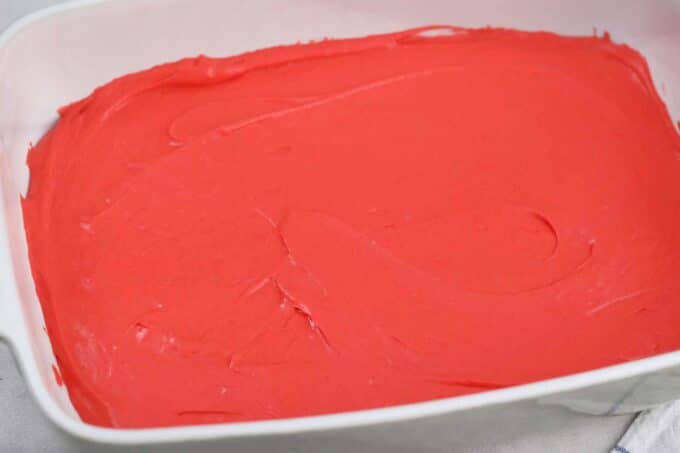
Make crumbs: I remove the cake and let it cool completely before cutting it in half. I save one half for later and use the other half to fill a bowl with crumbs.
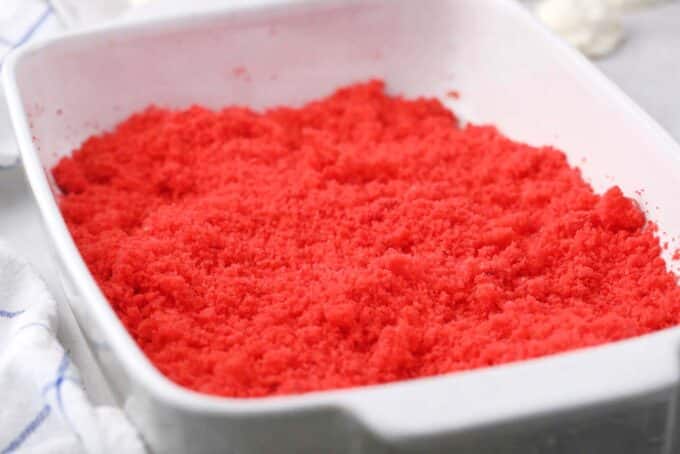
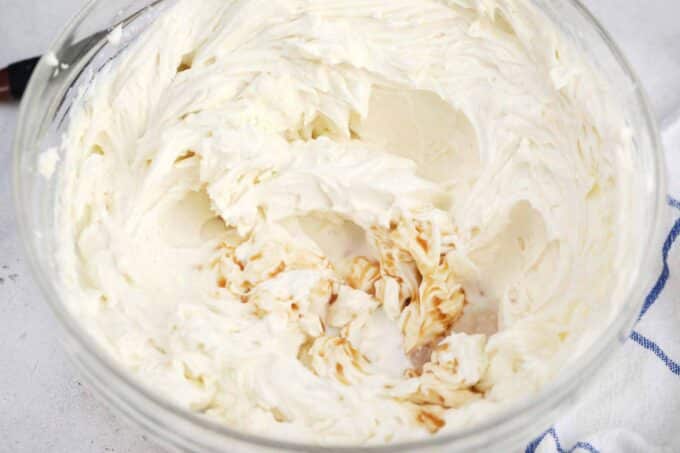
Beat cream cheese: Then, I beat the cream cheese and powdered sugar in a large bowl using a hand mixer until light and fluffy. The milk and vanilla go in next, and I beat them until stiff peaks form.
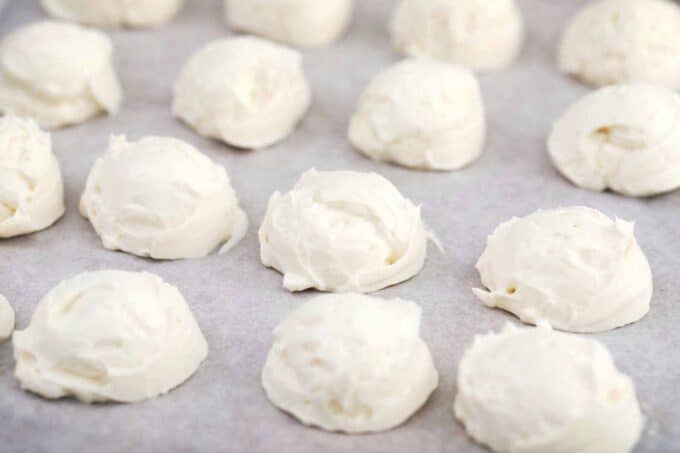
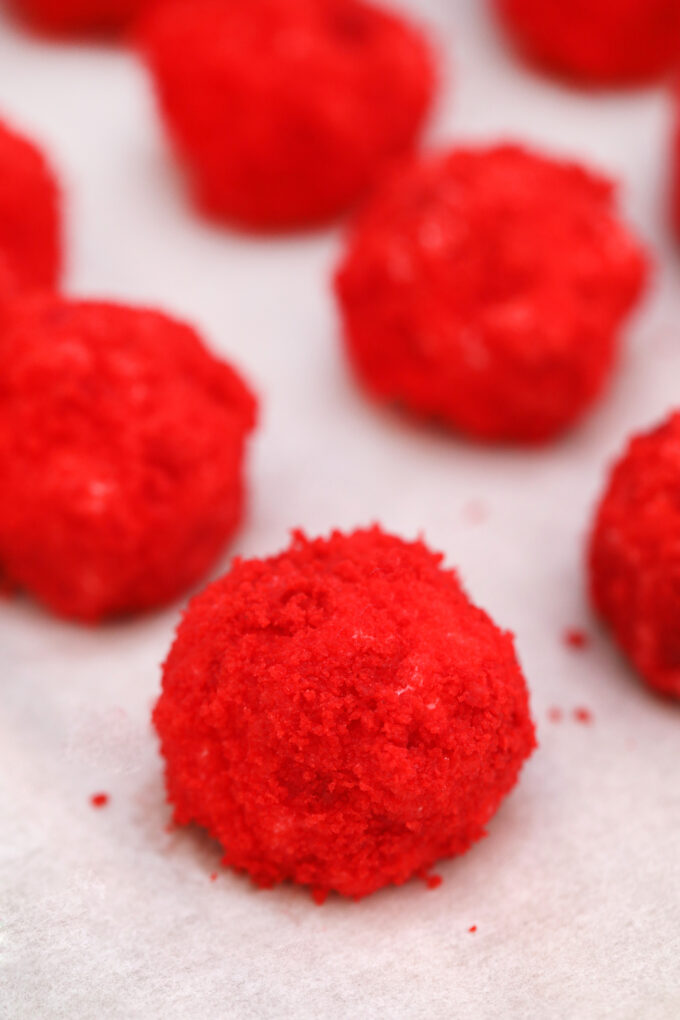
Make balls: I then use a small cookie scoop to spoon the cream cheese mixture into balls, put them on the baking sheet, and freeze them for an hour.
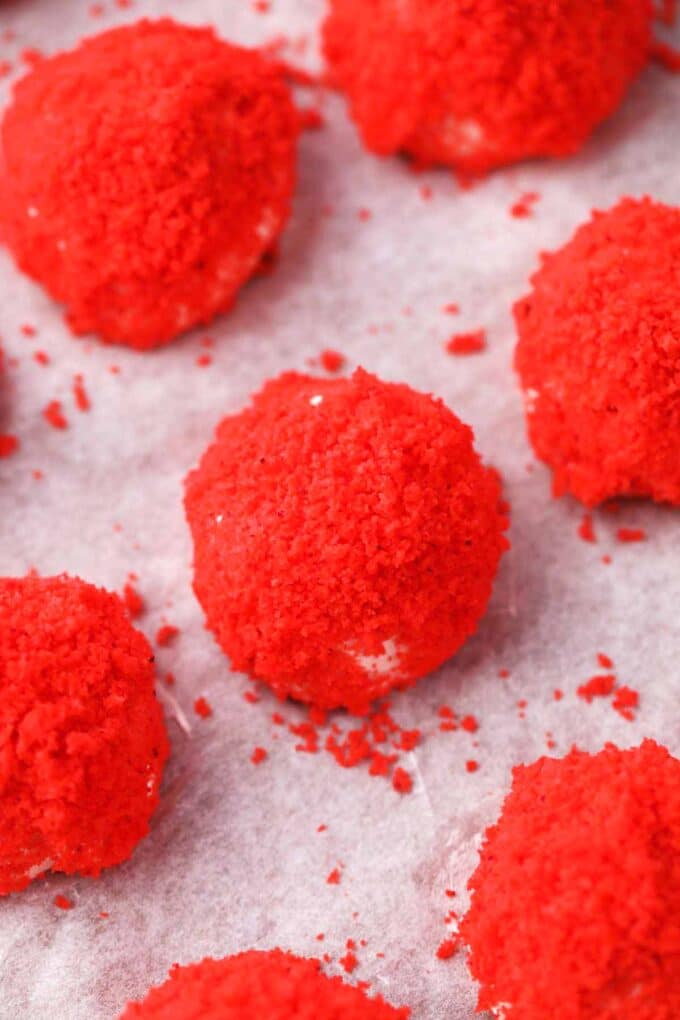
Chill and serve: After rolling the cheesecake balls in the crumbs, I put them back onto the baking sheet. I chill them for another hour before serving.
Expert tip
What kind of cream cheese to get
While there are a few different styles of cream cheese, there is only one style that I recommend for this recipe. It has to be full-fat cream cheese. This is because low-fat and fat-free varieties have water in them to replace the fat. This dessert needs the fat to be thick and creamy. Otherwise, it will end up runny and it will ruin the texture.
Another thing to note is that it has to be brick-style cream cheese. The tub-style cream cheese is whipped with air to make it easier to spread, which is great for spreading but not for making desserts like these cheesecake truffles. It will cause them to become runny and flat.
More tips to consider:
- If the filling is too runny for any reason, just add a bit of cornstarch, and it will thicken up.
- To keep them from melting, put them in the fridge as soon as they are done and keep them there. If they are being transported, chill the container first.
- Let the cheesecake filling warm up just a bit (for five minutes), and make sure the crumbs are very fine so they will stick.
- Want to make this even faster and easier? Skip the box cake mix and buy some red velvet muffins to turn into crumbs.
- Put these in decorative mini cupcake liners to make them even more adorable and help them keep their shape if transporting.
Recipe variations and add-ins:
- Add chips: For some crunchiness, add some mini chocolate chips to the cheesecake mixture.
- Other coatings: Instead of (or in addition to) red velvet cake mix, use other flavors like white, yellow, or chocolate cake.
- Chocolate cheesecake: For chocolate cheesecake middles, add cocoa powder to the cream cheese mixture.
- Make them nutty: Crush up some nuts and add them to the velvet coating to give it more texture.
- Sprinkle them: For a fancy or festive look, toss some rainbow sprinkles into the crumbs so they each have some sprinkles in them.
- Surprise: If these are for a party, put special surprises inside each cheesecake ball, such as fruit pieces, candy, or chocolate.
Serving suggestions:
I once stacked them up into a tree shape for a Christmas party and added some of these adorable snowman truffles on the side for a decorative holiday dessert table.
My kids love these with my red velvet hot chocolate. It’s also fun to turn them into cheesecake bite cake pops. Simply put each one of them on a stick and serve them in cupcake liners.
Take these cute little balls of deliciousness to a party, picnic, or family gathering with ease. Just put them in mini-cupcake liners and freeze them in freezer bags. They will thaw in about an hour.
How to store:
- Refrigerate: These little beauties are easy to pack and save because they take up little space. Just keep them in a single layer and put them in an airtight container in the fridge, and they will stay fresh for up to four days.
- Freezing: To freeze, place them in mini-cupcake liners to prevent them from sticking to each other. They can be stored in freezer bags for up to three months.
- Defrost: For the best texture and taste, thaw in the fridge overnight before serving but keep chilled.
Frequently asked questions
First of all, be sure to use the right cream cheese. It has to be brick-style. Whipped cream cheese has too much air and lactic acid mixed into it. Also, fat-free or low-fat cream cheese has too much water, so it will never be able to get thick enough without adding some type of emulsifier. Another problem may be too much milk or vanilla. No matter what the reason, just add a little cornstarch, and it will thicken up with no problem.
To prevent cheesecake bites from melting, put them in the refrigerator as soon as they are done. Keep them in a single layer and try to place them far enough apart so they get plenty of air circulation and do not stick together. If they will be transported somewhere, chill the container first and place them in cupcake liners to prevent them from touching each other.
Why won’t the crumbs stick to the cheesecake balls?
It is possible that the crumbs are not fine enough. Try using a food processor to create a very fine crumb. The cheesecake filling may be too cold. Let it warm up a little bit more. Try rolling one between your hands and then rolling it into the crumbs. Use your fingers to press the crumbs onto the ball to make them stick.
Any kind of cake can turn out bitter for a variety of reasons. However, red velvet cake often has something to do with red food coloring. If that happens, return the cake mix to the store and get your money back. It can also be too much baking soda or baking powder, the baking powder formula itself, or the cocoa powder used in the mixture.
More bite-size desserts
Loved this recipe? I’d love to hear from you! 💛 Leave a 5-star rating ⭐️ in the recipe card below and share your thoughts in the comments – I read and appreciate every single one!
Let’s stay connected! Follow me on Facebook, Instagram, Pinterest, and YouTube for more delicious, sweet and savory recipes. Have a question? Ask in the comments, and I’ll be happy to help! 😊 with love Catalina!
Red Velvet Cheesecake Bites
Ingredients
- 1 box red velvet cake mix plus ingredients called for on the box
- 16 ounces cream cheese softened to room temperature
- 1/2 cup powdered sugar
- 3 tablespoons milk
- 1 teaspoon vanilla extract
Instructions
- Preheat oven to 350 degrees F.
- Prepare and cook red velvet cake per box directions.
- Using a hand mixer, beat cream cheese, and powdered sugar in a large bowl until light and fluffy. Add milk and vanilla and beat until stiff peaks form.
- Line a large baking sheet with parchment. Using a small cookie scoop, scoop the cream cheese mixture into balls and place them onto the prepared baking sheet. Transfer to the freezer to chill for 1 hour or until easy to handle.
- Remove the cake from the oven and let it cool fully. Cut it in half, place one half in a large bowl, and snack on or save the other half for later.
- Turn the cake that you placed in the bowl into crumbs.
- Once chilled, roll balls in red velvet cake crumbs until fully coated, then return to the prepared baking sheet.
- Refrigerate for about 1 hour or until ready to serve.




How do you make red velet cake better… add cheesecake!! I can’t wait to make these!
These Red Velvet Cheesecake Bites are look so cute and yummy!
Oh my gosh Catalina, these are such a WOW! Red velvet anything is a treat, but pairing it with cheesecake sounds entirely blissful.
No one is going to be able to resist these! So amazingly delicious!!
This is my kind of recipe! The perfect cure for my sweet tooth! Yum!
These are so pretty! Bookmarking to make for Christmas!
These look delicious. If freezing, would I do so before or after rolling in the cake crumbs?
Preferably before!
These Red Velvet Cheesecake Bites look absolutely irresistible! I love the combination of flavors, and they seem perfect for any occasion. Can’t wait to try this recipe—thanks for sharing!
These Red Velvet Cheesecake Bites look absolutely amazing! I love how they combine two of my favorite desserts in such a cute and bite-sized format. Can’t wait to try making these for my next gathering—thank you for sharing the recipe!
These Red Velvet Cheesecake Bites look absolutely delicious! I love the combination of flavors, and they seem like the perfect treat for any occasion. Can’t wait to try this recipe!
These Red Velvet Cheesecake Bites look absolutely delicious! I love how you combined two amazing desserts into one bite-sized treat. Can’t wait to try this recipe for my next gathering!
These Red Velvet Cheesecake Bites look absolutely divine! I can’t wait to try making them for my next gathering. The combination of flavors sounds irresistible, and they look so adorable too! Thanks for sharing this delightful recipe!
These Red Velvet Cheesecake Bites look absolutely delicious! I love the combination of flavors, and they seem perfect for any occasion. Can’t wait to try making them! Thanks for sharing the recipe!
These Red Velvet Cheesecake Bites look absolutely divine! I love the combination of flavors, and the bite-sized portion makes them even more tempting. Can’t wait to try this recipe for my next gathering! Thank you for sharing!
These Red Velvet Cheesecake Bites look absolutely mouthwatering! The combination of flavors is irresistible, and they’re so cute for party desserts. I can’t wait to try making them for our next get-together! Thanks for sharing this delicious recipe!