Last updated on June 18th, 2021 at 06:15 pm
Jump to RecipeBanana Pudding Poke Cake
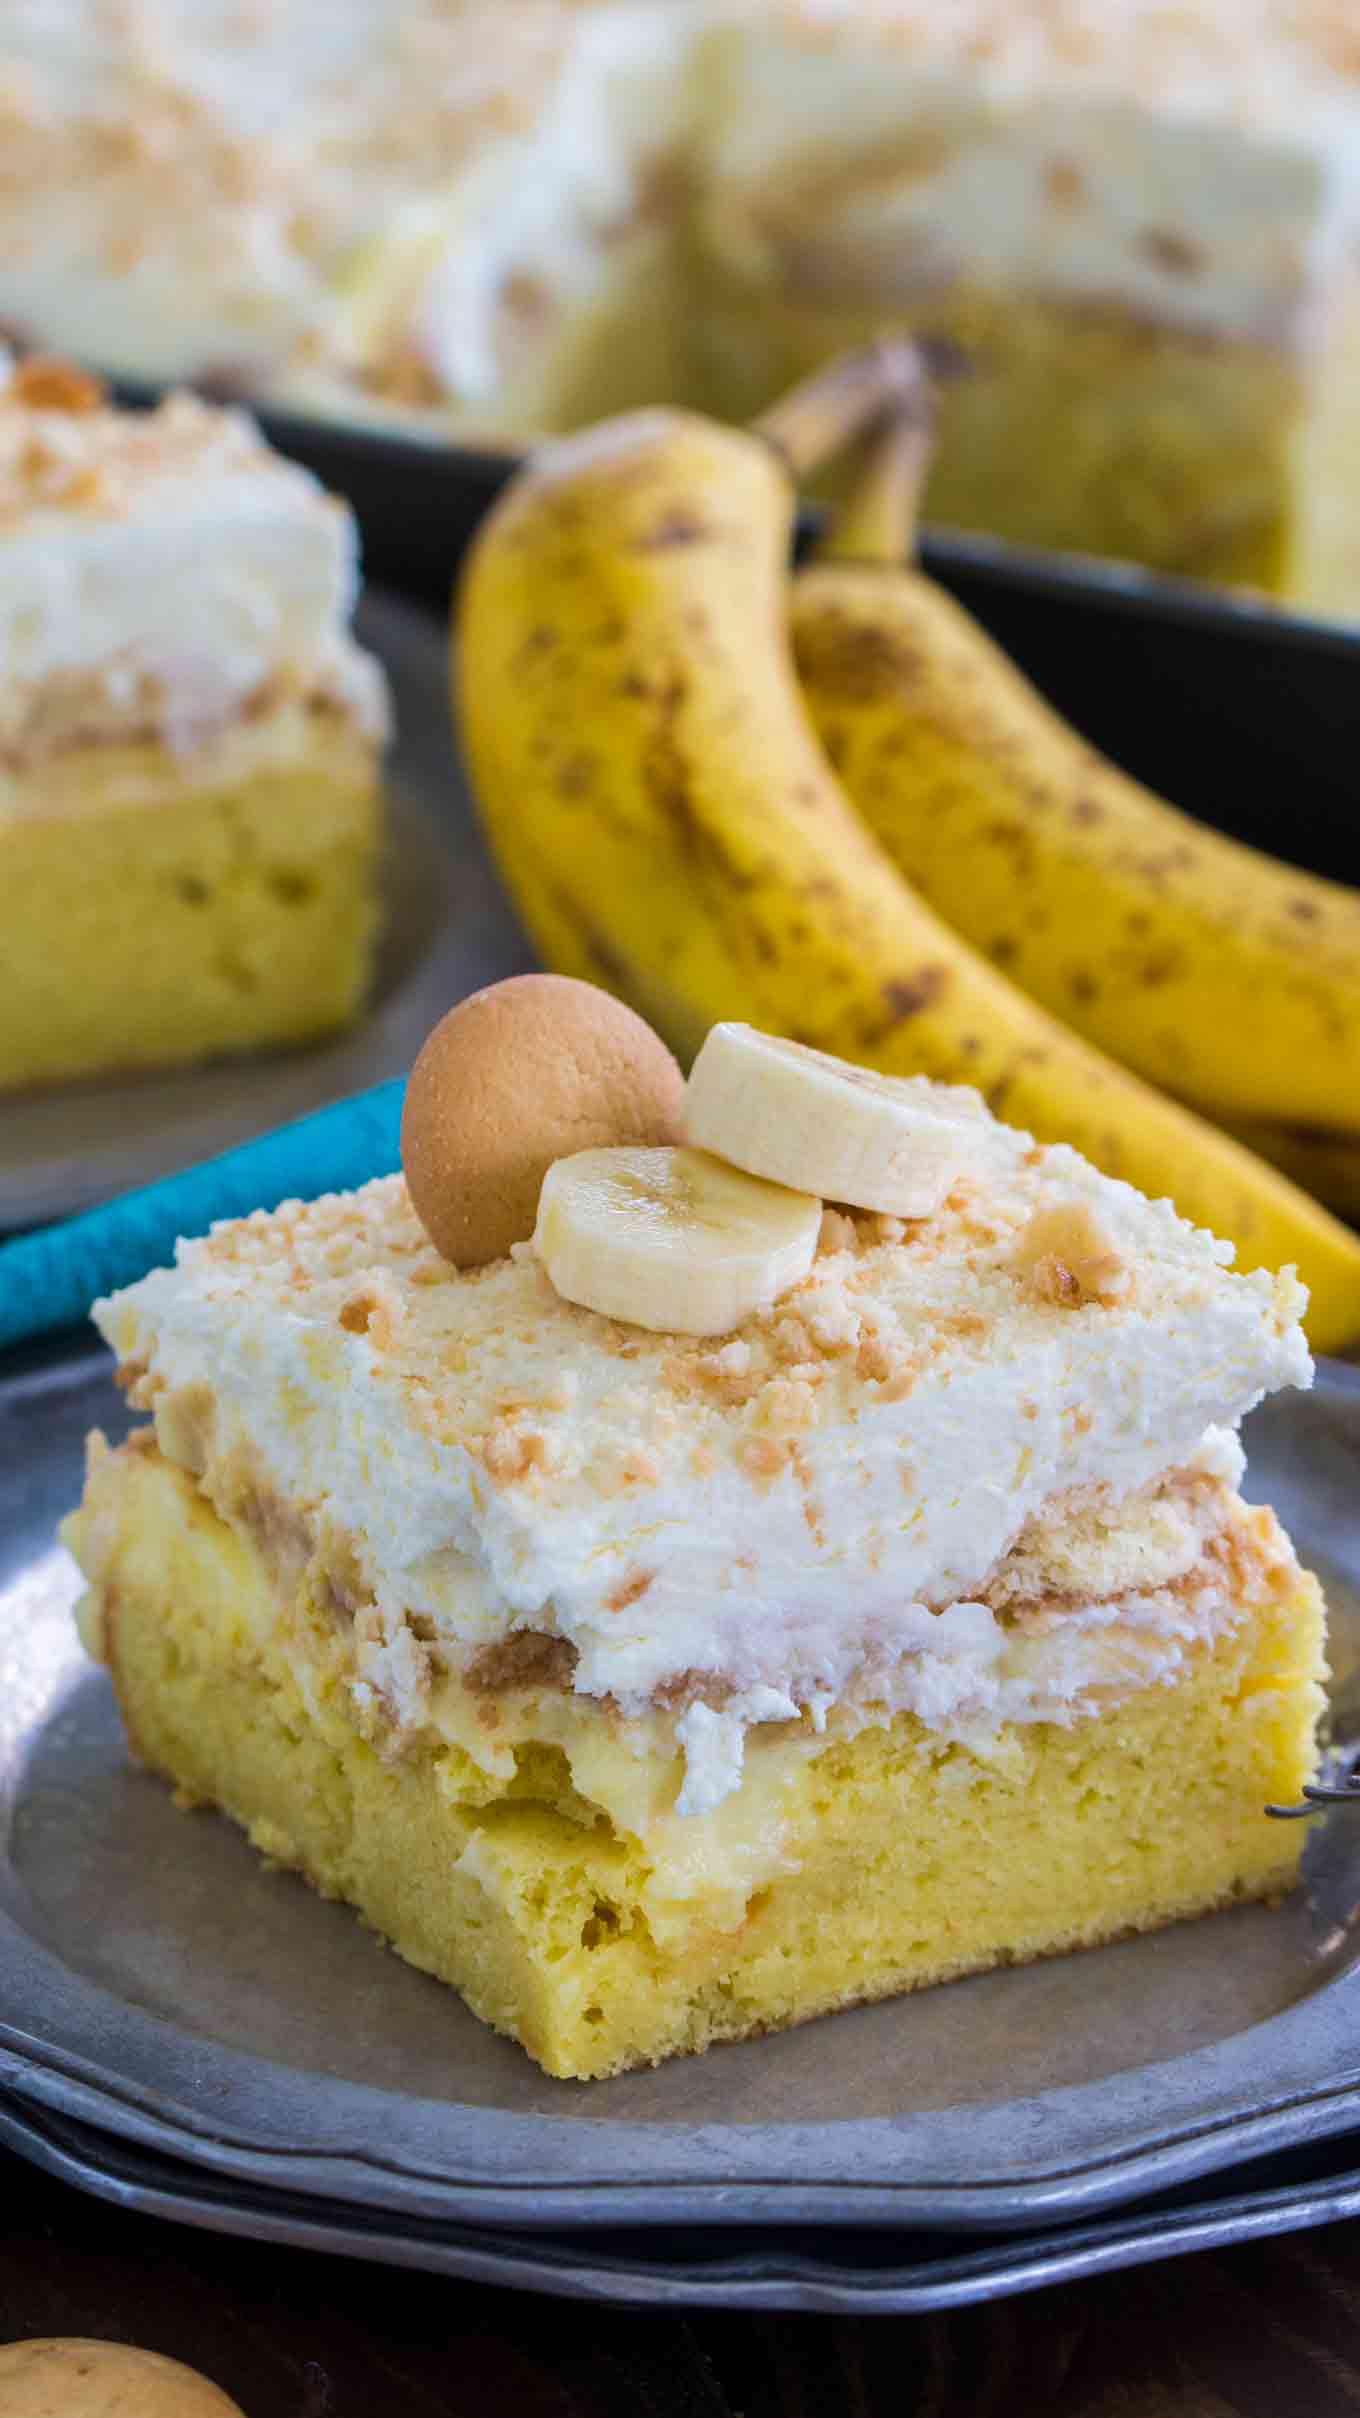
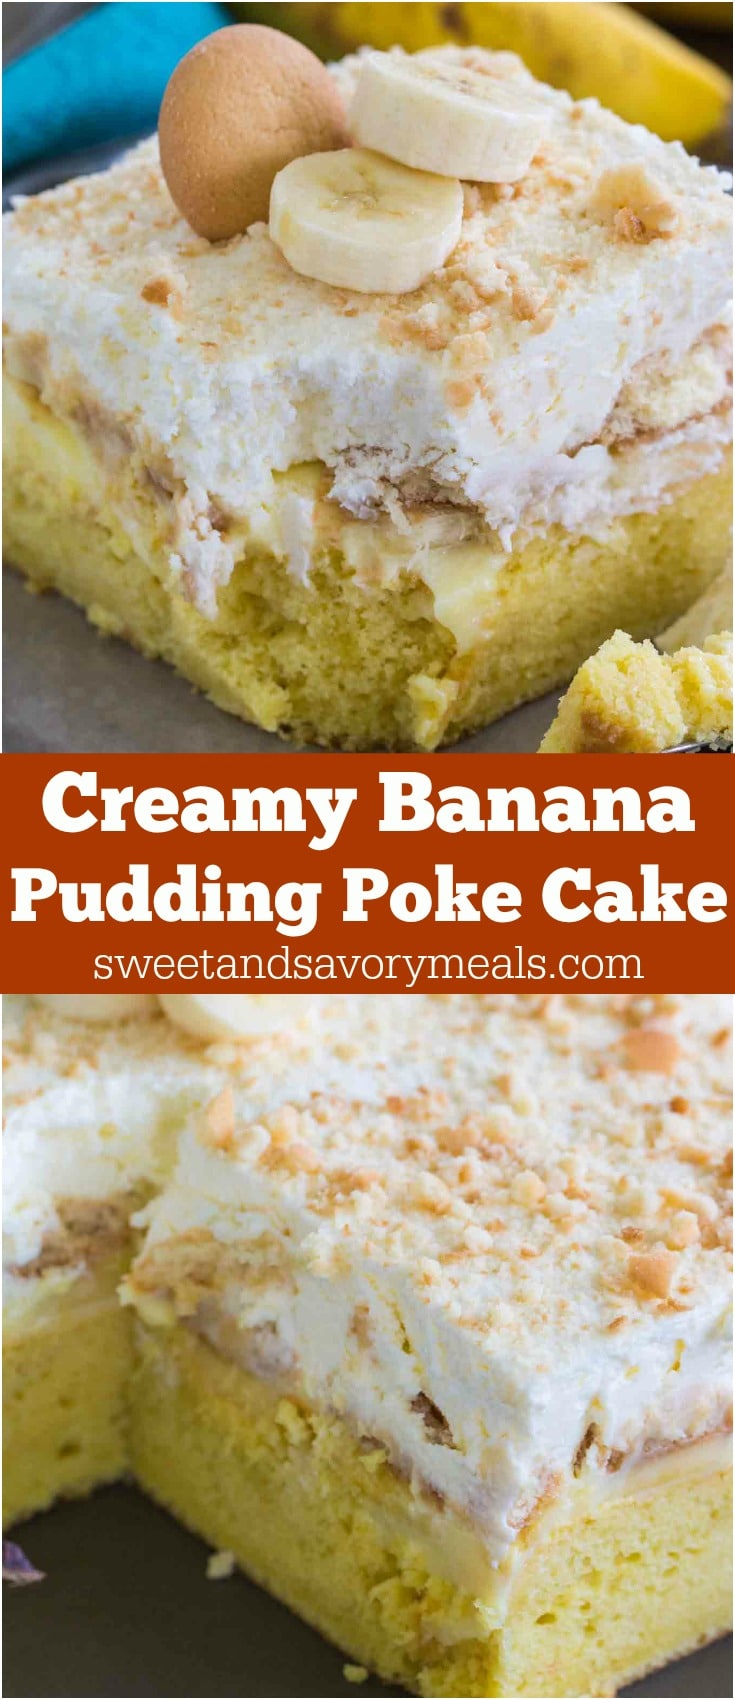
Banana Pudding Poke Cake is one of the easiest and most divine cakes you can make! Incredibly creamy and with lots of banana flavor!
Making high-quality Poke Cakes is our obsession. We love Poke Cakes that are easy to make, look stunning and taste delicious, like our popular Strawberry Poke Cake, German Chocolate Poke Cake, and Pumpkin Poke Cake.
Banana Pudding Poke Cake
Banana Pudding Poke Cake is such a luxurious and creamy cake, that all the banana lovers will go crazy for it! I am a huge fan of poke cakes, and while I had my fair share of poke cakes, I can probably safely say that this one is my top favorite. This cake has such a perfect light texture, that it almost feels like a creamy cloud of banana pudding and sweet whipped cream.
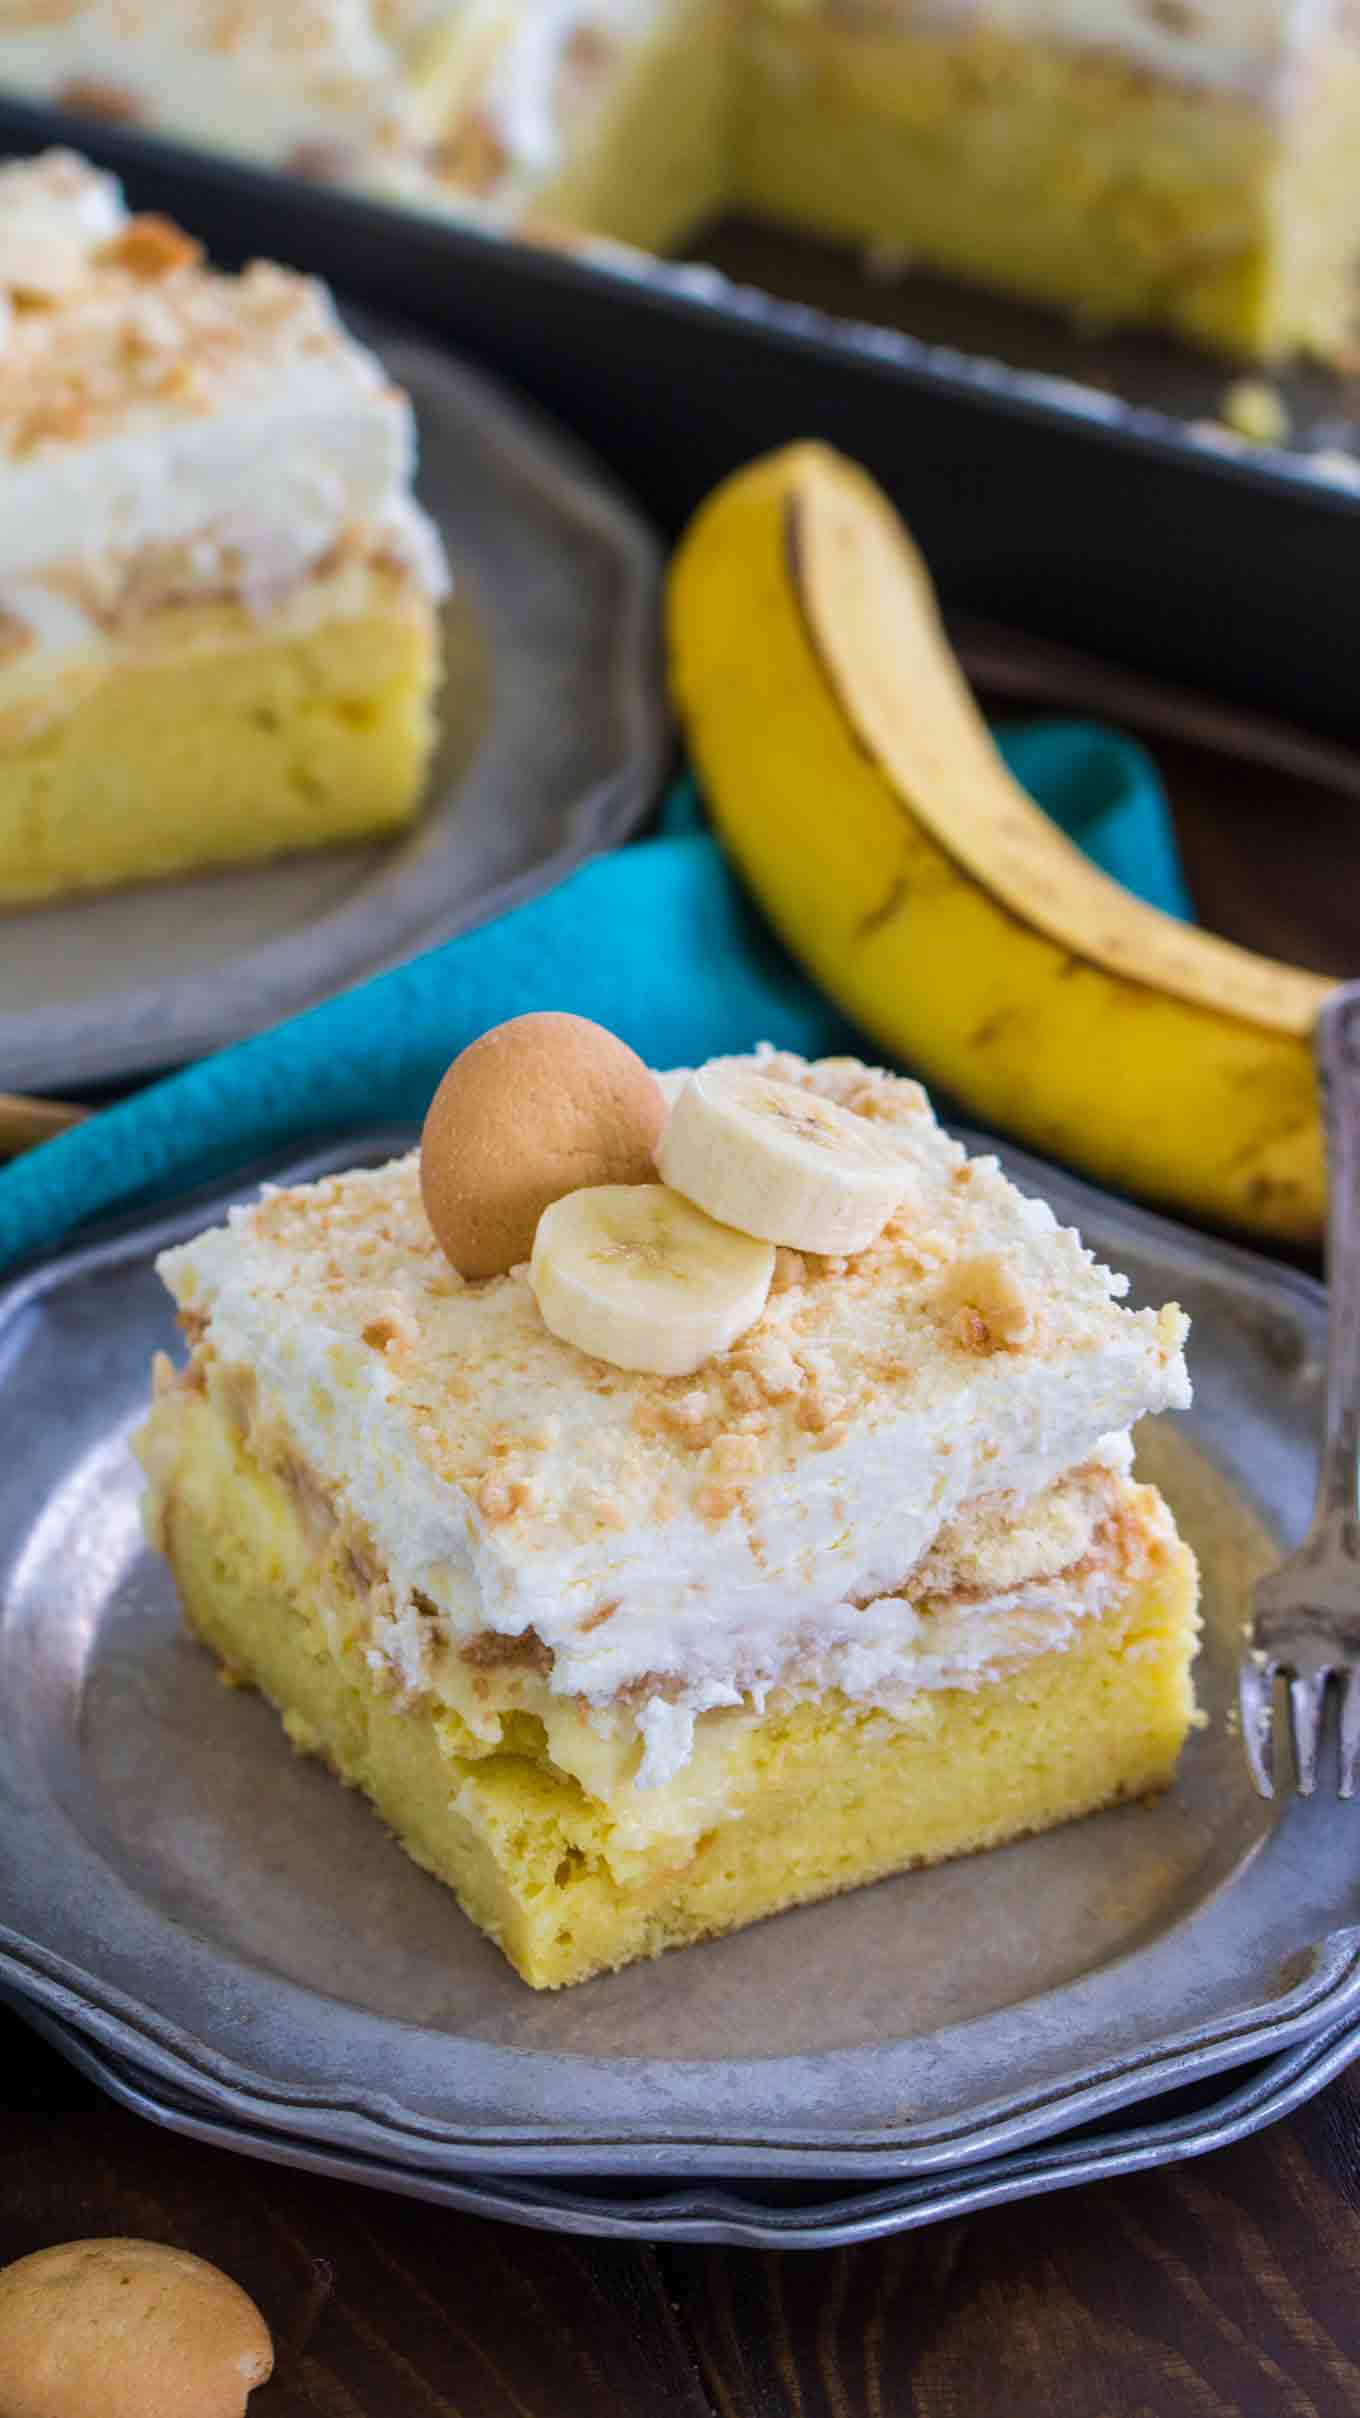
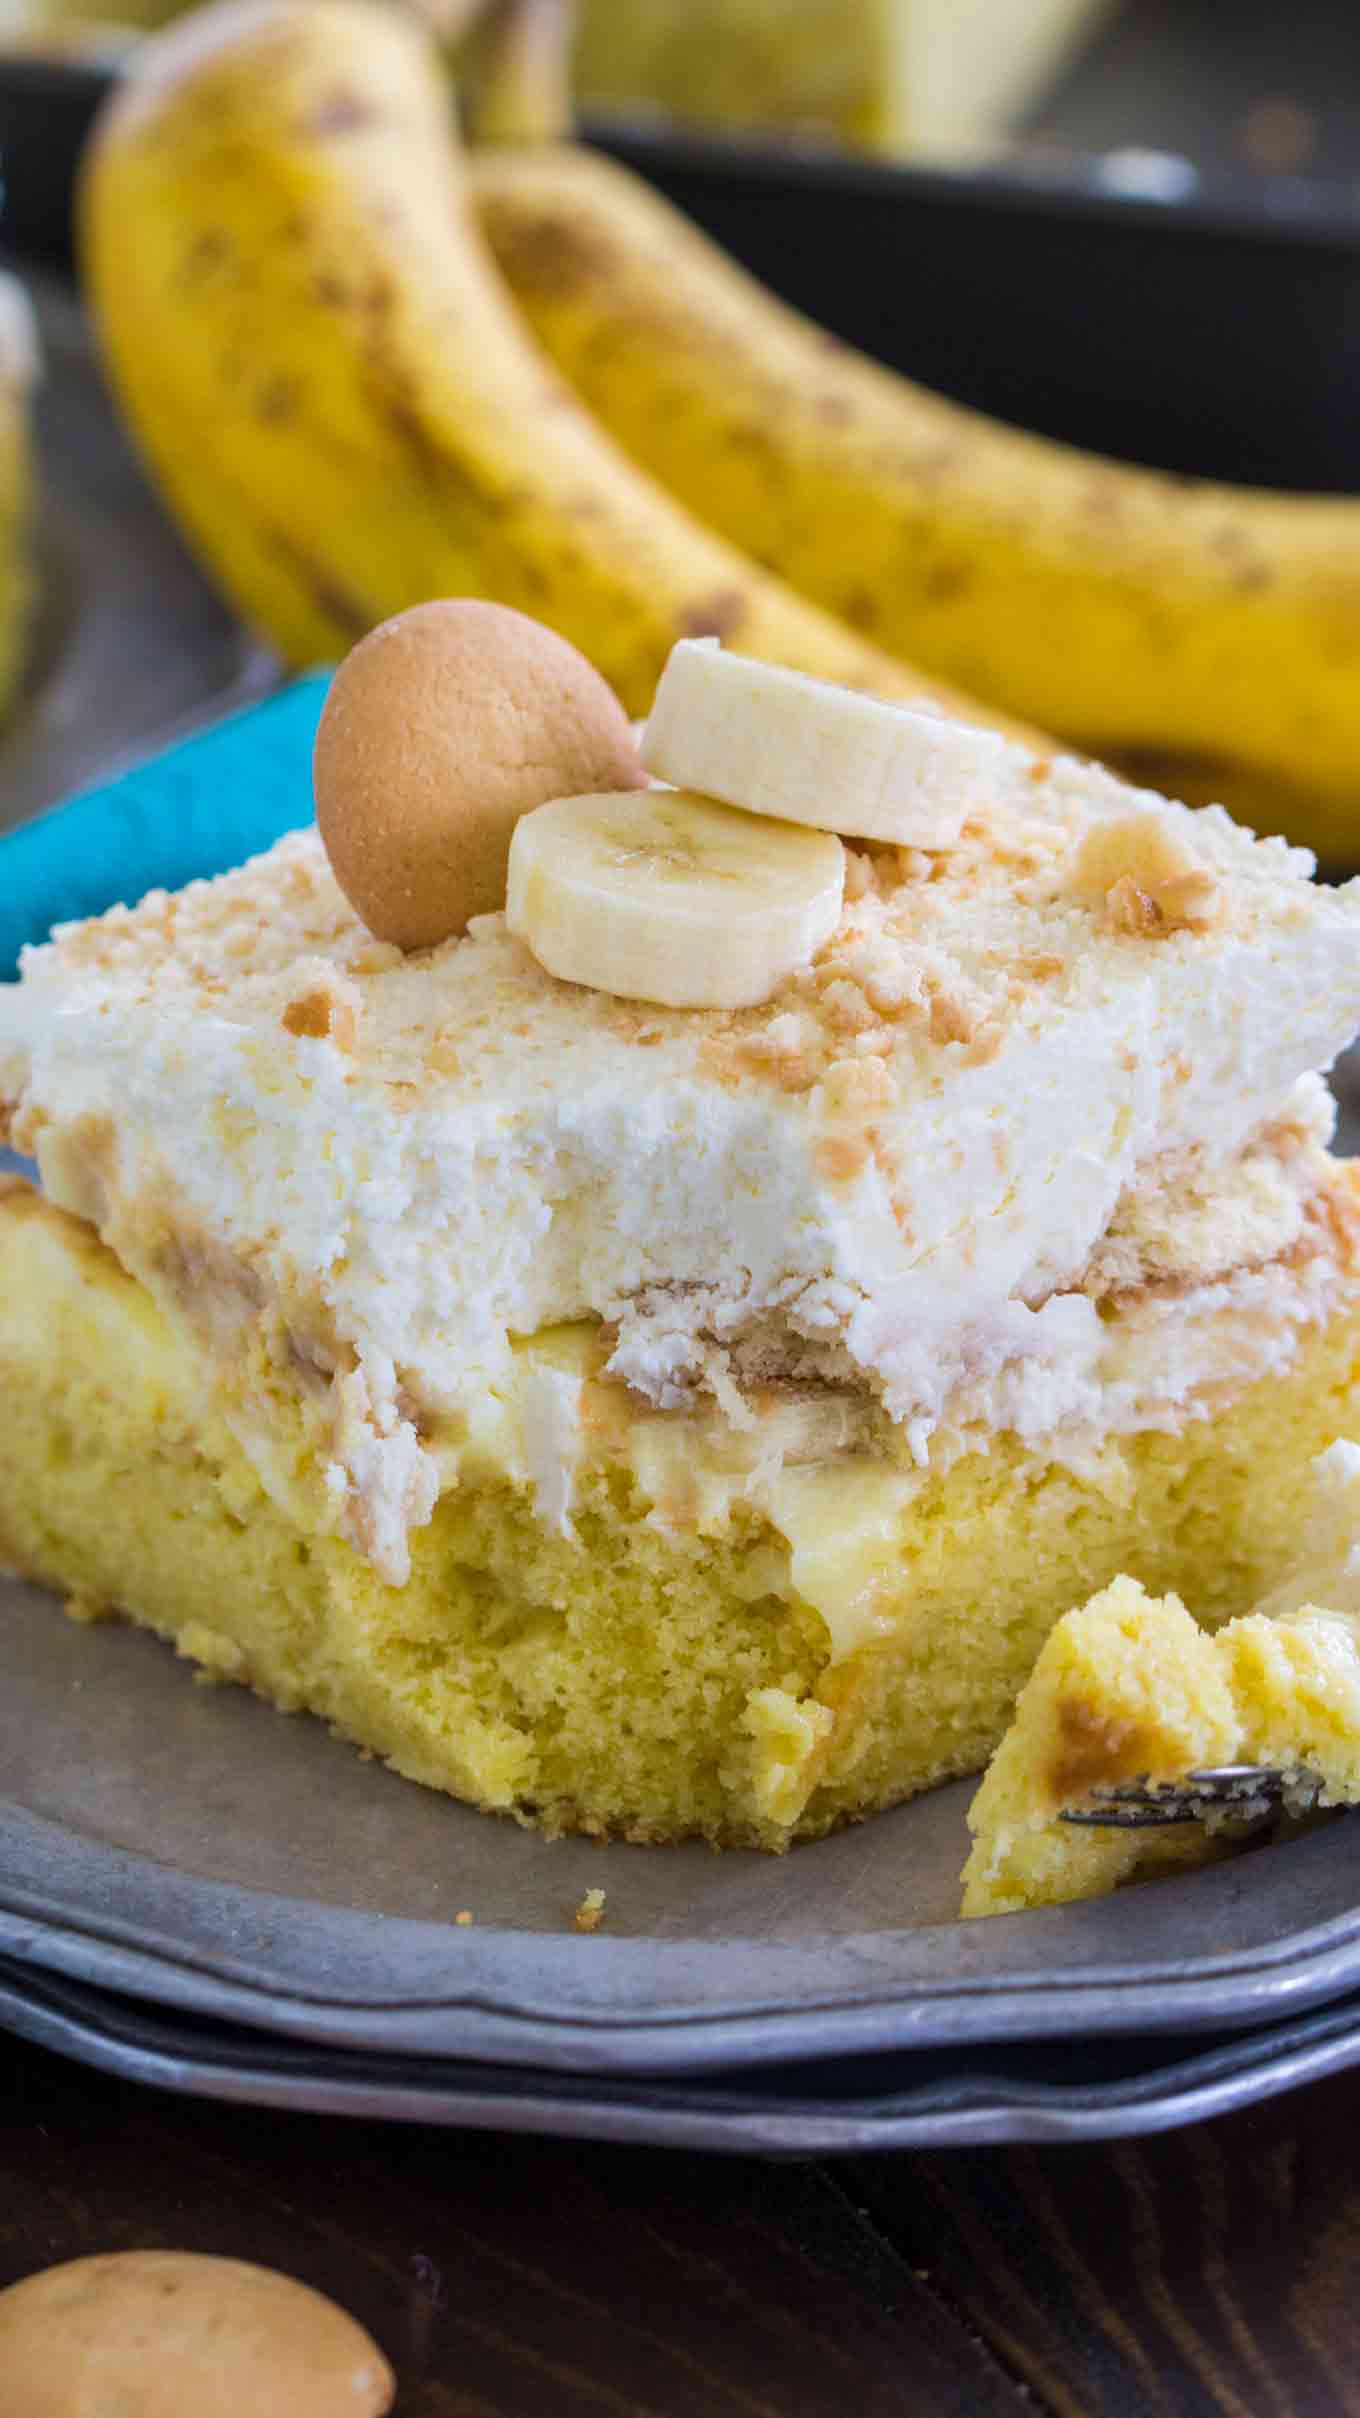
The Banana Pudding Poke Cake is also one of the easiest cakes you can make. A yellow cake that has been poked and soaked with banana pudding, topped with fresh banana slices, Nilla wafers and a thick layer of whipped cream! The cake melts in your mouth and it has the most amazing banana flavor.
Pin This Banana Pudding Poke Cake Recipe to your Favorite Board
Best Banana Pudding Poke Cake Recipe Tips:
- Using a cake mix will reduce the prep time. You can use the Yellow Cake mix or White Cake mix. However, if you want to add some fun, a Funfetti Cake mix will work too.
- Bananas must be ripe, but not very brown for this recipe.
- Let the cake chill for at least 8 hours in the fridge before serving, this will make the cake extra tender.
- Keep the cake refrigerated because the frosting will soften if kept at room temperature for too long.
- For more texture, you can add one 1/2 cup of finely chopped pecans or walnuts into the cake.
- You can use either vanilla pudding or banana pudding, I like using banana pudding for extra banana flavor.
- Clean the knife after each cut. Otherwise, the slices will be messier, since the frosting may stick to the knife.
- Don’t have Nilla Wafers? Even vanilla-flavored animal crackers will work.
HOW TO FREEZE THE BANANA PUDDING POKE CAKE?
- If freezing the cake without adding the frosting, then first wait for the cake layer to cool completely. Fully wrap in plastic wrap tightly. Next, wrap in aluminum foil or place it in freezer bags.
- If freezing a frosted cake, first place cake in the fridge, so the frosting isn’t too soft. Fully wrap the cake in plastic wrap tightly. Next, wrap in aluminum foil or place it in freezer bags. Freeze for up to 3 months. Defrost before slicing.
Tools/Ingredients I used to make this Banana Pudding Poke Cake Recipe:
- 9×13 Cake Pan – I swear by this cake pan, it is non-stick, and of such good quality.
Banana Pudding Poke Cake
Banana Pudding Poke Cake is one of the easiest and most divine cakes you can make! Incredibly creamy and with lots of banana flavor!
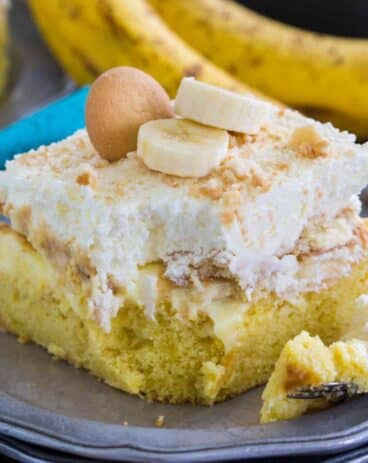
Banana Pudding Poke Cake
Banana Pudding Poke Cake is one of the easiest and most divine cakes you can make! Incredibly creamy and with lots of banana flavor!
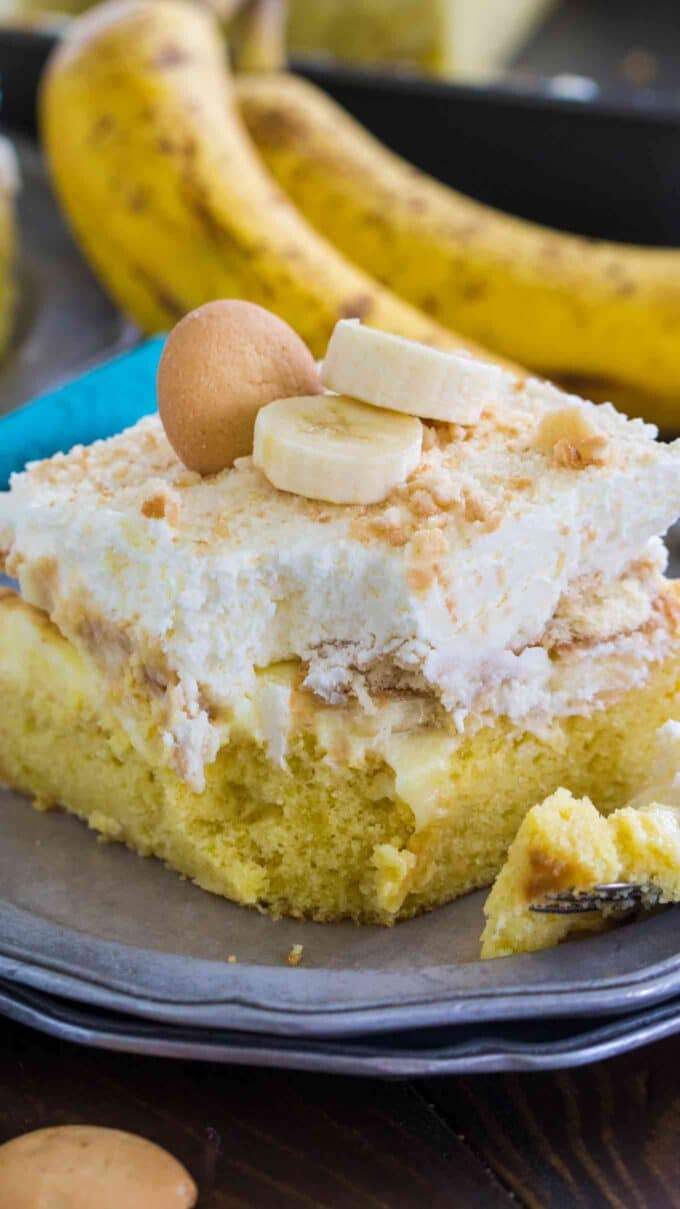
Ingredients
- 1 box yellow cake mix plus ingredients to prepare the mix
Ingredients usually called for cake:
- 3 eggs
- 1 cup water
- 1/3 cup vegetable oil
Pudding and Cream:
- 2 boxes (3.5oz) banana cream pudding mix
- 4 cups milk
- 3 cups heavy cream
- 1/4 cup white granulated sugar
- 1 teaspoon vanilla extract
- 3 bananas thinly sliced
- 30 Nilla Wafers 6 crushed
Follow me on Instagram
FollowInstructions
- Preheat oven to 350F.
- Grease and sprinkle with flour a 9-x-13 inch cake pan.
- Prepare yellow cake mix according to box instructions. Pour batter into the prepared pan and bake for about 25 minutes, or until a toothpick inserted in the center comes out clean. Let cool for 10 minutes and using the bottom of a wooden spoon, poke holes all over the cake.
- Prepare the banana pudding: in a medium bowl, whisk together pudding mix and milk until thick. Once thick, pour it over the cake, into the holes. Spread well using a spatula.
- Top the cake with the slices bananas all over the cake, slice more bananas if needed.
- Top the bananas with a layer of Nilla Wafers.
- In a large bowl, beat heavy cream, sugar, and vanilla extract until stiff peaks form.
- Spread whipped cream on top and sprinkle all over with crushed and whole Nilla Wafers. To keep the layer of wafers in place, I like to add large dollops of whipped cream all over the surface of the cake, and after that, gently spread the cream using a spatula.
- Refrigerate the cake for at least 8 hours or better overnight.
- Slice and serve garnished with Nilla Wafers and sliced bananas.
Nutrition Facts
Enjoy weekly hand picked recipes and recommendations








Comments
(30)Jody
Catalina Castravet
Lauren
Catalina Castravet
Dee
Catalina Castravet
Amber K